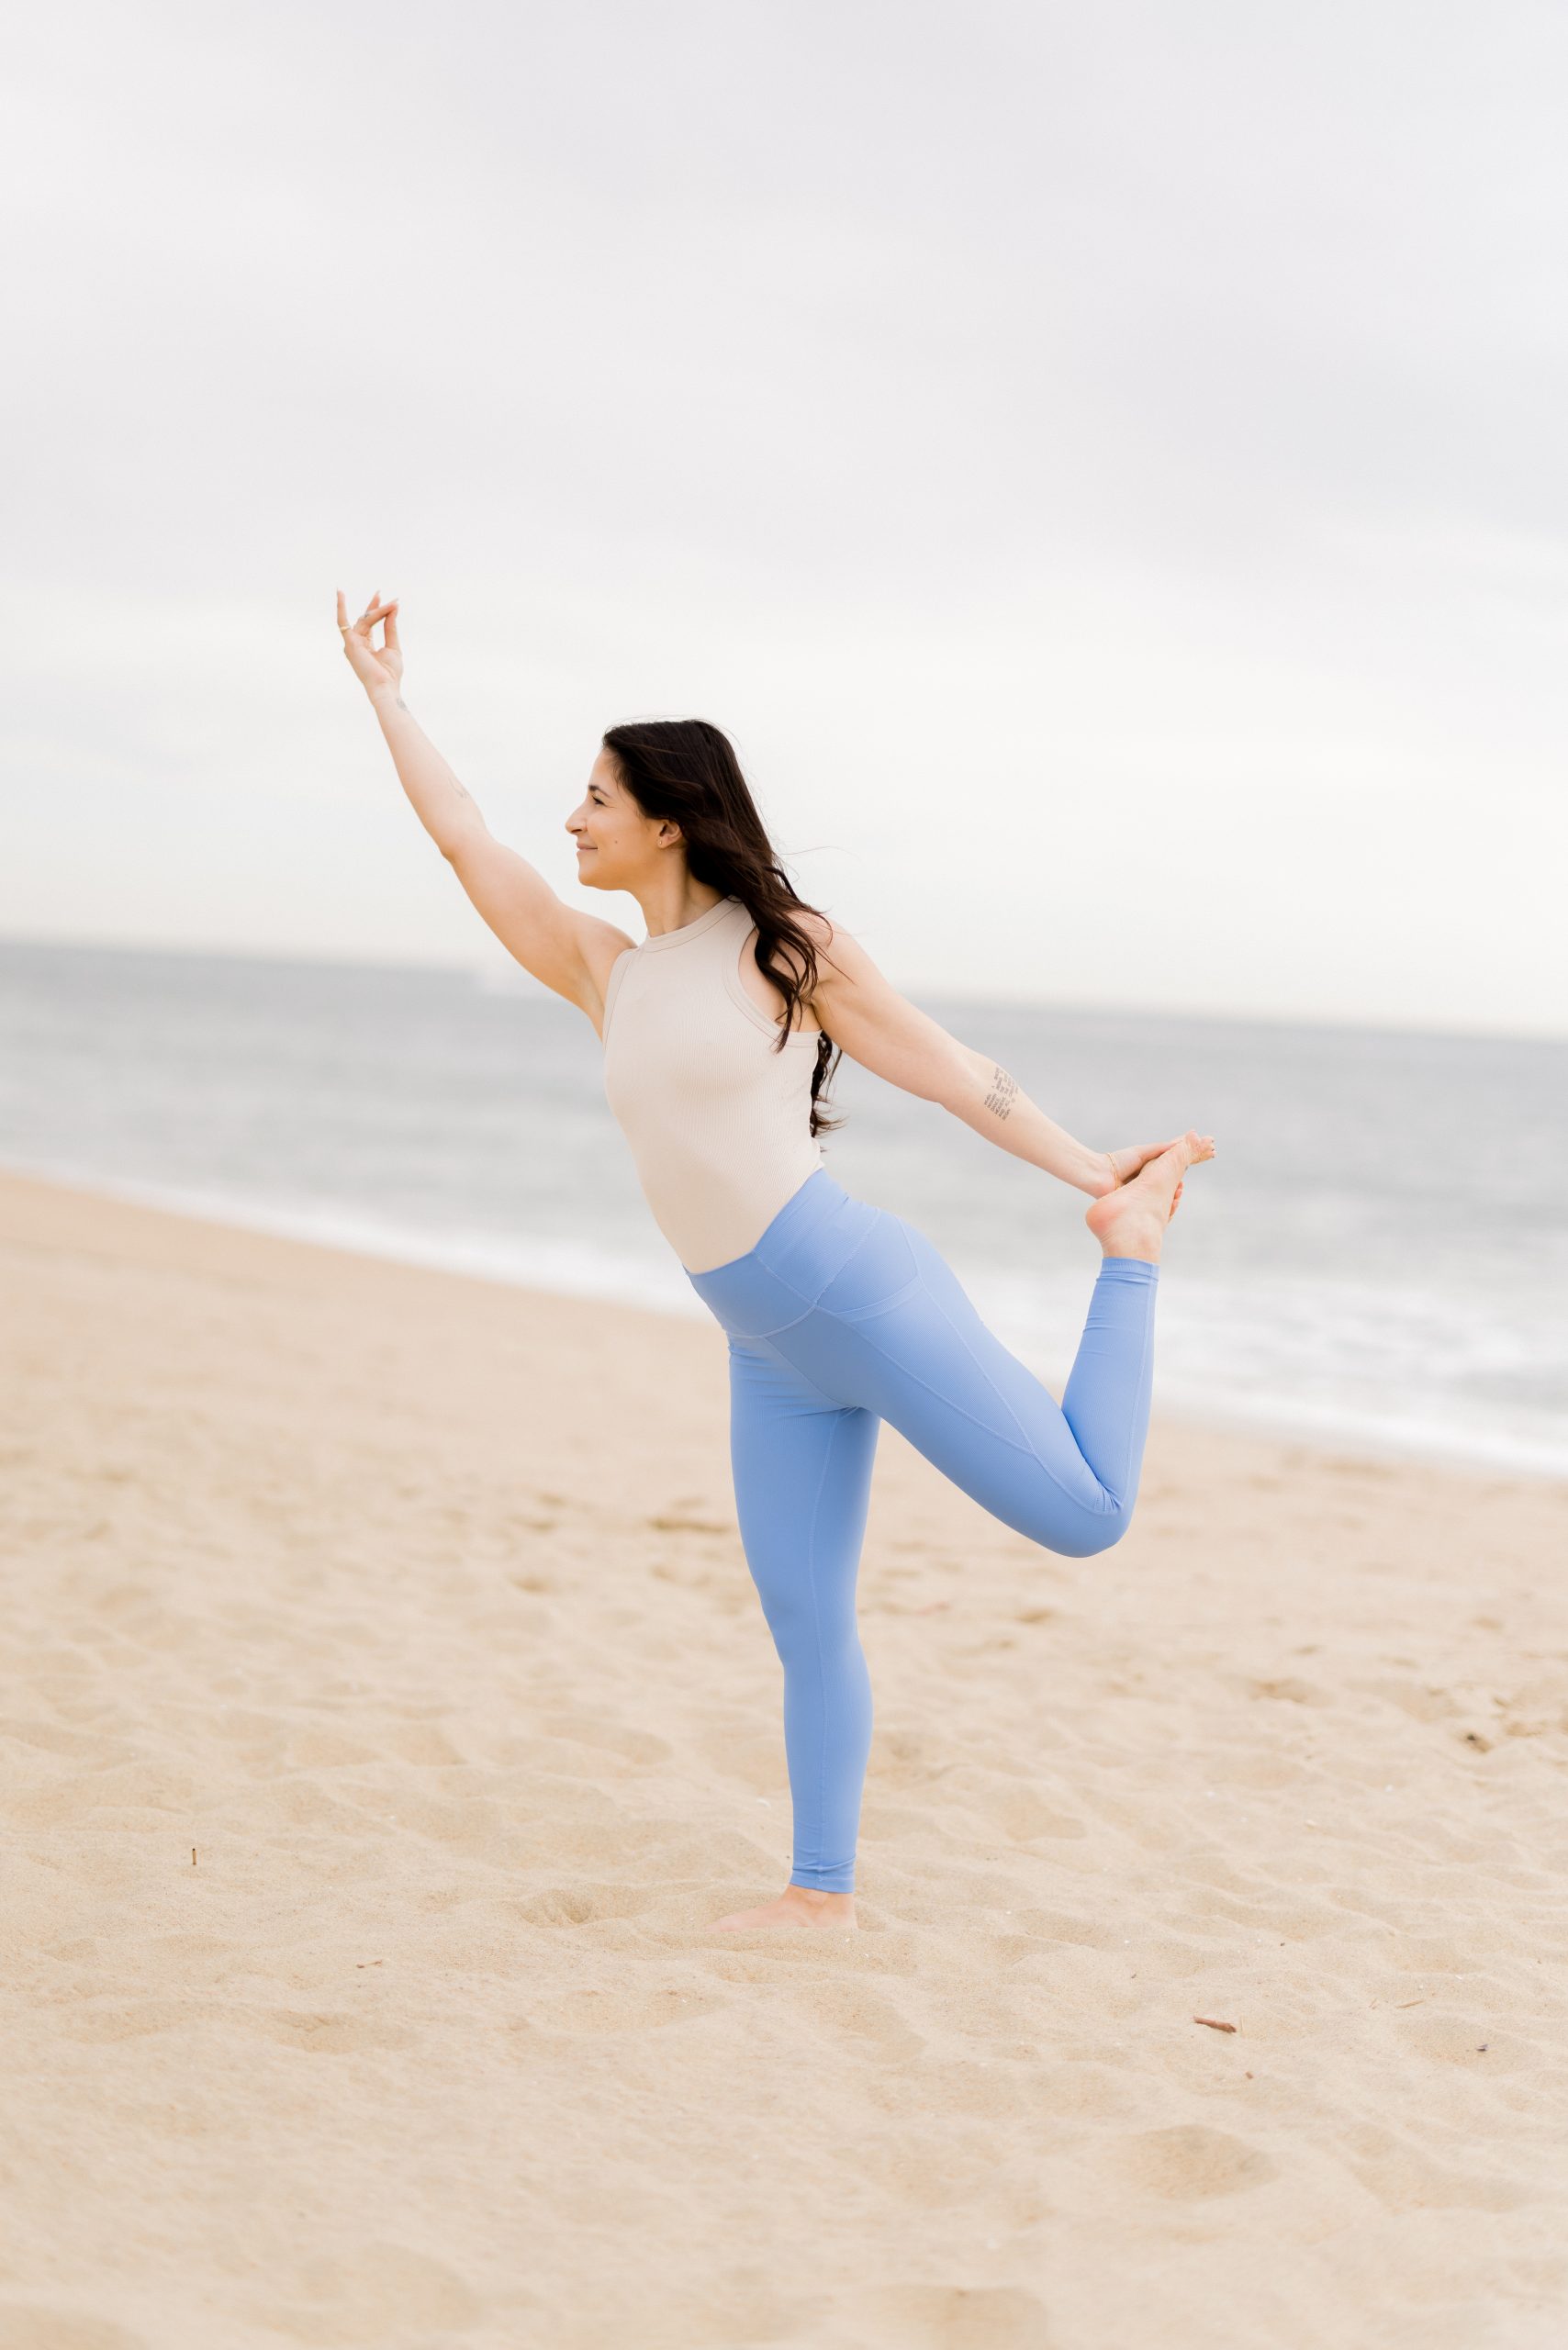
King Dancer Pose, better known as Naṭarājāsana in Sanskrit, is a fun yet challenging balance and backbending pose that requires the combination of strength, flexibility, and stability. King Dancer enables us to be more focused, calm, and can promote better balance in our lives, while also grounding us. With the opening of the chest and the back-bend piece of it, it stretches the chest, shoulders, hamstrings, quads, spine, and hips. At the same time, it strengthens the ankles, shoulders, core, and larger leg muscles.
Due to so many working elements in this pose, it can be a very intimidating pose to attempt, especially for newer students. Don’t be afraid to challenge yourself in this pose. If you’re looking to work your way up to such a robust pose, consider trying out some yoga basics first. We’ve developed a whole series of beginner yoga classes you can practice for free on our YouTube channel and wrote another article centered around yoga for beginners.
Be playful with the pose and get comfortable with getting outside of your comfort zone. King Dancer Pose will always look different from person to person so try to focus on how the pose feels in your body instead of how it looks. Over time, your balance and flexibility with this pose will improve, and by practicing with patience and concentration, you’ll help to even quiet the mind.
Here are some helpful tips when practicing Natarajasana (King Dancer Pose)…
Alignment Tips For King Dancer Pose (Natarajasana)
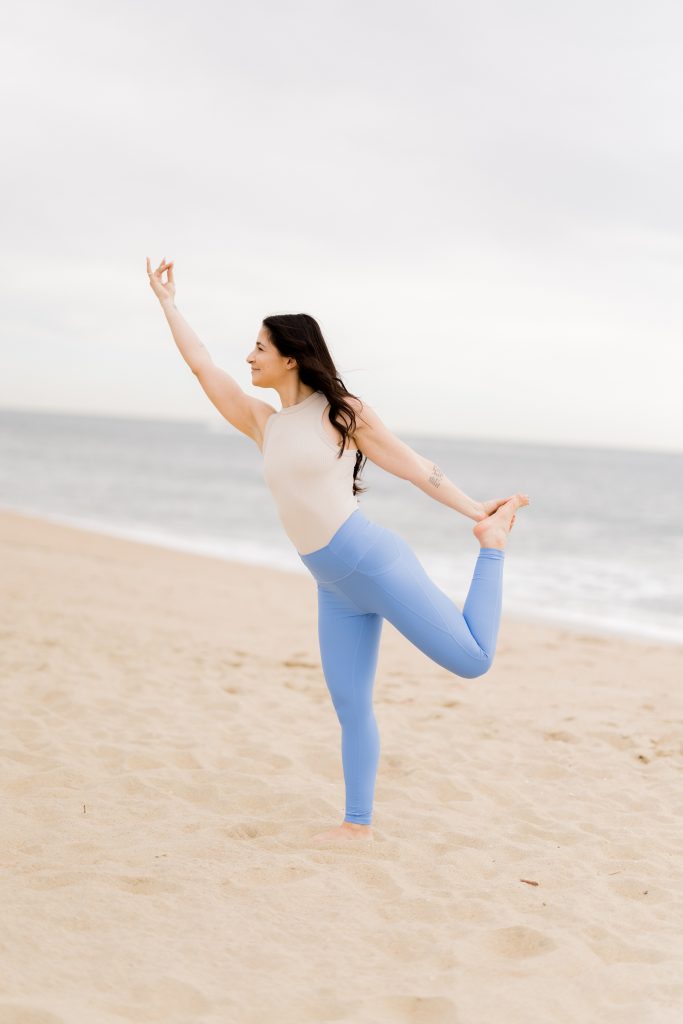
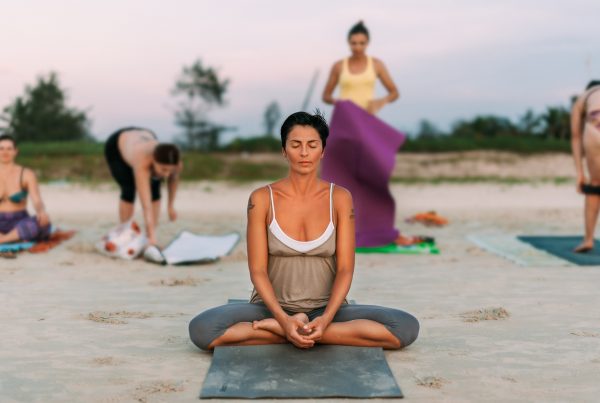
Beginner yoga practicing Natarajasana on the beach
1. Firm Your Foundation
Ground down and firm your standing leg without locking it. Engage the larger muscles in your legs – the quads, hamstrings, and calf muscles to protect the knee and also increase your balance. To do this, imagine feeling the kneecap of your standing leg lifting upwards; this automatically activates your upper leg muscles. You can also prep for this by strengthening the muscles in your legs. By increasing our strength we also increase our balance. Try prep poses that tone the legs such as Chair, Goddess, High Lunge, Warrior 2, Warrior 3, or Warrior 1.
2. Root Down Through Your Foot
Firm down through all four corners of your standing foot. Aim to feel the ‘lift’ of the natural arch in your foot. By doing so, it will keep you more balanced in this pose. This works because the weight distribution of our bodies will even out through our feet, ankles, and surrounding leg muscles.
3. Square Your Hips
In this pose, there is a tendency to want to want to rotate the body towards the side of our lifted back leg. This can take us off balance and can injury our lower back, knees, and hips. Work to get your pelvic and hip area squared to the front short edge of your mat. This will give you a better foundation and allow you to balance better on your standing leg.
4. Open Your Chest
As you lean forward and come into the back bend of Dancer pose, one way we can avoid compressing the spine is by broadening out through the chest. Keep the chest lifted upwards and draw your shoulders down and away from the ears.
5. Draw Your Lower Belly & Ribs In
As you lean forwards in this pose, draw lower belly in and also knit the ribs in. This will keep your torso from falling too far forward and also increase your balance.
6. Focus Backbending From The Upper Part of Your Back
You want to think of creating a soft ‘U’ shape with your back bend instead of a sharp ‘V’ shape. This will help you to avoid compression of your spine. If you ever feel any sort of pain or pinching, ease out of the pose gently. All parts of our bodies are connected so a way we can deepen our back bend is working on stretching the surrounding areas; the abdominal and pelvic area. Some good prep poses you could practice to increase your flexibility in these areas are Camel, Bridge, Upward Facing Hands (Urdhva Hasatasana) with a slight backbend, and Wheel.
7. Be Patient & Ease Into It
Keep in mind, try to not focus on how the pose looks and avoid comparing how your Dancer pose looks to others. Be mindful and always work within the limits of your own body. With time and patience, you will be able to achieve whatever expression of the pose you wish. If you move too quickly in and out of the pose, you could run the risk of injuring your knees, hips, and spine.
Want to learn about yoga anatomy more specifically? Our yoga anatomy online course provides you with the proper anatomical terms for what happens to the body in the different asanas. Created by anatomy expert and lifelong yoga teacher Joe Miller, our yoga anatomy course will help you understand the ins and outs of alignment, proper cues and anatomical terms so you can lead memorable yoga classes!
How to get into King Dancer Pose (Natarajasana):
- Begin in Mountain Pose (Tadasana).
- Begin to shift your weight onto your right foot.
- Bend the left knee back behind you, allowing the left heel to come towards your left side glutes.
- Reach your left hand back and grab your left foot inner ankle. If this is too difficult to reach, you can use a strap by bringing it around the top of your left foot and grabbing hold of it with your left hand.
- Bring your opposite hand, right hand, up towards the ceiling. Find a focus point to keep your gaze and balance.
- Press into your grounded foot and activate your core to keep you balanced.
- Begin to tilt your torso forward and at the same time begin to lift the right foot away from the body. Keep the chest open.
- Bring the back foot up as high as is comfortable for you, working to get your back thigh parallel to the ground.
- Hold for several breaths.
- To release, come out of the pose slowly. Lower your back foot down and come back to Mountain Pose.
Natarajasana (King Dancer Pose): Tips for Beginners
If you find you have trouble balancing on one leg, you can try using a wall or chair for support. Work on just lifting your back leg up and grabbing the foot without leaning forward or coming into a back bend (think of just a simple standing quad stretch). As you work to gain flexibility in your quads and balance in your foundation, you can ease into the pose slowly.
If you find you have have difficult grabbing your back foot with your hand, you can also try using a strap for assistance. To do this, loop one end of a strap around the top of the back foot and the other end in your same side hand. Increase your shoulder and arm flexibility will also aid you in being able to grab your back foot with your hand. Try prep poses that stretch the shoulders and arms such as Downward Facing Dog, Camel, Eagle, Child, Cat, and Cow pose.
Advancing The Pose
To advance the pose, you could try bringing both hands overhead and grabbing hold of the lifted foot with your hands. When grabbing hold with both hands, be mindful to keep both arms knitted into the body, with elbows close to the ears. Be mindful to keep your shoulders drawn down your back.
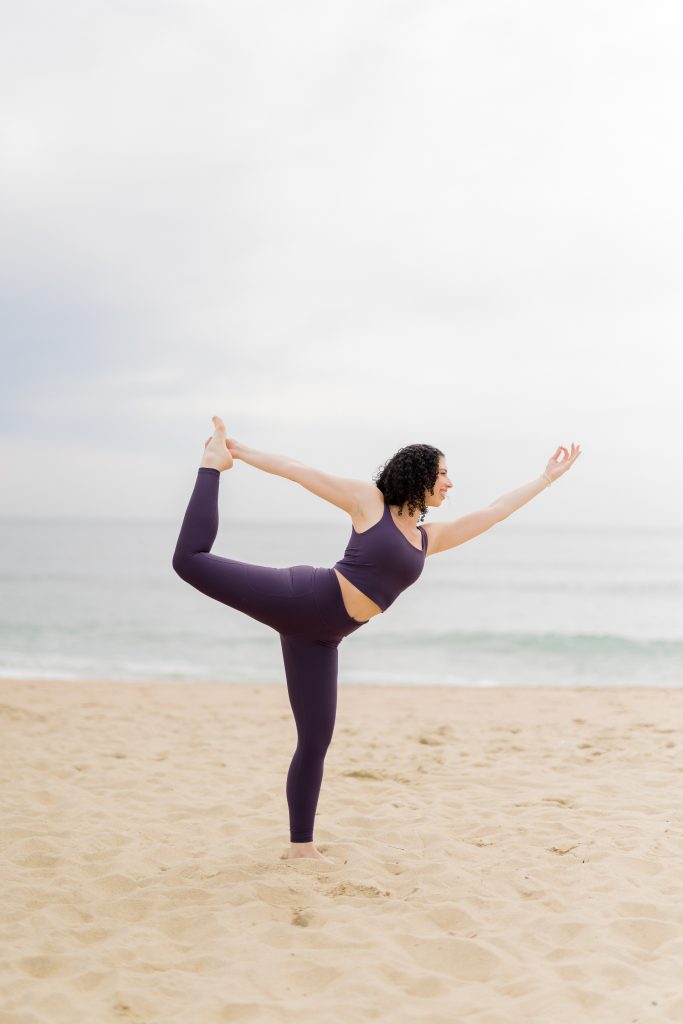
Lindsay Monal, Experienced Yoga Teacher and Sound Healer, practicing Naṭarājāsana on the beach


