Alas, we are at our last stop of our journey through the Yamas! Upon the completion of reading this article, you will [hopefully] have a grasp of each Yama and how incorporating them into your life can enhance your sense of self, your relationships with others, and your perception of the world around you. In addition, you’ll have some wonderful ideas of how to plan your asana classes in order to honor each of these jewels.
So let’s talk about Aparigraha…
Aparigraha is known as non-possessiveness or non-attachment. This is the yama which asks us to fully let go of our attachments to people, ideas, things, and expectations so that we can experience all that life really has to offer us.
I believe it is much easier said than done to just “let go,” as this requires us to release our ideas of what should be vs. what is, familiarity vs. unfamiliarity, known vs. unknown. As humans, we seek to cling onto the things which have brought us joy in the past and we attempt to plan our lives to make things as predictable as possible. But, as humans we also know that these efforts turn out to be futile no matter how hard we try. And yet we try and try again.
So here’s your call to action. Why not just let go? Whatever you might be dealing with right now, how about you release yourself from the overthinking and the expectations? Let yourself be suspended in mid-air and just see where that may take you. Yes, there might be discomfort but trust that your practice will support you and you may find yourself in a better place than you could have ever imagined.
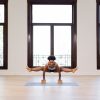
Peak Pose: Handstand Against the Wall (Adho Mukha Vrksasana)
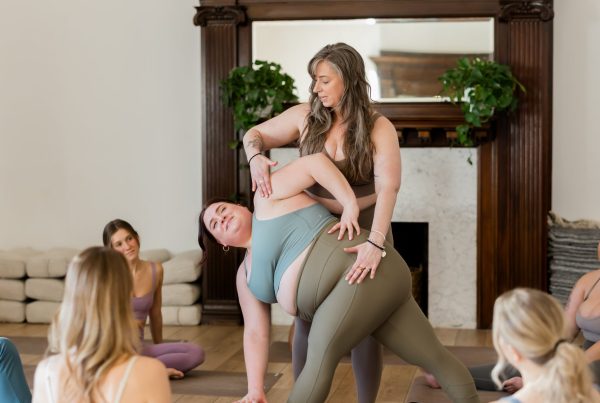
I know, two upside down arm balances in a row?! Why not? I think handstand is such an amazing pose to highlight the principles of aparigraha. It requires us to trust our bodies, our practice, and in this case…the wall! I often find that some students have self-limiting beliefs about this pose. They think they are not strong enough, not “good” enough, or not brave enough. After preparation, those same students enter into the pose (with the use of the wall and sometimes a hands-on assist) and you can see in their faces how those thoughts are dashed. Physical and mental preparation help the practitioner with this posture, but it’s that moment where the student decides to let go and just “go for it” which ultimately gets one upside down.
Supporting Pose 1: Upward Hands (Urdhva Hastasana)
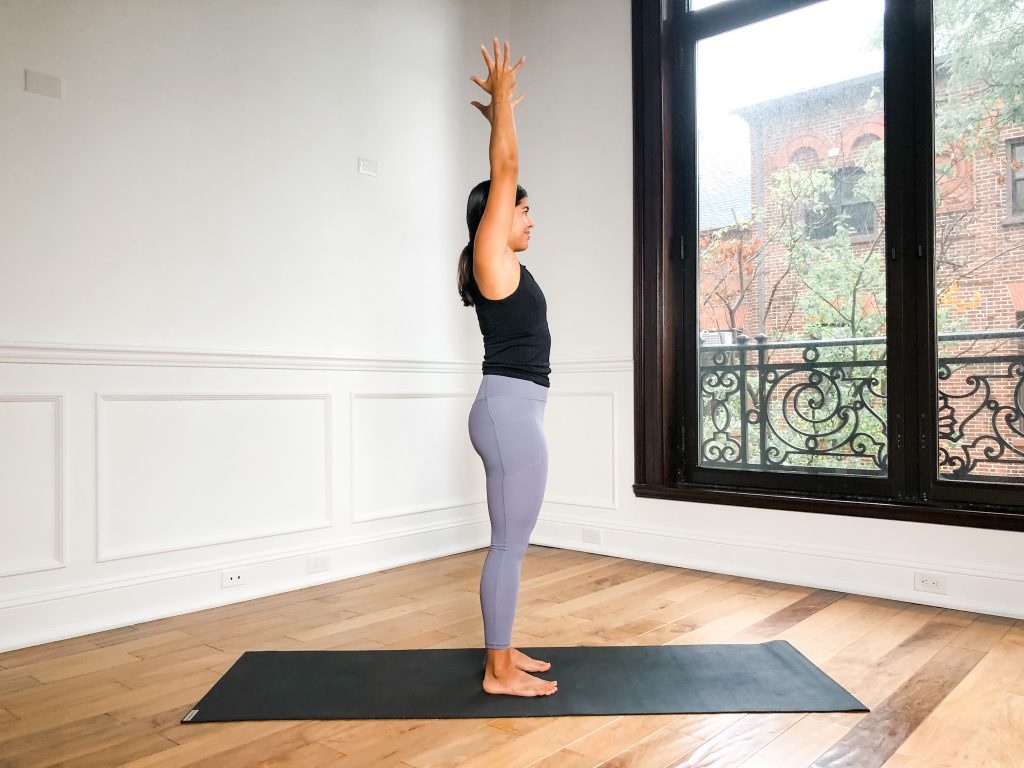
Upward hands pose is basically in EVERY VINYASA YOGA CLASS. So it would be wise to use the pose as preparation for handstand as it is essentially the same pose right side up. It’s generally accessible and familiar and you can teach the actions of handstand from head to toe all while standing on your feet.
How to:
- Stand with your feet either hips width distance apart or together. You might opt to have the feet together since that mimics the peak pose.
- Press the four corners of the feet down and lift the kneecaps up.
- Reach the arms to the sky and bring the biceps alongside the ears. Spread your fingers to the hands and arms are active and toned.
- Pull the front ribs and frontal hip points towards one another to avoid an excessive anterior tilt of the pelvis and a jutting forward of the rib basket.
- Keep the arms reaching up and relax the muscles around the neck. You don’t need to draw the shoulder blades down. The shoulder blades will naturally rotate up a bit so keep that but avoid tensing the muscles around the neck and upper traps.
Supporting Pose 2: Warrior I (Virabhadrasana I)
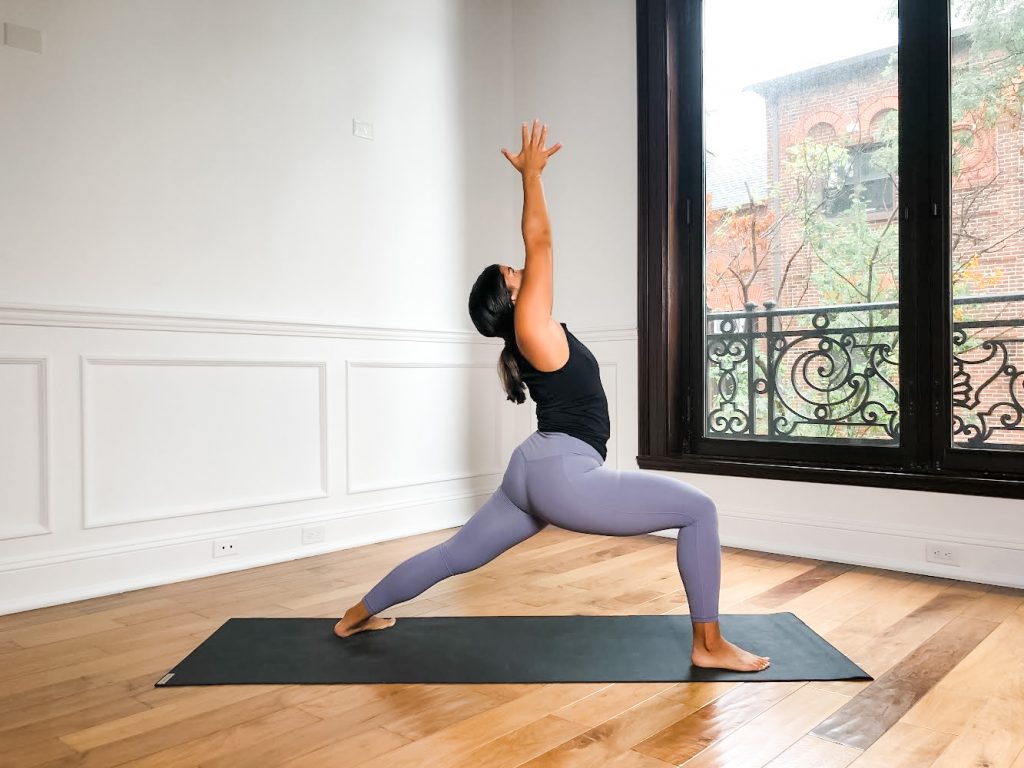
Warrior I is a great standing posture to incorporate into your class towards handstand. It teaches the actions of the legs, arms, and torso and moves the body in the sagittal plane which is the same plane where handstand takes place.
How to:
- From downward facing dog, step your right foot forward behind the right hand.
- Lower the back foot down at an angle (~45 degrees) and keeping that leg straight, bring your torso to an upright position.
- Press the four corners of each foot into the ground. Press your left thigh to the back of the room and lift the kneecap up as you press your right shin forward and bring the thigh to ~90 degrees.
- Reach your arms up to the sky and bring your palms together. Press the palms into one another as you energize the fingertips up.
- Pull the front ribs and frontal hip points together as you take your gaze towards your thumbs.
Supporting Pose 3: Extended Hand to Big Toe A (Utthita Hasta Padangusthasana A)
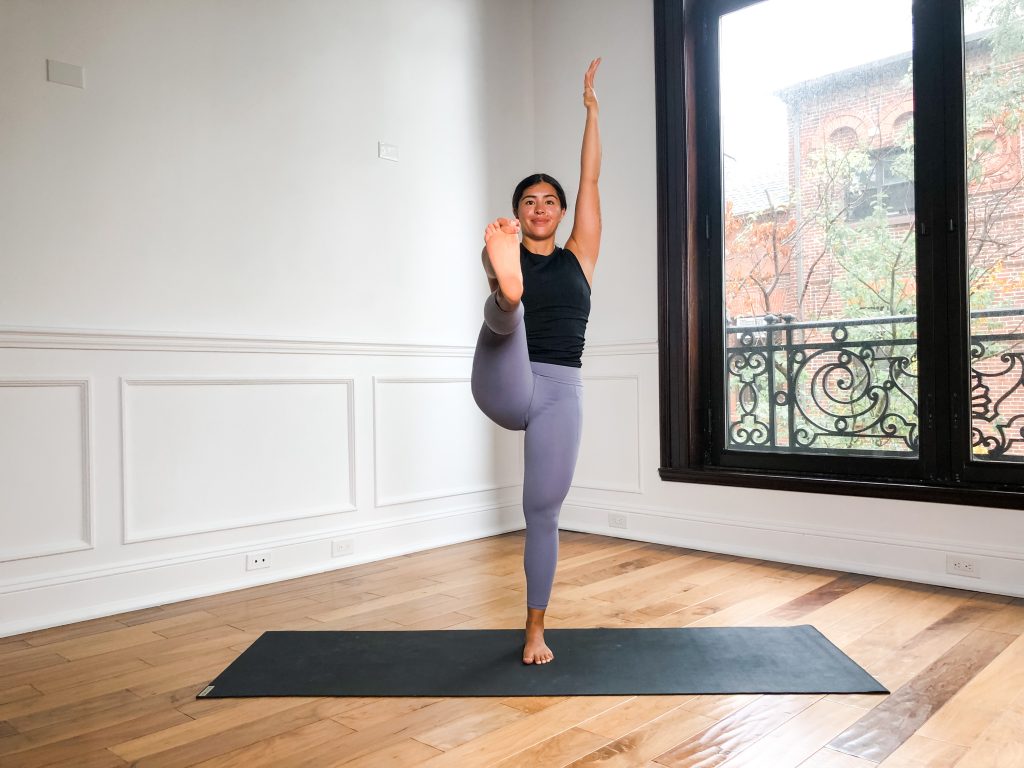
Like warrior I, this pose teaches the body how to straighten the arms and legs in the sagittal plane…very similar to handstand! This pose also gives the practitioner the ability to learn the action of pressing the foot forward into mid-air as if you were pressing the foot into stable ground.
How to:
- Start in mountain pose. Bring your right knee up towards your belly and bring your peace-sign fingers + thumb to wrap around your big toe. The elbow should thread along the inner knee as you make this connection.
- Press the left foot down and make the leg really clear and straight.
- Hug the right knee towards the right elbow while straightening the right leg (as much as you can manage) by pressing the sole of the foot forward and lifting the kneecap.
- Keep the heart above the pelvis, meaning don’t lean forwards or backwards in favor of straightening the leg. It’s important to keep the spine aligned even if there is a bend in the right leg.
- Reach the left arm up to the ceiling with the bicep alongside the ear. Energize your fingertips towards the ceiling and bring the left shoulder blade towards the spine to assist the upwards movement of the arm.
Handstand Against the Wall (Adho Mukha Vrksasana)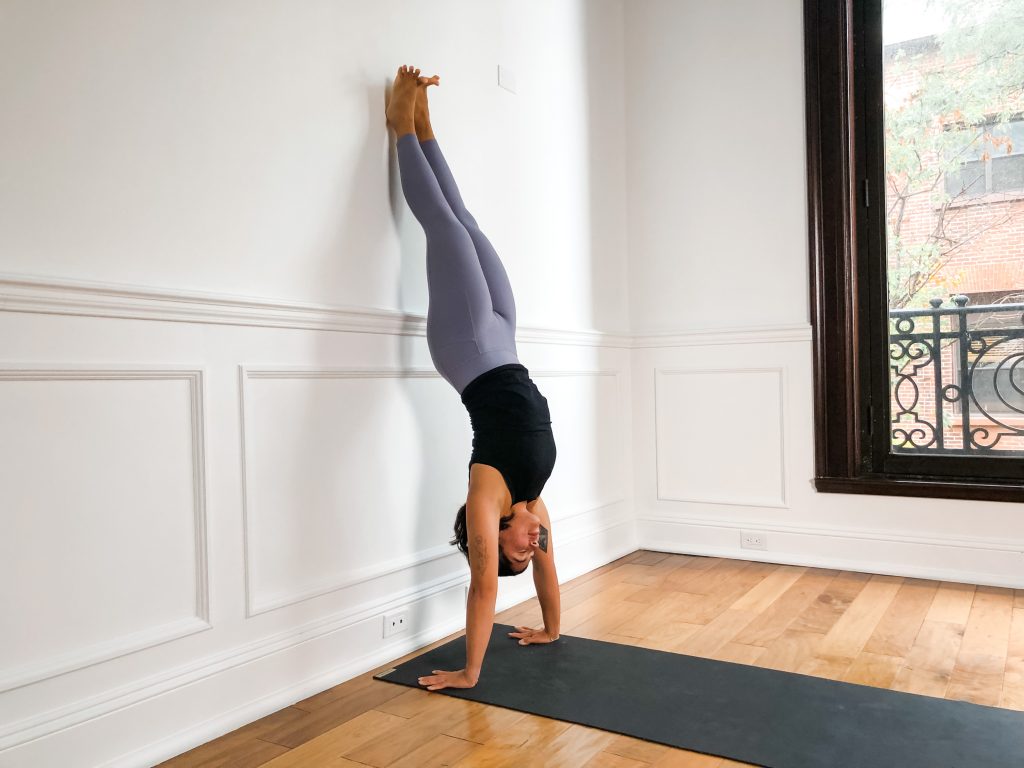
How to:
- Come into downward facing dog with your head towards a sturdy wall and your hands about 6-8 inches away from the baseboard/edge of the wall.
- Lift the kneecaps to tone the thighs and take a straight leg march to bring your feet halfway up your mat while maintaining the height of your pelvis. If the legs remain straight, the pelvis should actually go even higher compared to downward facing dog.
- When you’ve walked your feet in as much as you can and when you feel your pelvis is almost over your shoulders (or as close as you can manage), take one leg off the floor. Keep the leg clear, straight, and active. The arms should remain clear, straight, and active as well.
- Look between your thumbs as you bend the bottom leg in order to give a small kick to bring the pelvis over the shoulders and the top heel to the wall.
- Slowly bring the bottom heel to meet the top heel on the wall. Bring the legs together and spread the toes.
- Press your fingertips down into the ground as you scrub your heels up the wall.
- Let your head relax between the arms.