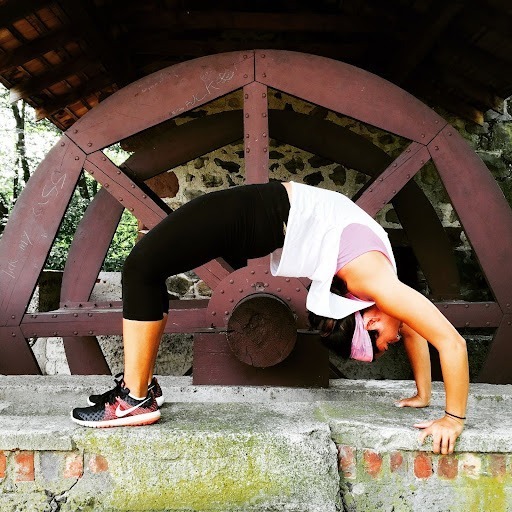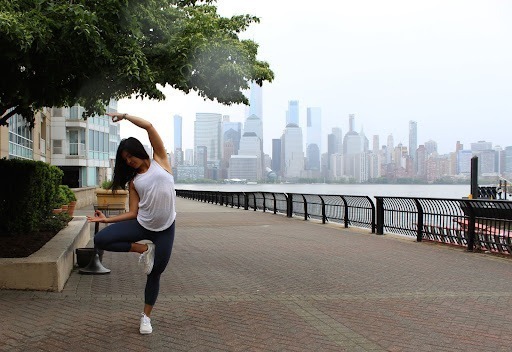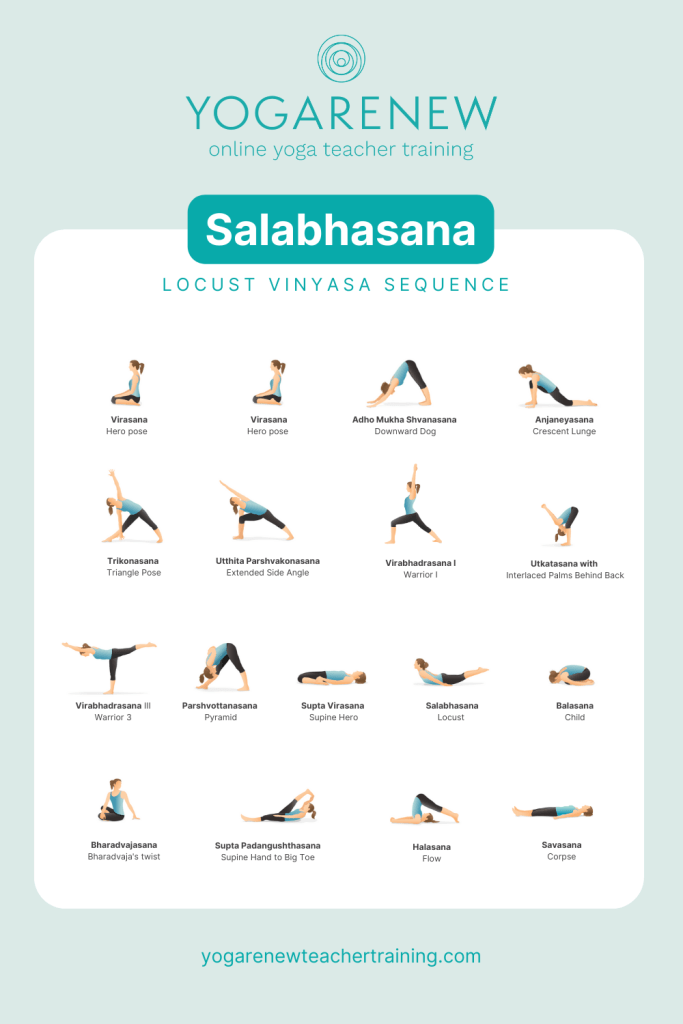
Salabhasana, aka Locust Pose, is a prone backbend meaning the pose is practiced lying flat on the belly. Generally speaking, backbends are energizing and uplifting. They tone and stretch the spine, shoulders, and upper back while opening the chest. Salabhasana is a great backbend to work on with beginners because it doesn’t require weight bearing on the hands and arms and there are multiple modifications available for practice.
A few of the essential actions in Salabhasana, which are the basic actions that are needed to perform the pose, include pressing the tailbone towards the floor and extending it towards the heels, lifting the inner thighs and stretching the legs, reaching the arms back and upwards, lengthening and lifting the abdomen, chest, and head. These actions are essential to maintain the integrity of the shape, but equally important when practicing this pose is to breathe deeply, relax the face and throat, and release unnecessary tension. This is the essence of Yoga Sutra 2.46 – Sthira Sukham Asanam – the pose should be a balance of effort and ease. Backbends, like Salabhasana, typically require a lot of physical effort to practice. With that effort could come strain, tension, or gripping. The work is to keep the effort while stripping away any undue gripping or tension that doesn’t assist the shape. Every pose has a different formula between effort and ease and when you find it there is a sense of peacefulness and equanimity that washes over the body and mind of the practitioner.
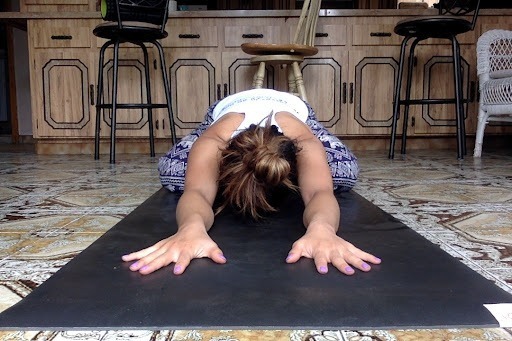
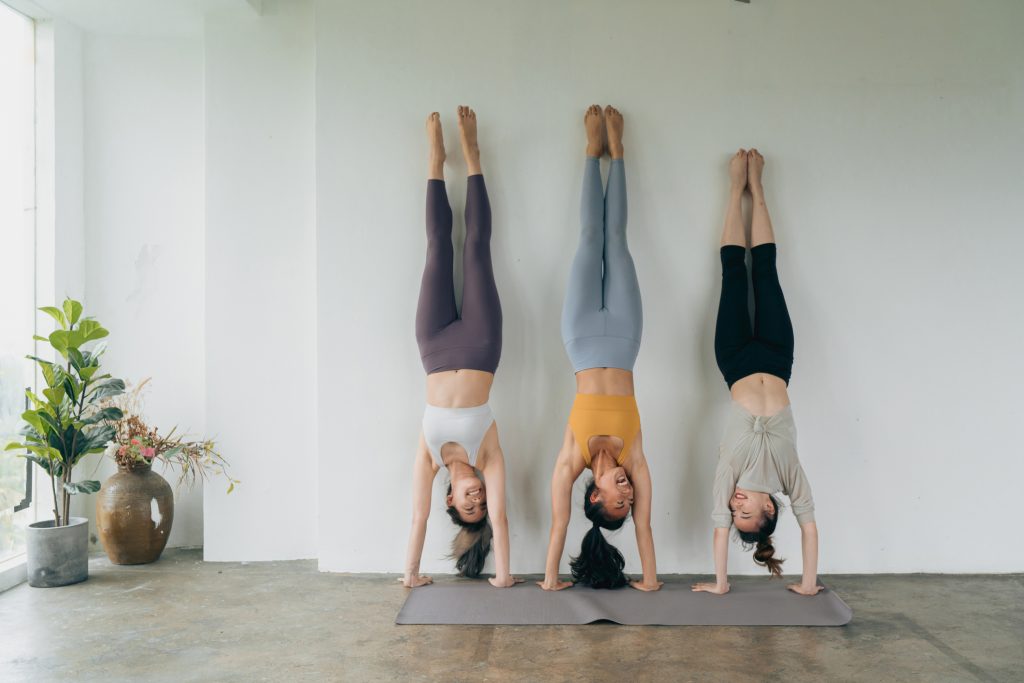
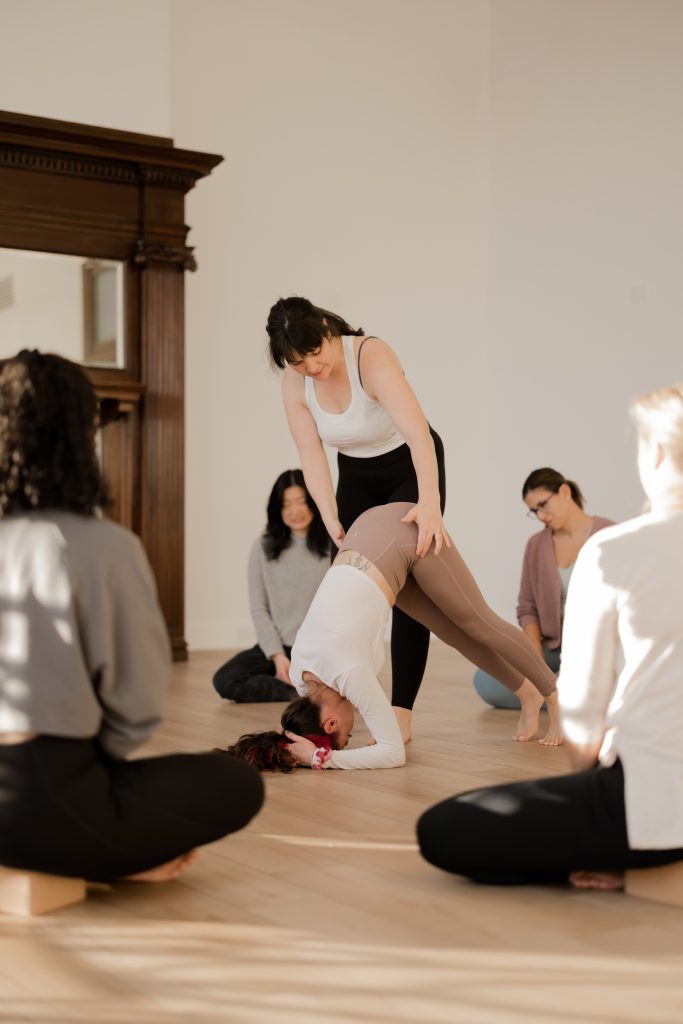
In this sequence, we start by preparing the body for backbends with poses that open the chest and back, increase shoulder mobility, and lengthen the psoas and fronts of the thighs. Standing Poses like Crescent Lunge, Warrior 1, and Warrior 3, shoulder openers like Parvartasana and Gomukhasana in Virasana, and psoas exercises are essential to this sequence in preparation for Salabhasana. We conclude with poses that help pacify the spine and quiet the mind leading us towards Savasana. Poses like Bharadvajasana, Child’s Pose, Supta Padangusthasana, and Halasana help wind us down.
We know that backbends are invigorating and exhilarating. Having a proper wind down after practicing backbends will ensure that our mind and body move from a Rajasic (active) state to a Sattvic (harmonious) state. After taking class you should feel vibrant and light.
Give it a try and let us know how it goes! To catch a few video clips of this sequence in action follow @patrickfrancojr and @yogarenewteachertraining on Instagram.
And, if you want more in-depth vinyasa sequences like this along with teaching notes + tips on how to cue them, enter your email below to grab our FREE guide:
Puttering/Warm-Up:
- Virasana w/ Parvatasana
- Virasana w/ Gomukhasana Arms
- Downward Dog
- Crescent Lunge
Sun Salutations:
- 3-4 Rounds
Standing Poses:
- Trikonasana
- Extended Side Angle
- Warrior 1
- Utkatasana with Interlaced Palms Behind Back
- Prasarita Padottanasana C
Balance Pose:
- Warrior 3
Twist Pose:
- Revolved Triangle
Prep Pose:
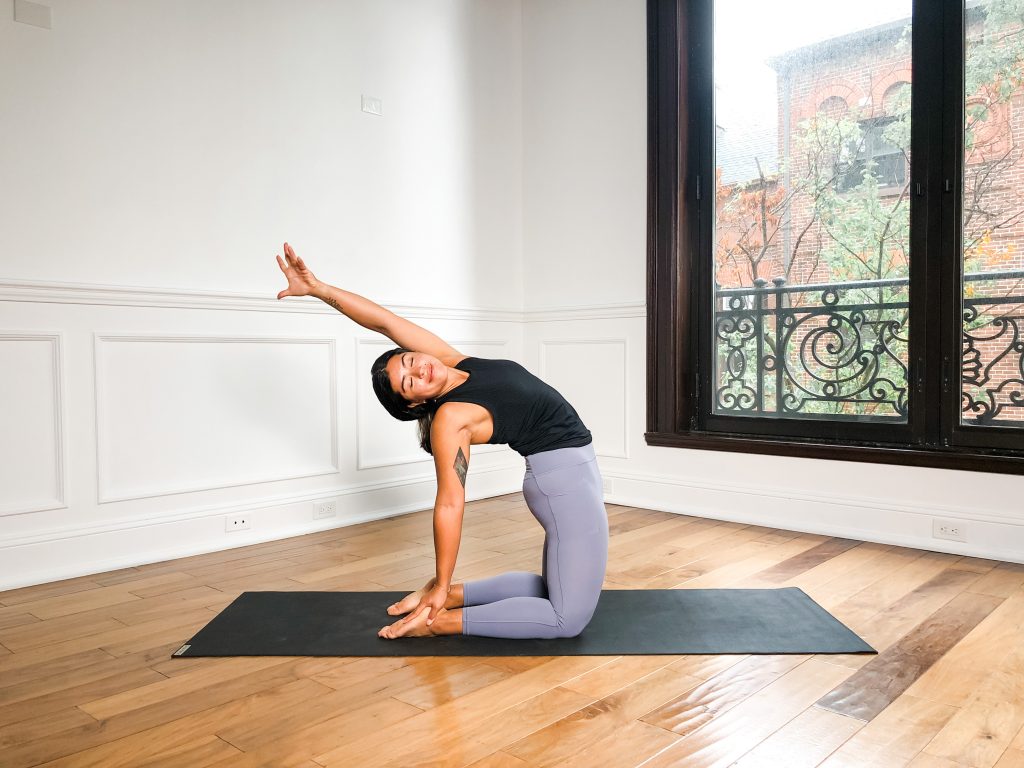
- Supta Virasana
Peak Pose:
- Salabhasana
Seated Poses:
- Child’s Pose
- Bharadvajasana
Wind Down Poses:
- Supta Padangusthasana
- Halasana
Savasana
Don't miss a beat! Sign up for our weekly newsletter.
Related Courses
Online Yoga Teacher Training Courses
YogaRenew’s leading certification programs are fully online, self-paced and registered with Yoga Alliance. Our online yoga teacher training programs have helped thousands of yogis across the globe realize their dream of becoming a yoga teacher.
Vinyasa Yoga Sequencing Lab
The Vinyasa Sequencing Lab is YogaRenew’s signature program where you’ll learn exactly how to easily create vinyasa yoga class sequences for every single class you teach — so you will feel confident about consistently teaching fun & inspiring vinyasa classes!