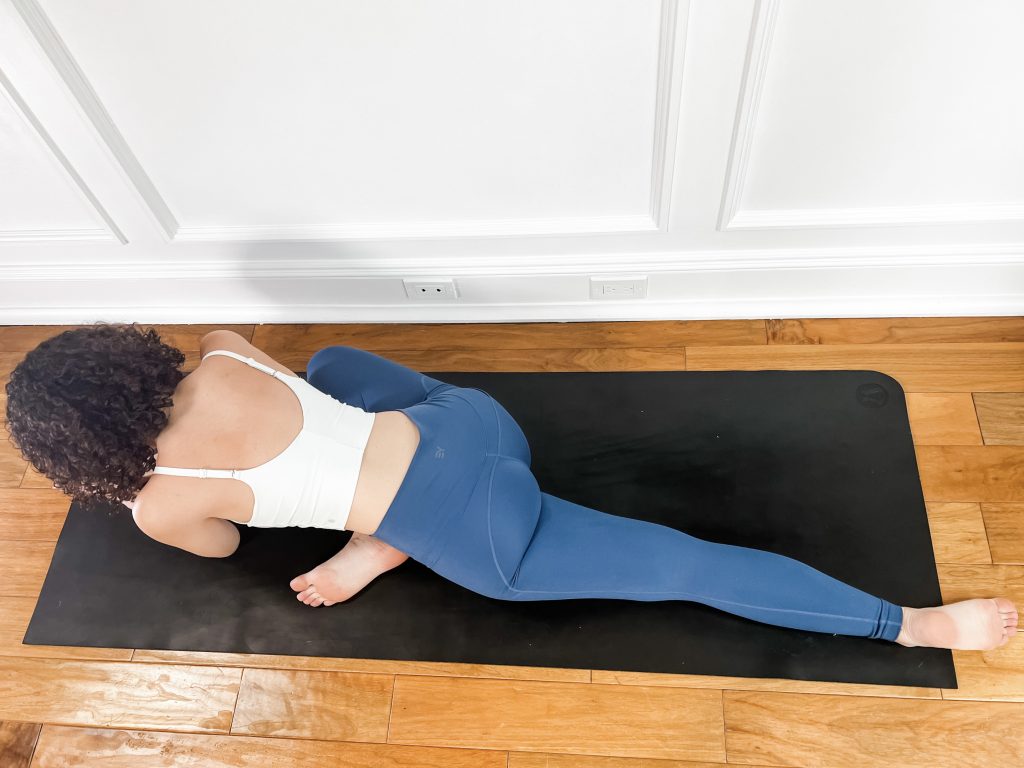
Peak Pose: Pigeon Pose | Class Theme: Self-Acceptance
Self-acceptance occurs when we can let go of negative judgements we have about ourselves and learn to accept ourselves as we are; by letting go of heavy energy that comes with judging ourselves, we can see ourselves through the eyes of love. Negative self-talk can hold us back emotionally and it can make us afraid to try new things and destroys our confidence. This is why it’s important to learn and study self-acceptance in different ways.
It is an important practice through which we can change our inner dialogue from negative to positive. By releasing the burden of self-judgement, we free ourselves both emotionally and spiritually. Self-acceptance also helps us connect with ourselves more deeply and better understand our inner thoughts so that we can view them from an objective perspective. A great way to practice this daily is to affirm positive mantras about yourself. You can also take time to reflect on things that you love about yourself daily.
Pigeon Pose is one of the most vulnerable poses in a yoga practice. It’s a highly emotional pose because we store a lot of our emotional trauma and daily stress in our hips, and pigeon is a deep, hip-opening pose. As we learn to accept ourselves as we are, we face a lot of painful moments that may have steered us in the opposite direction at some point in our lives, moving away from self-love and acceptance. A yoga practice can be such a safe space to face painful or stressful points and a lot of people enjoy moving to pigeon pose because it allows them to be fully immersed in their bodies and meet the parts of them that feel judgmental and tough to face.
Poses that help prep for Pigeon Pose
1. Figure Four Chair Pose
How to:
1. Begin in Mountain Pose.
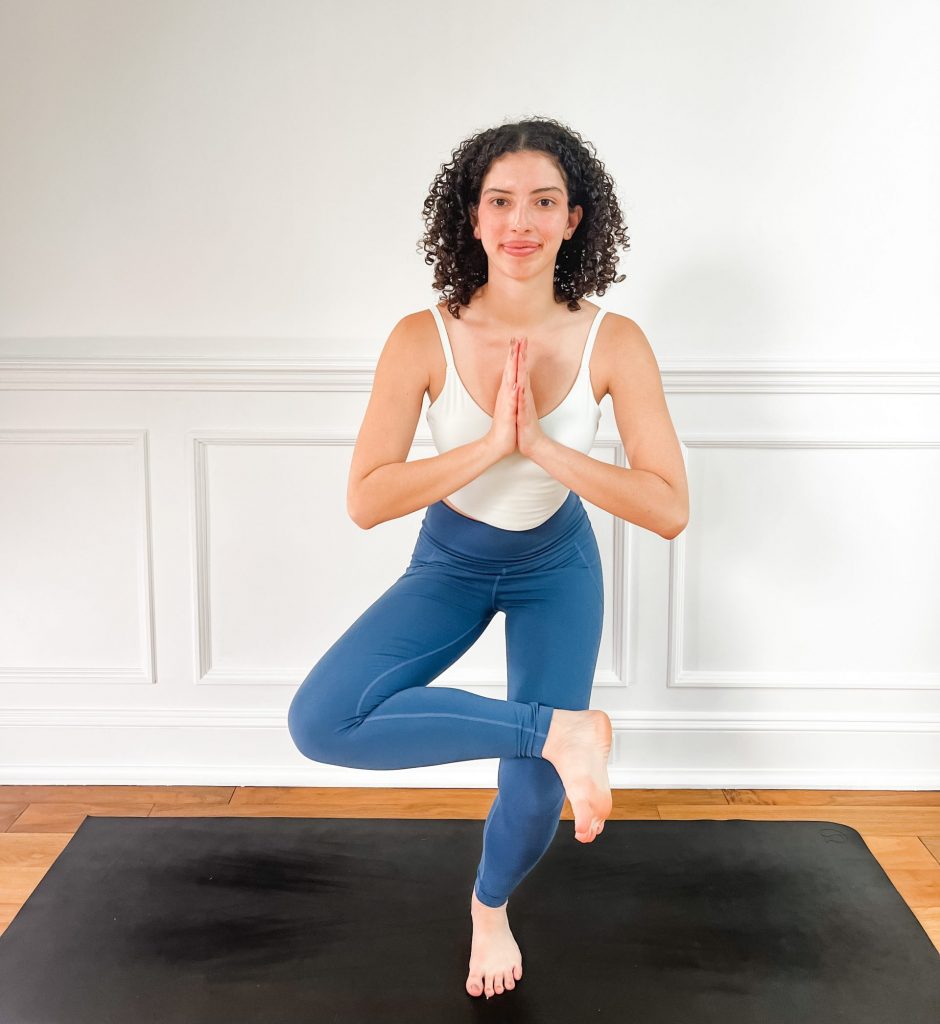
2. Lift one leg to table top position while keeping one foot/leg planted on the ground.
3. Cross your ankle of your lifted leg onto your opposite knee.
4. Use your hand to adjust your crossed leg accordingly. (You should be in somewhat of a figure four shape now with your legs.)
5. Shift your weight back and sit as if there is a chair underneath you.
6. Keep your chest lifted as you sit deeper into the pose.
7. Bring your hands to heart center.
2. Lizard Lunge
How to:
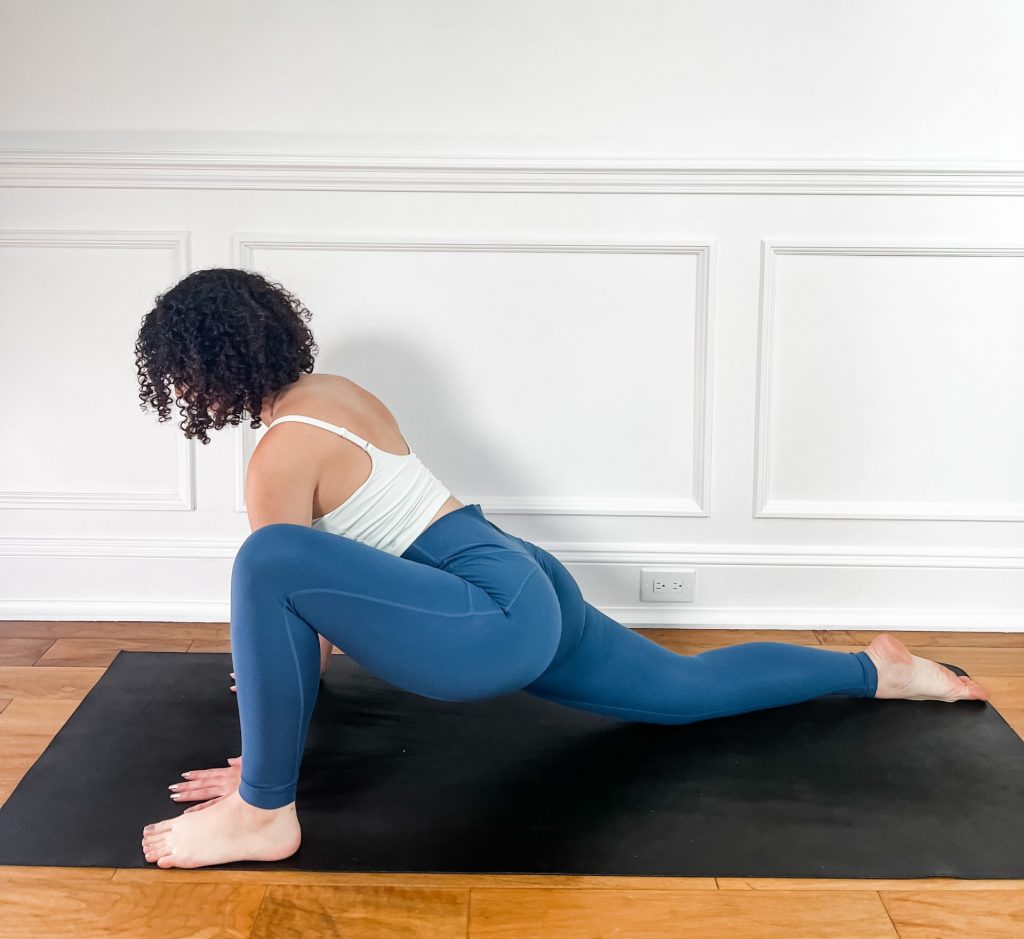
1. Begin in Plank Pose. Step your right foot forward in between your hands.
2. Align your front knee with your front ankle.
3. Come up onto the ball of your left foot and push slightly forward. If you are new to the pose or working on hip flexibility, keep your left knee back down on the mat.
4. Bring both of your hands on the inside of your right foot and begin to move your right foot closer to the edge of the right side of your mat.
5. Engage and activate your core and back leg muscles to keep you balanced.
6. To deepen the pose, you can opt to come down on your forearms.
7. Stay here for several breaths. Release out of the pose gently and switch sides.
3. Crescent Lunge
How to:
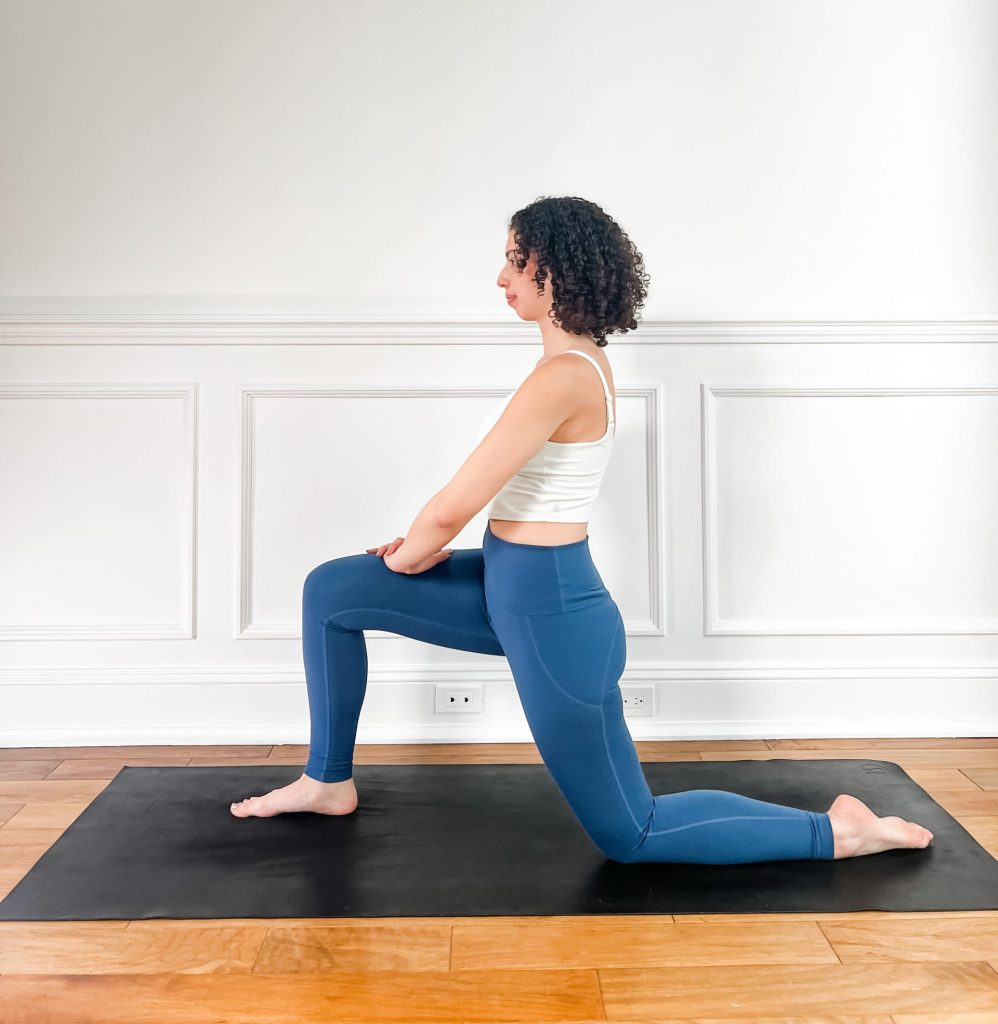
1. Starting in a tabletop position, plant your right foot forward in between your hands.
2. Align your right knee over the ankle. Students who are not as flexible or beginners may have their front knee slightly behind their ankle. This is okay as long as their front knee doesn’t go over the toes or ankles to protect the knee from injury.
3. Inhale and bring your hands to the top of your right thigh. Opt to bring your hands to heart center in a prayer position at your chest. Another option is to sweep your arms overhead and draw the shoulders away from the ears.
4. Keep your palms facing each other or together to touch.
5. Tuck your tailbone down towards the mat and allow your gaze to come either in front of you or if hands are overhead, towards the fingertips.
6. As you inhale, lengthen up through your crown and as you exhale, deepen the stretch.
How to get into the peak pose:
1.Begin in Downward Facing Dog or a tabletop position.
2. Bring the right foot in and place it down on the mat behind the left wrist.
3. Adjust your shin so that it is comfortable for you. The more parallel your shin is to the front edge of the mat, the deeper the stretch will be. You can gently adjust your shin with your hands to make it more comfortable.
3. Extend the left leg back on the mat with the top of the left foot resting on the mat.
4. Come up onto your fingertips and walk the torso slightly up with the chest lifting and broadening.
5. Draw the shoulder blades down the back and lengthen the tailbone down to the mat.
6. Stay here or to deepen the pose, begin to fold towards the mat keeping the spine lengthened. Come onto your forearms or rest your head on your palms. To further deepen the stretch, bring the forehead all the way down to the mat and extend the arms out in front of you with palms facing down.
7. Take several breaths here. As you inhale, lengthen up through the spine and crown of the head and as you exhale, gently deepen into the stretch more.
8. To come out of the pose, gently walk the hands and chest back up. Lift the right leg up and back slowly coming back into Downward Facing Dog.
Check out this full class leading to Pigeon Pose:
Join our mailing list for incredible weekly content!
