When I think of relaxation, I often think of sitting on the couch throwing my feet up on a footrest or going for a long massage. Relaxation can totally mean these things, and people may use these activities to relax, but what exactly is relaxation?
True relaxation occurs when there is a total calming of the nervous system. Our nervous system is the part of our body which includes our brain, spinal cord, and nerves. It controls all of our functions by sending messages from the brain and spinal cord to the rest of the body, like your limbs and organs, whether they are conscious (by our control) or unconscious (automatic). When our nervous system is calm, there is a message which goes from the brain saying “we are safe to relax” to the rest of the body, which regulates our blood flow, digestion, and overall stress response.
On the flip side, if your nervous system is jacked up because you’re thinking about the disagreement you had with your supervisor right before you left work, for example, your brain will most likely be sending a different type of message to the rest of the body. It doesn’t matter how long of a massage you get. If your nervous system is fired up, it will be hard to truly relax no matter the circumstances.
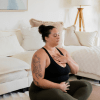
The truth is, if we can learn to calm our nervous system we can be relaxed any time we choose. We don’t have to wait till our bums hit the couch or until we make that next spa appointment. We can be relaxed right here and right now through practices which allow us to come back to ourselves and live with non-attachment. Practices such as mindfulness, meditation, journaling, and talk therapy are all ways in which to become more relaxed.
In terms of asana, there are poses which are very intentional in calming and regulating our nervous system. In the Iyengar method, headstand and shoulder stand are traditionally practiced at the end of the asana practice because it prepares the body for full surrender by reversing blood flow back towards the heart which is a signal that it’s time to relax.
Supporting Pose #1: Mountain Pose (Tadasana)

Mountain pose is the blueprint for all other asanas and when taught intentionally can inform your students’ bodies with knowledge for the peak pose. In headstand we are looking to get vertical and so it would be wise to get vertical on the feet before doing it on the head!
How to:
- Stand with your feet either hip width apart or together. Since headstand is the peak pose, feet together might be a better option.
- Lift and spread the toes and lift the kneecaps up so the legs can be straight and clear.
- Take the arms by your side with your middle finger in line with the center of your thigh.
- Align the torso by firming the sacrum forward, firming the front ribs in, and widening the corners of the chest.
- Bring the head into neutral by slightly lifting the back of the skull.
Supporting Pose #2: Downward Facing Dog (Adho Mukha Svanasana)
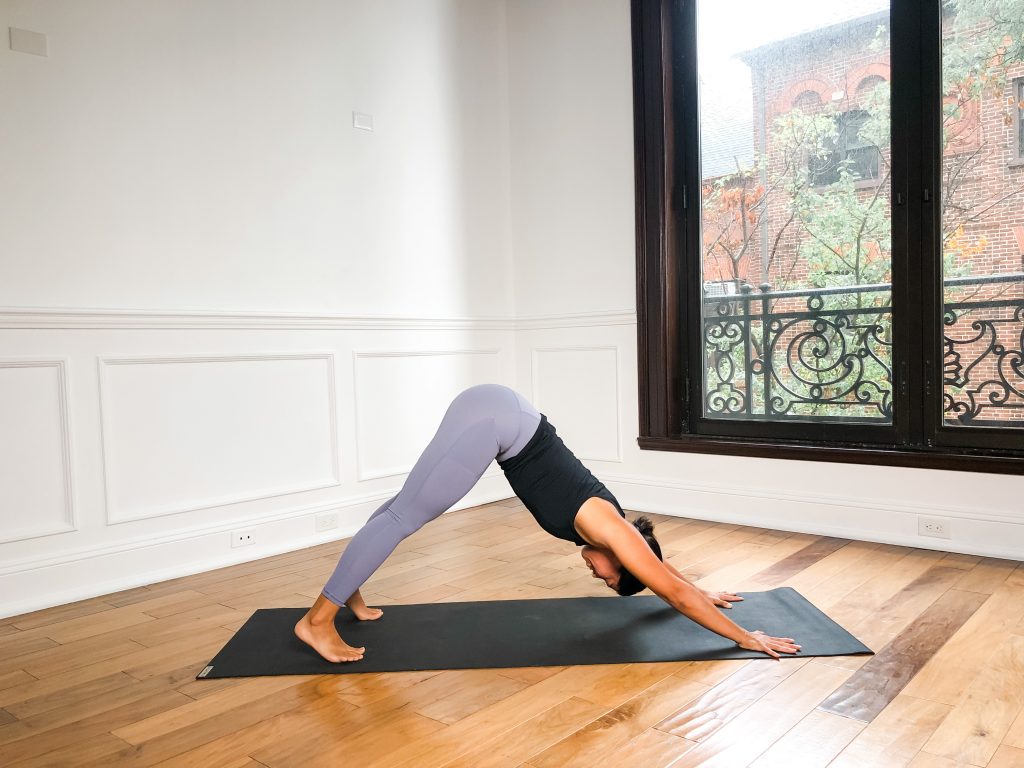
How to:
- From a tabletop position, walk your hands forward one hand print and walk your knees back a touch. Tuck your toes and lift your hips towards the sky.
- Straighten your arms as you lengthen your spin, firm the upper back in, and allow the head to drop between your biceps.
- Try to deepen the frontal hip pockets by lifting the sit bones up as you press your thighs back and lift the kneecaps to straighten your legs and drop the heels any amount.
- If you need, you can widen your hands and feet and it might feel good to keep the heels elevated off the floor.
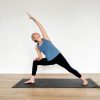
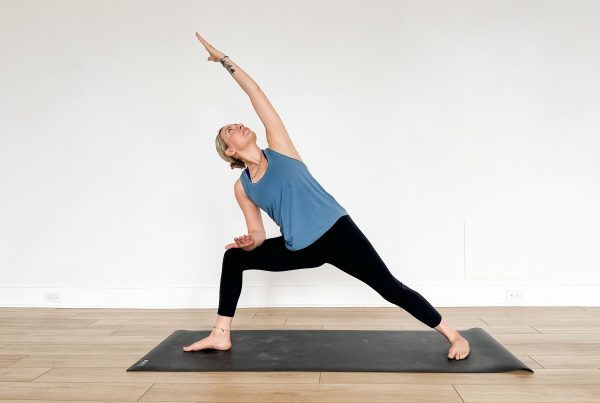
Supporting Pose #3: Wide Legged Forward Fold (Prasarita Padottanasana)

How to:
- Turn towards a side wall and widen your feet towards the front and back edges of the mat with the feet parallel to one another or slightly turned in. This is to encourage the inward spiral of the legs.
- Take your hands to your hips and lengthen your spine as your fold between your legs.
- Use your legs to fold, so lift and spread your toes, lift the kneecaps, press the roots of your thighs back as you lift the sit bones to allow the crown of the head to go down towards the floor.
- Bring your palms to the ground and walk them back so they are in line with your feet. Attempt to get the fingers in line with the arches of the feet. Keep the fingers and toes going in the same direction.
- Slightly tuck the chin and pull the crown of the head to the ground. Once the head is on the ground (you can use a block or blanket if the head doesn’t touch the floor), firm the upper back in to create integrity through the upper back and chest.
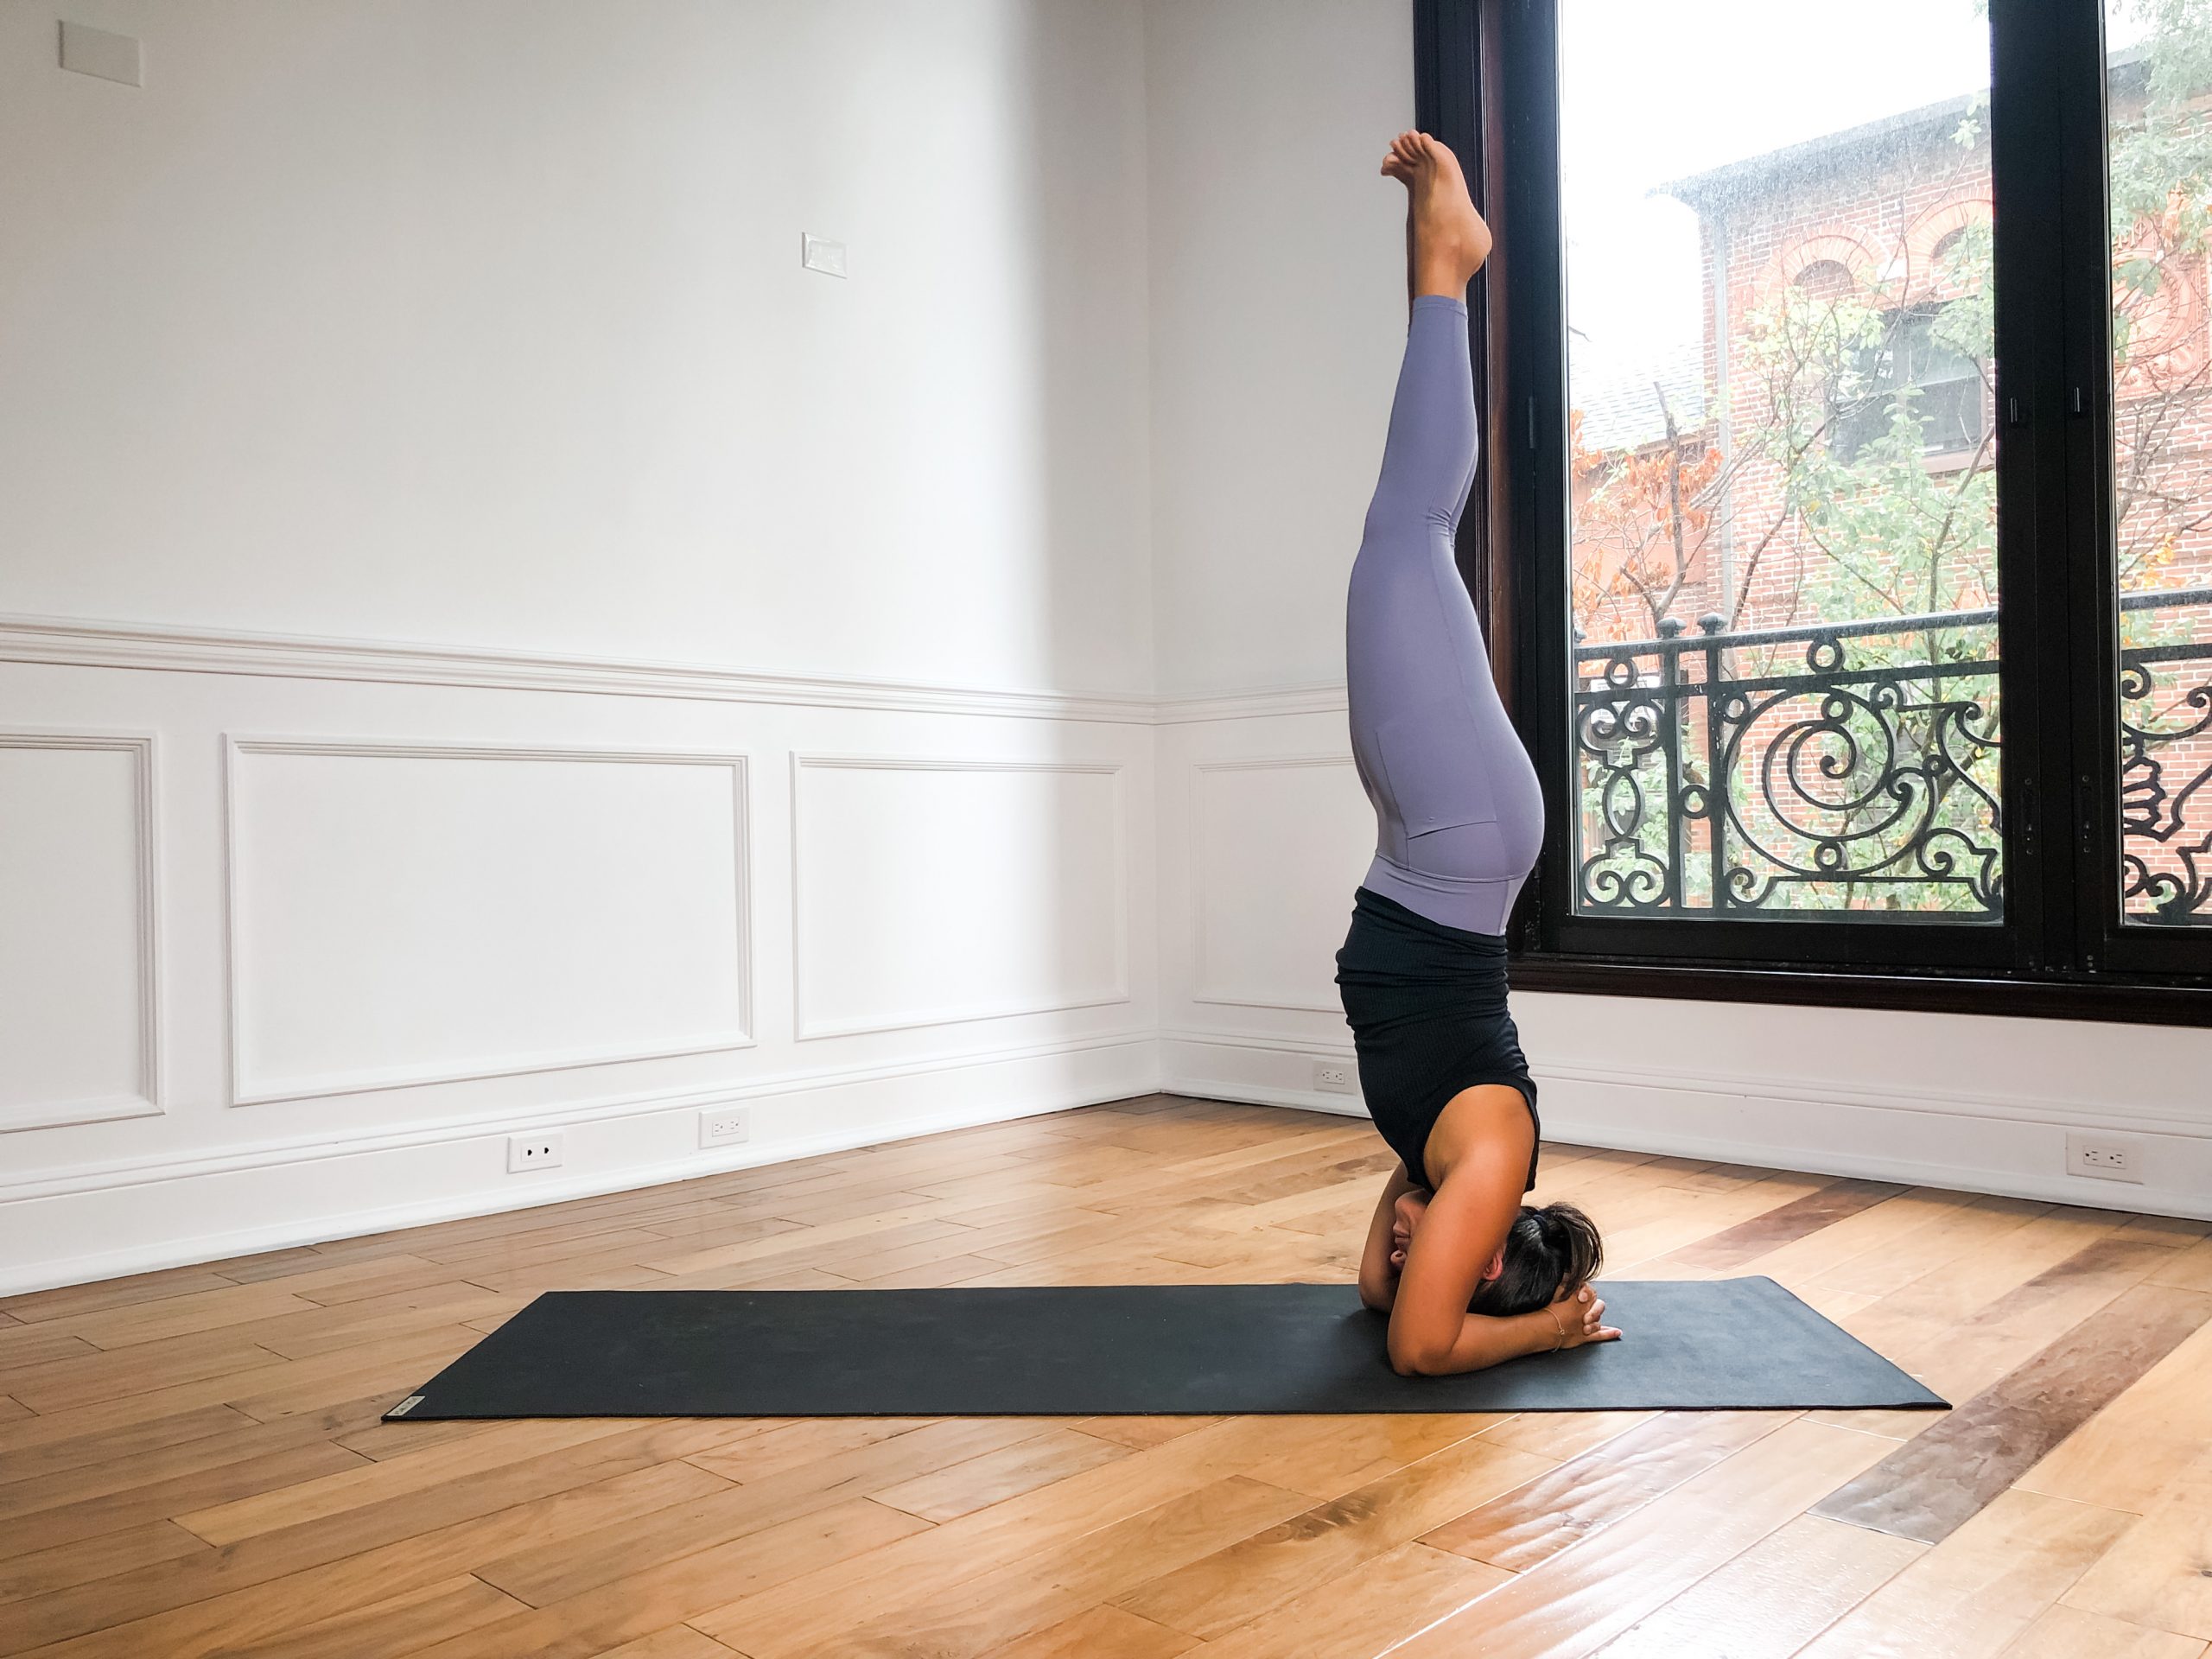
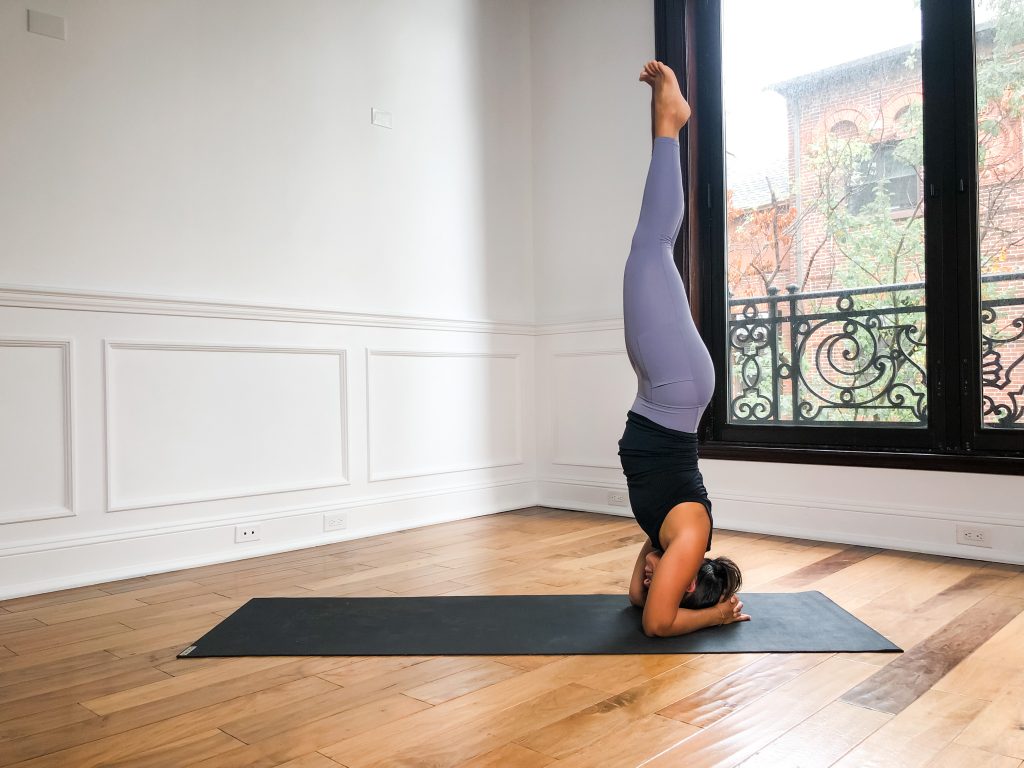
Peak Pose: Headstand (Sirsasana A)
How to:
- From tabletop, bring your forearms to the ground and interlace your fingers so that your arms and hands are making a triangle base. You can release the pinky fingers forward so they are not getting smushed.
- Nestle the crown of your head to the floor with the heels of your hands against the back of your skull. This is in opposition to having the palms of your hands flat against the back of your skull in an open interlace position.
- Press the crown of the head into the floor to lengthen the neck and firm the upper back in to create integrity through the upper back and chest.
- Tuck the toes and lift the knees and hips.
- Straighten the legs by lifting and spreading the toes, lift the kneecaps, and press the roots of the thighs back.
- Attempt to keep the legs straight as you take a straight leg march in to bring the feet towards the elbows. As the feet come closer to the elbows, keep firming the upper back in so the back does not excessively round.
- Once the hips are at their highest point, take one straight leg to the sky (be sure to keep your legs firm), shift the hips over the chest and float the other leg up to meet the top leg.
- Bring the feet together, keep the legs firm and upper back firm as you press the balls of the feet towards the ceiling.
- Stay for ~2 minutes and slowly split the legs to take one foot gently down followed by the other. Rest in child’s pose and then come to supported bridge to lengthen the back of the neck.