Lokah Samastah Sukhino Bhavantu
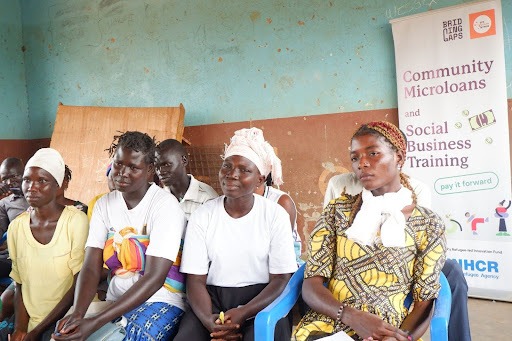
As a yoga student, teacher-in-training, and someone passionate about service, I have found alignment between my personal practice and my professional mission. In my day job, I’m the founder and CEO of Bridging Gaps, a nonprofit that supports refugees and people from marginalized communities to build their own livelihoods through social entrepreneurship, long-term mentorship, and our signature pay-it-forward microloans. It’s beautiful, challenging, sometimes chaotic, and deeply human work—filled with constant movement, from projects and events to travel, meetings, and grant applications. So when I finally carved out the space to begin my Yoga Teacher Training, I knew it had to be something flexible, supportive, and aligned with my values.
That’s how I found YogaRenew—and I’m so glad I did.
Being able to do my YTT online and at my own pace has been a gift. It has allowed me to deepen not just my knowledge of yoga, but also my personal practice, in a way that fits into the rhythm of my life. I’m currently doing both the YTT and the Yin Yoga Certification Program, and it has been a wonderful and grounding experience.
 One of the many things that deeply resonated with me is the exploration of yoga philosophy, especially karma yoga. In Mark Stephens’ Teaching Yoga, he defines karma yoga as “the yoga of service,” literally translated as the path of “union through action.” He writes that it involves acting without consideration of desire or selfish need—and that idea really stayed with me. Years ago, I spent time at a yoga retreat where karma yoga meant helping in the kitchen or sweeping floors. Today, learning more about it, I expanded my definition of it to bringing microfinance to refugee settlements, co-creating community-based programs, and holding space for others to lead.
I see the work we do at Bridging Gaps as an expression of karma yoga—work done not for personal gain, but out of deep care, compassion, and solidarity. And now, yoga is becoming an even more intentional part of that work.
I see the work we do at Bridging Gaps as an expression of karma yoga—work done not for personal gain, but out of deep care, compassion, and solidarity. And now, yoga is becoming an even more intentional part of that work.
As we gear up for International Day of Yoga 2025, I’m incredibly excited to share a new initiative a group of Bridging Gaps Fundraising Fellows has launched, called Bridging Hearts and Minds, which will run through June.
This global campaign brings together yoga, mental health, and social impact. The funds raised will support our first-ever yoga session in the Bidibidi Refugee Settlement in Uganda, where my co-founder Malish is based. It’s the beginning of a vision to make yoga more accessible in underserved communities—especially those recovering from conflict and displacement. And for those who feel a connection with the practice, we will offer microloans to help them begin their own journeys as yoga teachers, sharing yoga with their wider communities in ways that are rooted in local context and culture.
If you’d like to be part of this movement, we invite you to:
- Offer a donation-based yoga or meditation session in support of the campaign
- Share our initiative within your network
- Take part in our online sessions and workshops
- Sponsor a yoga teacher trainee in Bidibidi Refugee Settlement
- Or simply connect with us, exchange ideas, and send positive energy
To me, yoga is many things—movement, mindfulness, devotion, community. It’s about connecting with our bodies and calming our minds, but also about connecting with each other and the world around us. And in today’s uncertain, often overwhelming times, we need that connection more than ever.
That’s why I’m so grateful to be part of the YogaRenew community. This journey has already brought so much clarity and grounding—and I’m even more inspired to bring these tools into my daily life and the mission I hold close to my heart.

— Written by guest author and CEO of Bridging Gaps, Janina Peter
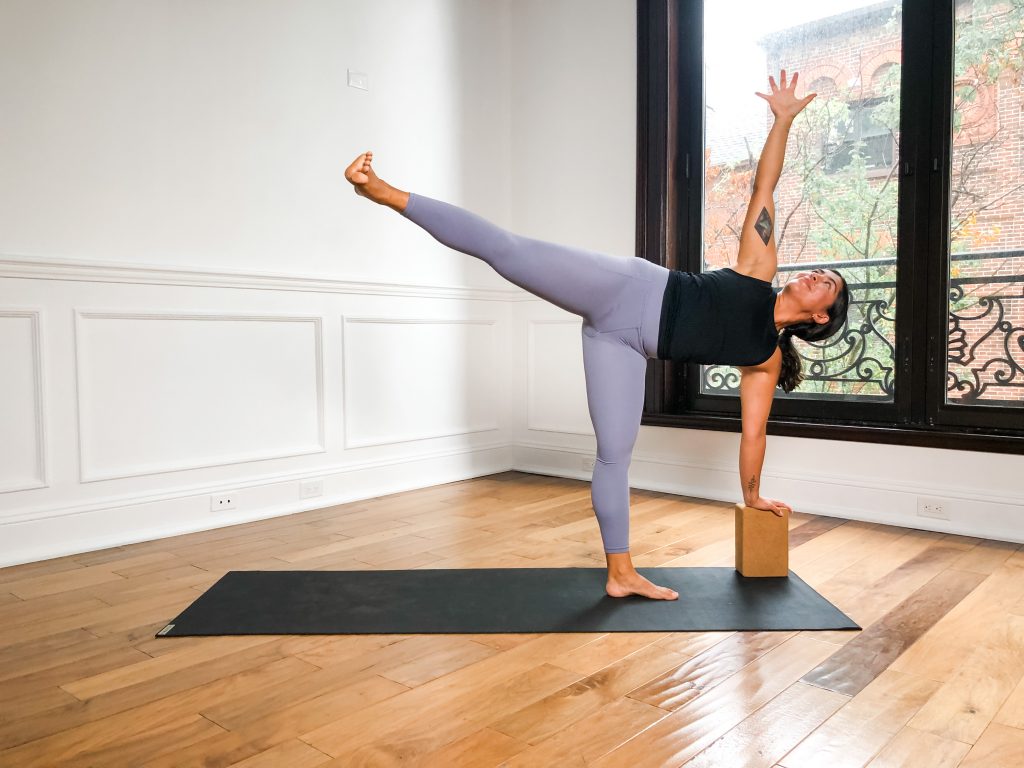
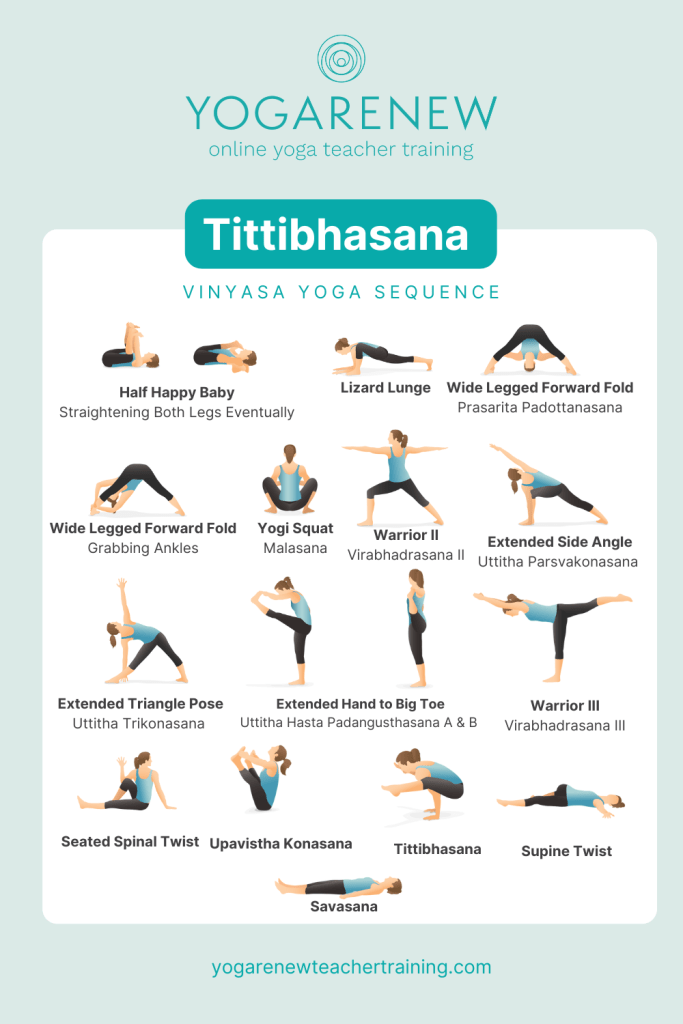
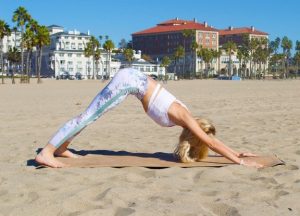 This pose is very popular in yoga sequences, especially in vinyasa yoga. The benefits of
 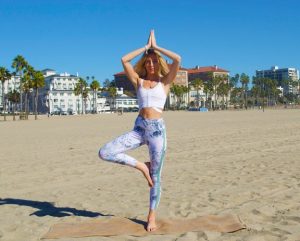 I don’t know about you but something about being by the ocean provides peacefulness and balance to my body and soul; why not practice a pose that embodies that? Benefits of this pose include stretching the thighs, core and shoulders while strengthening the spine, thighs and calves.
 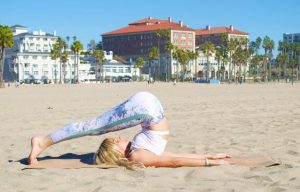 This pose is excellent at reducing back pain and stress, calming the mind and stretching the spine and shoulders. To get into
 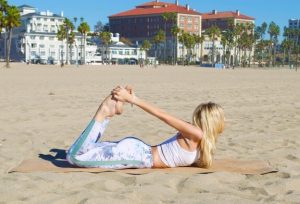 Take a deep breath and say goodbye to any tension. Being by laying on your stomach with your arms extend by your sides with your palms up. Take a deep exhale and reach for your heels with your hands while bending your knees. Hold onto your feet while trying to lift your thighs slightly off the mat and gaze forward. Keep in mind that it might be harder to breathe in
 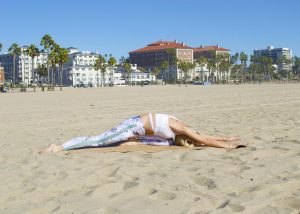 This pose is wonderful at lengthening the hip flexors, preparing the body for backbend poses as well as opening the hip joint and reducing stress and anxiety. Begin in seated position with your feet tucked under your glutes. Extend your right leg back on the mat while keeping your left leg bent in front of you. Take a deep inhale and as you exhale, release your body onto your front leg and extend your arms on the mat in front of you. Try to bring your forehand to touch the mat and close your eyes. Take a few deep breaths, allowing your body to sink even deeper into the pose with every exhale. To exit
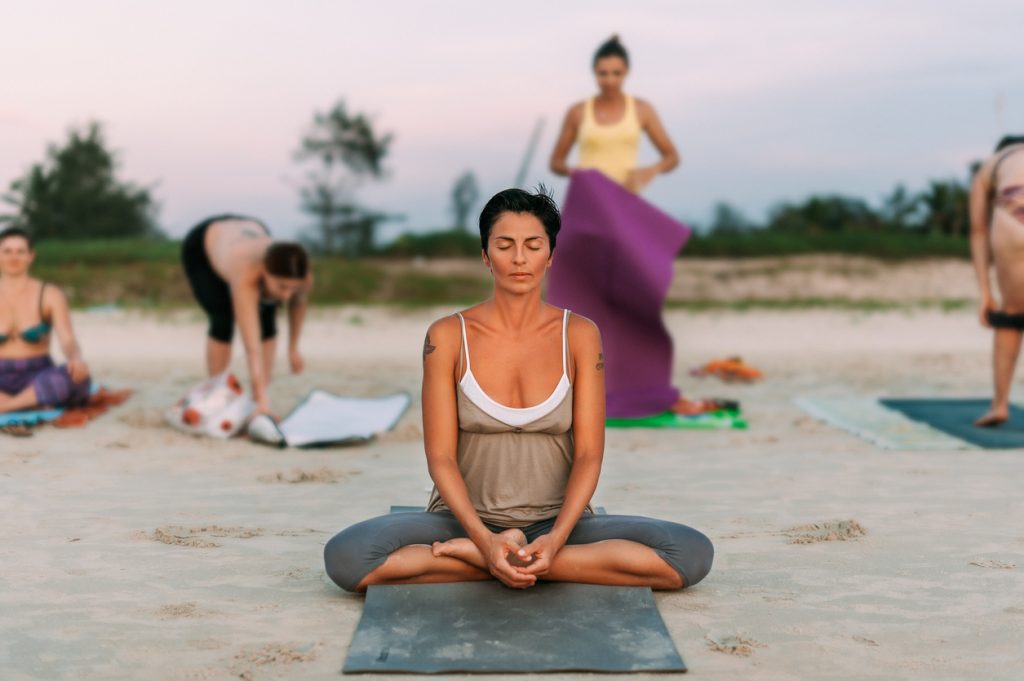
 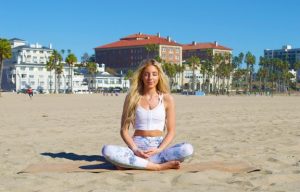 Now, let’s take a moment to sit still and breathe in
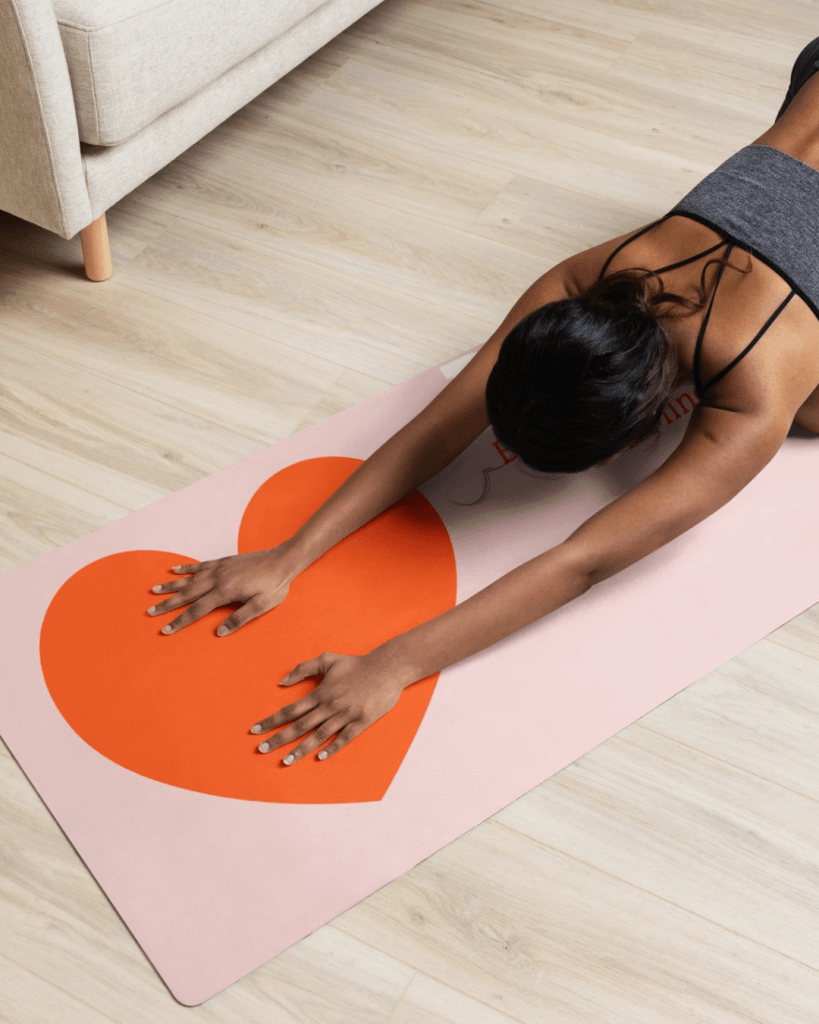
 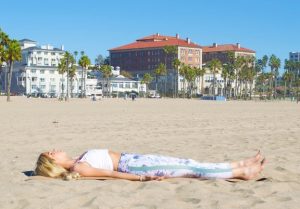 This posture will help you relax even more after getting out of Easy pose. Lay down on your mat or the sand with your legs extended in front of you and your arms by your sides with your palms facing up towards the sky. Close your eyes and bring your awareness to your breath once again but this time, don’t force deep inhalations or exhalations; instead, breathe naturally and simply bring your attention to your breathe. Allow the soothing sounds around you to increase your sense of mindfulness and purpose. The benefits of this asana are endless, a few of which are body awareness, stress reduction, better sleep quality and deep mind relaxation. This asana can be held for anywhere from 5 minutes to an hour and it might just end up in a wonderful nap in the sun.