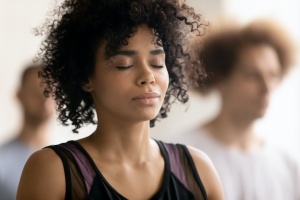
Mindfulness is a term that is often brought up but… what does it really mean? Mindfulness refers to a state of awareness of the present moment and it arises from paying close attention to current experiences without judgement. Daily mindfulness practices can of course be done with meditation which is the ultimate way to slow down, become aware, regulate emotions and thoughts, and relieve stress.
Why Is Daily Mindfulness Practices Important
 Mindfulness, however, does not necessarily require a meditation practice which is good news if you have a busy schedule and do not have time to set aside to meditate. Let’s explore some simple yet effective ways that you can do daily mindfulness practices.
1. Being Mindful During Conversations
Have you ever had a conversation with someone and while they are speaking, finding your thoughts drifting elsewhere? How about glancing at your phone while talking to someone or even worse, scrolling through social media or texting during a conversation? Sometimes it’s not a matter of disrespect and maybe instead it’s due to the fact that our minds are racing, we’re distracted, and not aware of the present moment. If you find yourself distracted and distant in conversations, practice mindfulness by maintaining eye contact and turning off your phone or keep it far away from you. Additionally, when the other person is speaking, listen to their tone of voice and the context of the conversation carefully and reply accordingly. This might seem like an unnecessary step but often times, people aren’t truly listening and instead they are constructing what they are planning on saying next. Truly listening, with judgment, and adding value with your response instead of a random statement is a wonderful way to practice mindfulness.
2. Being Mindful During Exercise/Yoga
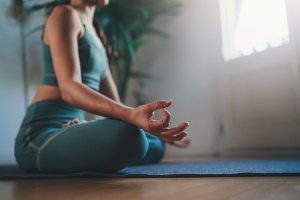
This same concept applies to exercising and doing yoga; is your mind elsewhere during this time? Practicing a mind-body connection during a work out actually makes the exercises more effective. For instance, while you are lifting weights, if you focus on how your muscles feel as well as your breathing instead of a random thought, you will be able to lift more weights. Bringing your awareness to your body during strenuous activities allows your body to perform at its best by engaging your muscles to their fullest ability. If you find this difficult, try working out without headphones and simply focusing on deep inhales and exhales while exercising and bringing your attention to how your body feels. Practicing mindfulness on the mat might seem intuitive but you might be thinking about an array of different things while doing yoga without even noticing it. Shifting your attention to your breath and the alignment of your body during yoga allows you to receive the full benefits while immersing yourself in the present moment and connecting with yourself on a spiritual level.
3. Being Mindful While Eating
How long does it take you on average to eat a meal; 30 minutes, 1 hour? Many of us are eager to sit down and eat when we’re hungry and often times, we don’t even chew our food appropriately let alone consciously enjoy every bite. By eating slowly and chewing thorouhgly, we are able to enjoy the flavors of our food far more than when we rush to empty our plate. One way to practice this is by eating 3-5 small meals throughout the day so that you have an appetite before eating, but you are not starving and you can control the speed at which you are consuming the meal. Apart from how fast we eat, mindful eating also has to do with what we eat. Cooking is a wonderful way to incorporate mindfulness into our lives because we are aware of each and every ingredient that is going into our body. Being vegetarian or vegan is also something to potentially consider in the context of mindful eating because of multiple health benefits and the effects on animal welfare and the environment.
4. Being Mindful While Breathing
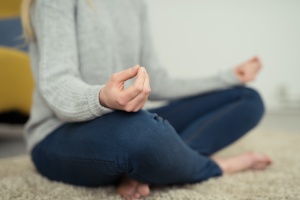 Practicing mindful breathing is simple in theory but not that simple in practice. Breathing is an ongoing and automatic function of the body that we usually don’t put too much thought into. By bringing our awareness to every inhale and exhale, our breathing becomes more conscious rather than passive. The idea is to simply observe the breath without necessarily altering it. By shifting attention to the breath, especially during stressful or overwhelming moments, you will feel more relaxed, collected, and calm. Another way to practice mindfulness while breathing is by taking a deep inhale, holding your breath for a few seconds and then releasing any tension through a deep exhale. Repeat this as many times as needed in order to relieve stress. The beauty of mindful breathing is that it turns a reflexive behavior that we take for granted into a conscious act.
5. Being Mindful of Daily Experiences
Routines lead to habits which lead to a decreased response to stimuli in our daily lives. To put simply, when we do the same thing day after day, we sometimes forget to fully enjoy every aspect of it and actions become automatic. There are some simple changes that you can incorporate into your routine that will allow you to become aware of and appreciate everything you experience. When you make a cup of coffee or tea in the morning, feel the warmth of your mug on your hands and enjoy every warm, delicious sip that you take. While taking a shower or bath, observe the way that your body feels and how wonderful it is to feel warm and clean. Overall, learning to pay attention to the little things in our daily lives allows us to enjoy them so much more.
Learn More About Daily Mindfulness Practices With YogaRenew
Increased awareness can be applied to each and every thing that we do that we normally take for granted such as driving, walking, eating, drinking, resting, breathing, talking, and exercising. Practicing mindfulness heightens our senses and enriches our experiences while teaching us that nothing should be overlooked or taken for granted. Become a yoga teacher and master mindfulness with YogaRenew.

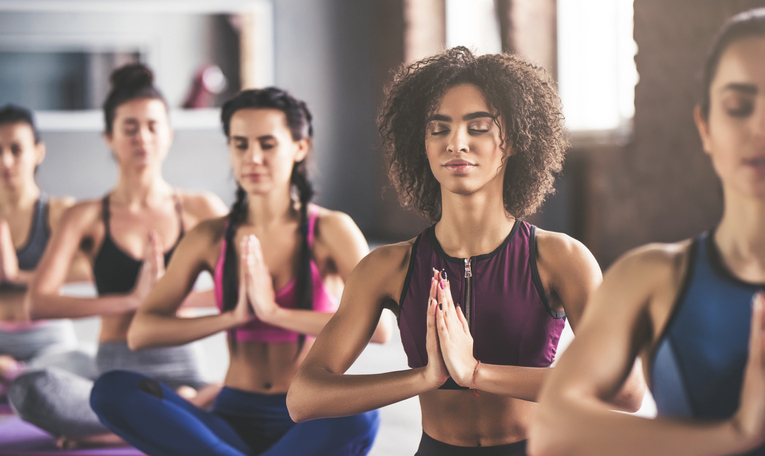
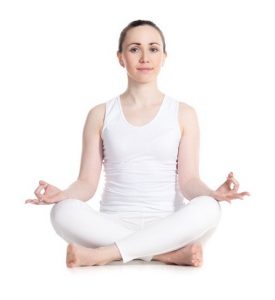 Sometimes with a lack of productivity all you need is to reduce distraction and get still by centering yourself. Easy pose is the perfect way to accomplish this.
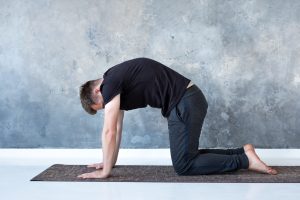
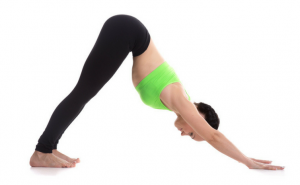 One of the benefits of mild inversions, like Downward Facing Dog, is its energizing qualities. Whenever your heart is placed over your head the brain is supplied with more oxygen as blood flows which increases concentration and mental function.
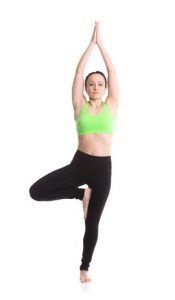 Challenging your balance is one sure way to boost productivity. Whenever your center of gravity is confronted you are forced to tune your drishti, or focal point, in order to be successful.
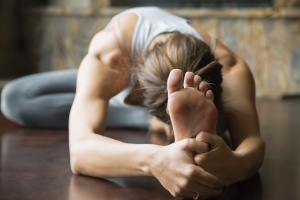
 I’ve always been involved in athletics. Although I wouldn’t necessarily call myself an athlete – the competitive nature of sports has carried over into my fitness regime. I’ve always wanted to be the strongest, fastest, or comparing the number of reps I get in before taking a rest break to the gal next to me. Through my yoga practice, I’ve learned three important things that allows me to maximize workouts so that when that competitive edge creeps up on me, I know I can crush my goals! Through finding my breath, improving my flexibility, and gaining more balance I can bring enjoyment, ease, and productive to all activities – whether it’s running, lifting weights, or going for a 90 minute Bikram session.
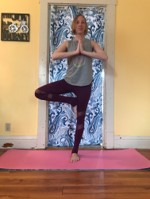
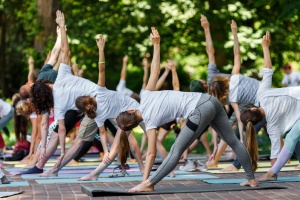 When you think of balance on the mat, you may think of the “I can stand on one foot with my eyes closed for 30 seconds” kind of balance. Balance in yoga helps us to bring balance into our lifestyles. As you go through your asanas, it forces you to use several muscle groups; moving from a stretch in Downward Facing Dog to tightening the core – to hopping in between the hands – to flexing the triceps to hover just above the mat in Chaturanga. In Tree Pose, you also encounter the need for flexibility and strength to find the balance you need when you tuck your foot, lift the chest, move your hands to heart center and dare to close your eyes.
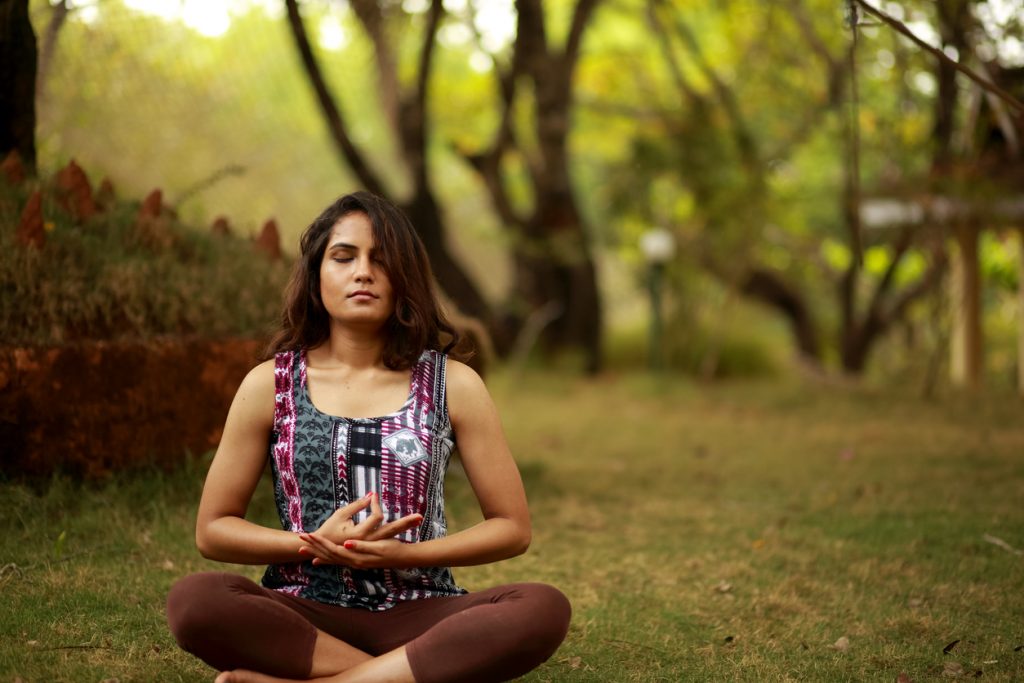
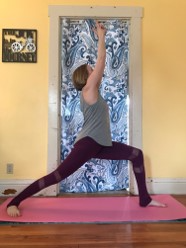
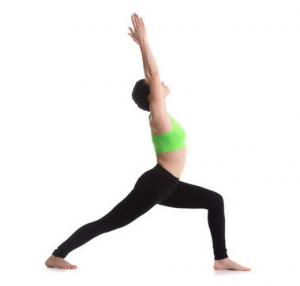 The image of a warrior is illustrated by strength, courage, persistence, and confidence which is exactly what the Warrior asanas exude. The rich symbolism of the Warrior asanas refers to the underlying story of the Hindu warrior, Virabhadra. Warrior I is a beautiful posture that will empower you and activate your inner warrior by improving your strength and flexibility. Begin in Mountain Pose (Tadasana) and gently step your feet a few feet apart from each other. Reach both of your arms up towards the sky with your palms touching while bringing your gaze up towards your hands. Next, slightly turn your left foot to the right so that your toes are pointing to the left of your body. Gently rotate your torso to the right and bend your right knee while making sure that your knee does not pass your toes. Hold this asana for 30 seconds-1 minute while focusing on your breath and channeling feelings of confidence and strength. Slowly release back to Tadasana and repeat this posture on the other side.
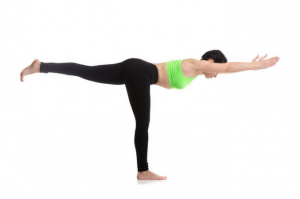 Return once again to Mountain Pose (Tadasana) and take a moment to bring your focus back to your breath. Warrior III requires significant balance and focus which are best achieved when your mind is not wandering. The benefits of this empowering asana include improved coordination, stability, and balance, strengthening of the legs and core as well as a deep stretch of the upper body. Take a deep inhale, reach your arms up towards the sky and on your exhale, slowly lift your left leg off the mat while lowering your torso forward. Allow your arms to lead your torso until it is parallel with the mat and so that your body creates a “T” shape. Flex your left foot and press firmly with your right foot, spreading your toes if that helps to maintain your balance. Hold this asana for several breaths while focusing on finding your center of gravity. To ease out of this asana, slowly return to Mountain Pose and bring your hands to your heart in prayer position.
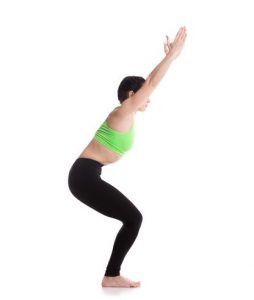 This asana is often called the “seat of power”, “fierce pose” or “lightning bolt pose” which all embody the asana’s empowering and strengthening properties. Chair Pose involves strength and perseverance because your body will immediately feel challenged when entering this asana. Begin in Mountain Pose (Tadasana) with your feet hip-width apart. As you inhale, reach your arms up towards the sky while slowly bending your knees and squatting down as if you are sitting in a chair. Press firmly through your heels and try to bring your focus to how your body is feeling; if your thighs are aching, try to meditate on this sensation. Find your balance here and remember not to resist this asana even if your body wants to ease out of it right away. After several breaths, return to Mountain Pose and bring your focus back to your breath. If you wish, reach your toes with your arms and twist from side to side in a Forward Fold to relax your arms and stretch your hamstrings. Persisting through Chair Pose provides all of the physical benefits of this asana such as strengthening the legs and back, stretching the chest and shoulders as well as a stronger sense of self and confidence.


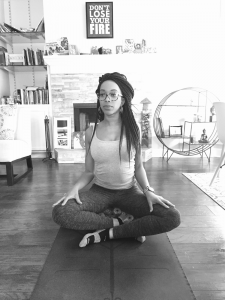 Begin in a comfortable seated position (in a chair, on bar stool, on a bolster, wherever), with your eyes preferable open. Fix your gaze on something and place one hand on your heart and the other on your belly. Breathe in deeply through your nose and as you exhale, audibly let the air out of your mouth. Do this about five times. As you engage in this breathing exercise say to yourself the following mantra, “I am light. I am love. I am okay.”
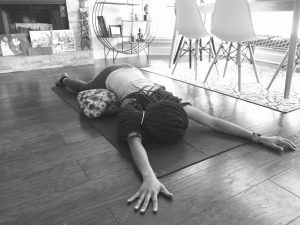 Begin lying on the floor face down and place a bolster or a thick pillow underneath you – right around your navel (solar plexus chakra). Next stretch your arms out overhead and take a V-position with your legs. You want to resemble a starfish on your stomach. Turn your head to one side (with eyes opened or closed), breathe in through your nose and hold for a slow count of four, and exhale out of your mouth for a slow count of four. While in this pose say to yourself the following mantra, “Today is today. Tomorrow is tomorrow. I am in control of my present.”
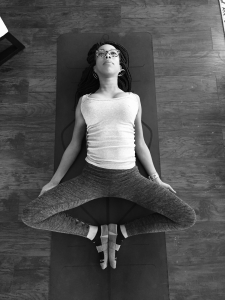 Take Supta Baddha Konasana or Reclining Bound Angle pose with a bolster or thick pillow right between your shoulder blades. Place your arms out to the side (If you are at work or somewhere you can take seat, take this pose by placing both hands behind you on your low back, puff your chest out, and lift your head towards the ceiling).
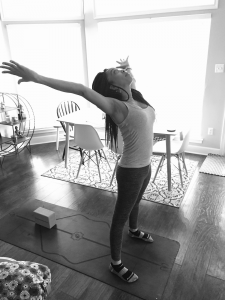 The last and final pose, I find to be helpful when I’m feeling triggered is taking a power stance. The pose is similar to Extended Mountain pose or Upward Salute pose, but instead you look like a vertical starfish. To do this, take your arms overhead, spread wide, and stand firmly grounded with your legs hip width apart. Take a slight backbend and allow your heart to shine towards the ceiling. Bring to mind what has just triggered you – take a deep inhale and audibly exhale. Say to yourself, “I felt triggered because…but, I am taking my power back. I am love. I am power.”
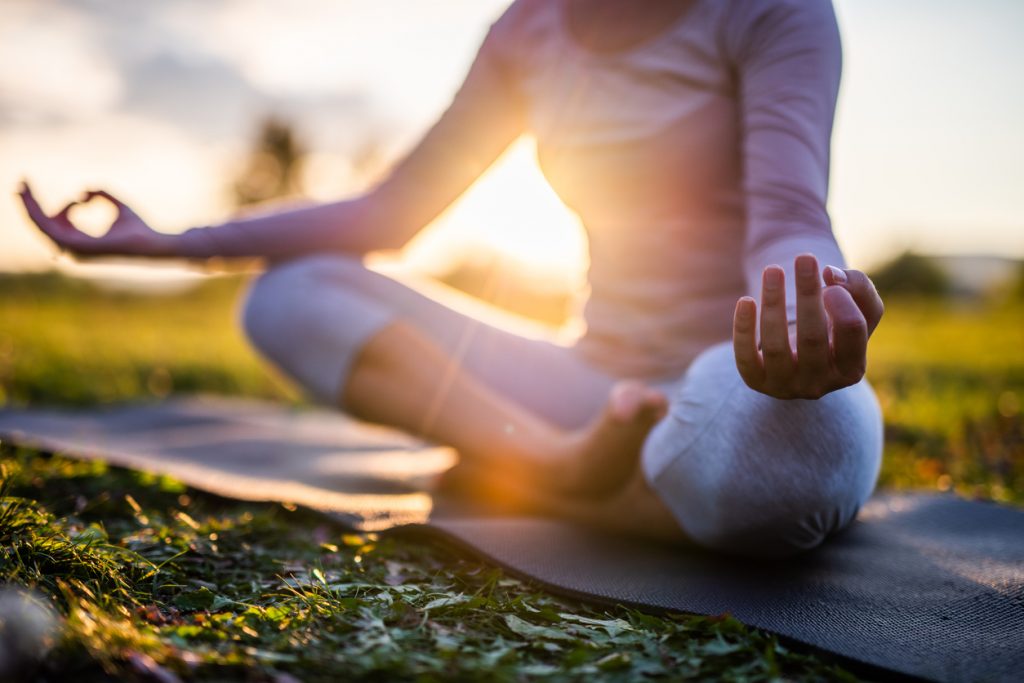
 Although it might be challenging at first, meditation becomes easier and easier with practice and there are a few ways that can make the beginning of your practice easier. Let’s get right into it!
 Using
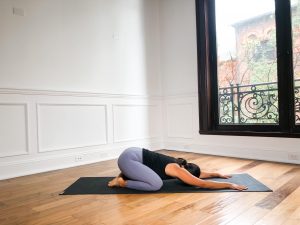
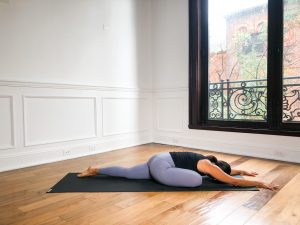
Using 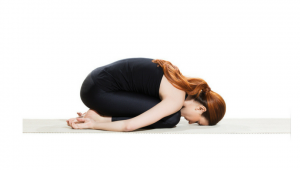 Delve into self acceptance and self love through the surrender of Child pose. As you hold this pose for up to a minute or longer, repeat the following mantra to yourself; “I am enough.”
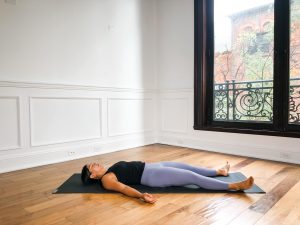
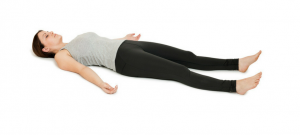 Savasana is the ultimate relaxation pose in yoga. Use this time to cultivate self care and love for yourself; staying here for up to 20 minutes or longer. You could enhance your Savasana practice by dimming the lights, lighting candles, and playing soft ambient music. You can even use aromatherapy to further induce inner peace; Rose, Jasmine, Bergamot, and Sandalwood are great essential oils to use for self love care.
