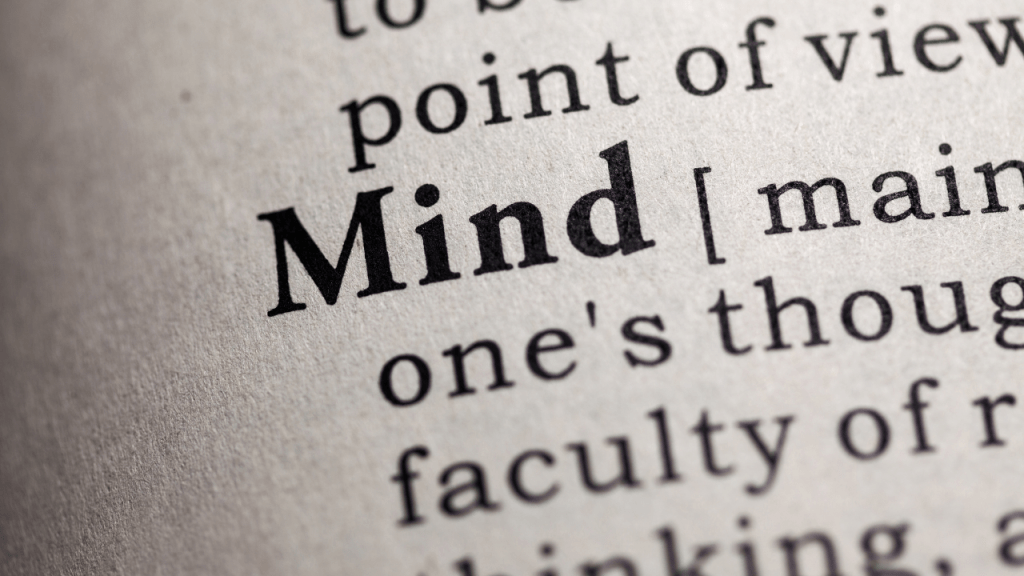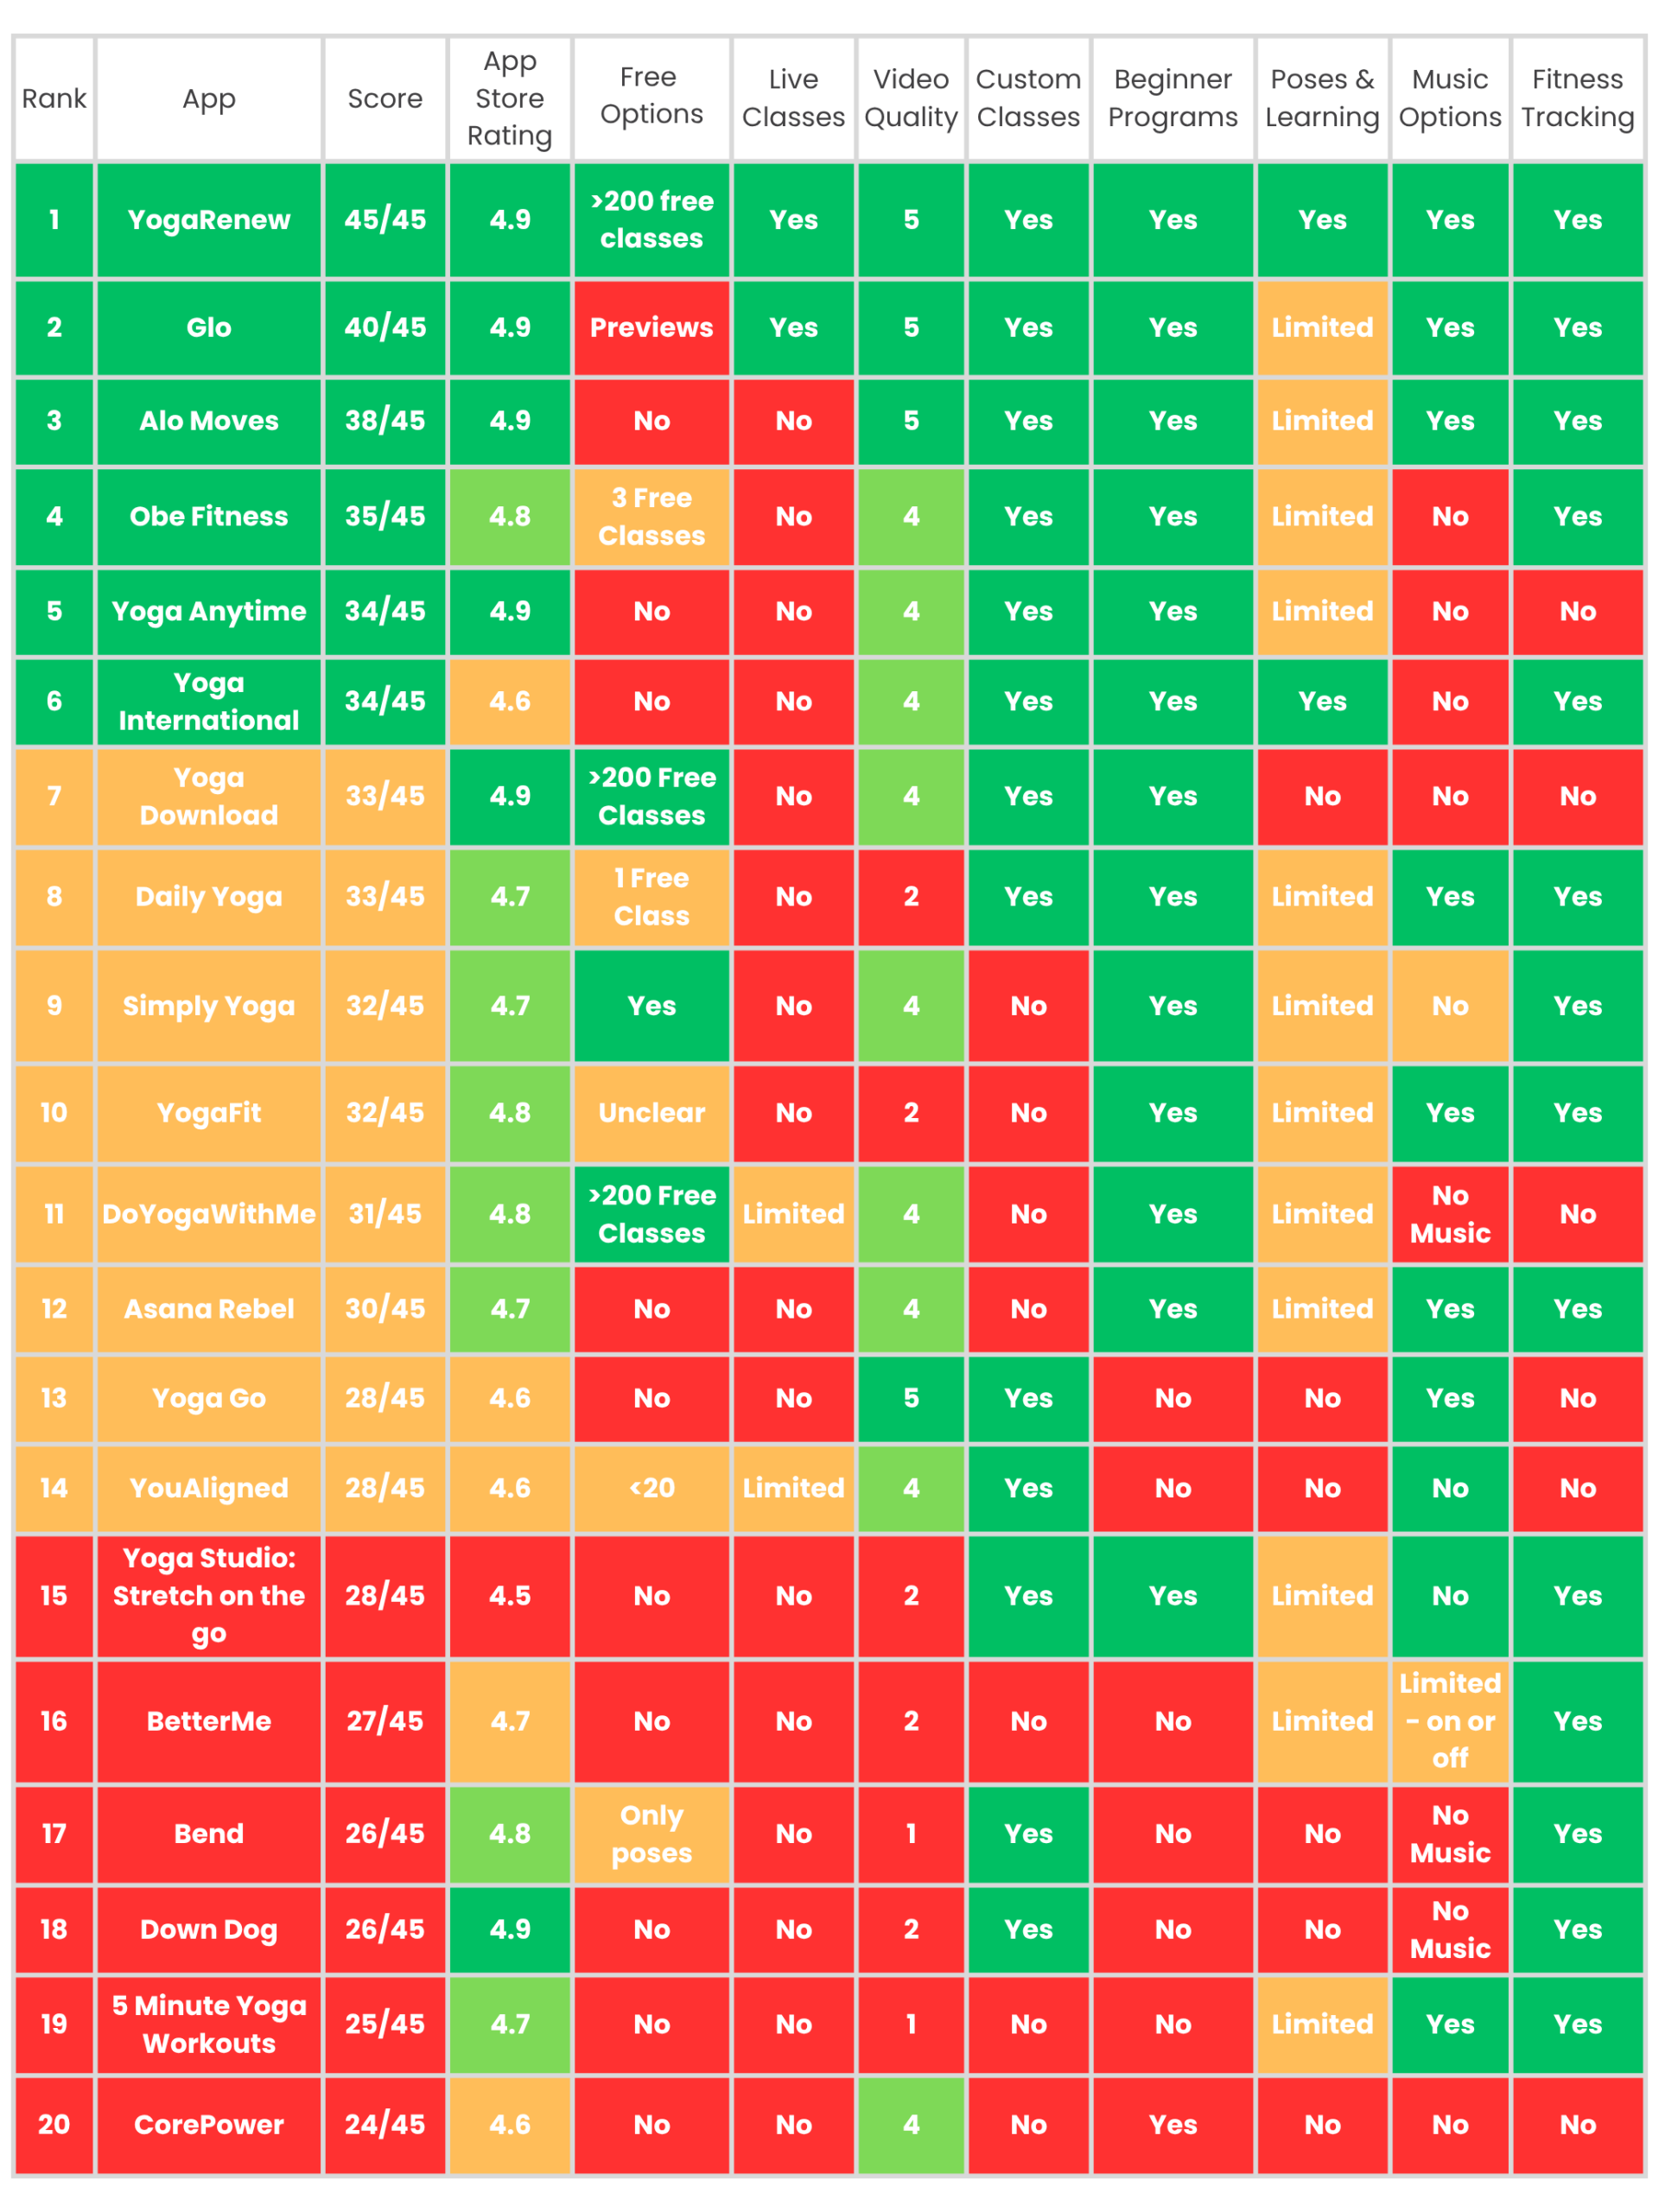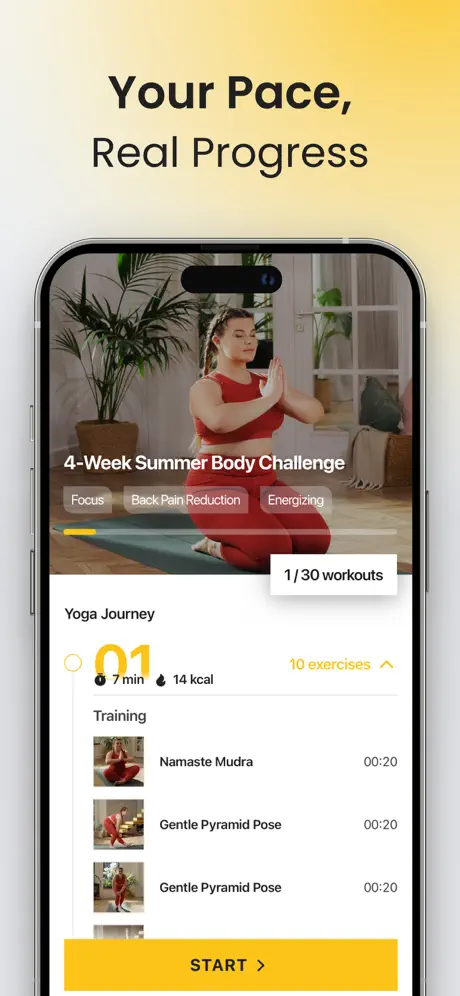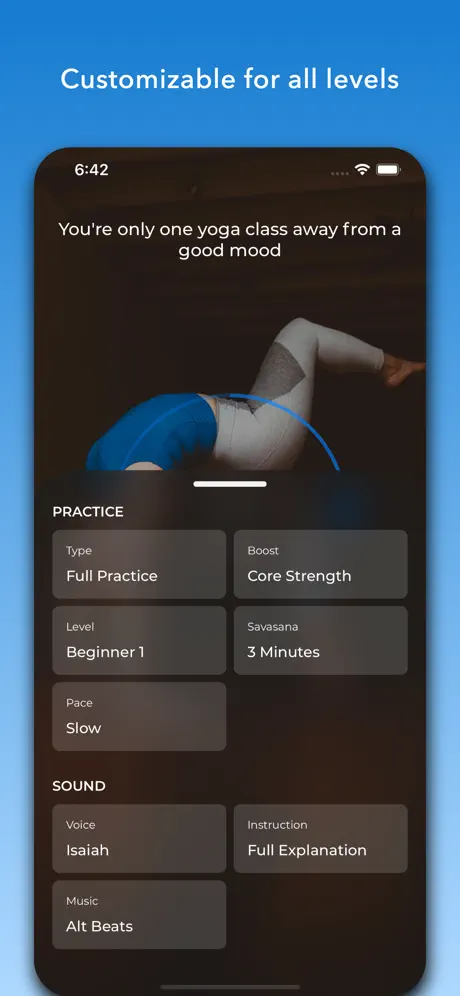
In yoga philosophy, the Manos is the part of the mind that receives information, processes sensation, and reacts. It is the place where thoughts first arise—before discernment, before wisdom, before action. The Manos is not good or bad; it is simply active. Constantly moving. Constantly responding.
In our practice this week, we explore what it feels like to notice the Manos without being ruled by it. Moving from a place of instinct while also allowing intention and grace. In order to truly embody yoga philosophy in a physical asana class, we must explore the true meaning of the concept. For this week, we’ll focus on the element of the Manos where the brain experiences something and just reacts, without tying aspiration or judgment to it. As we move through the yoga asanas in this class, notice where you can let go and let your body lead.
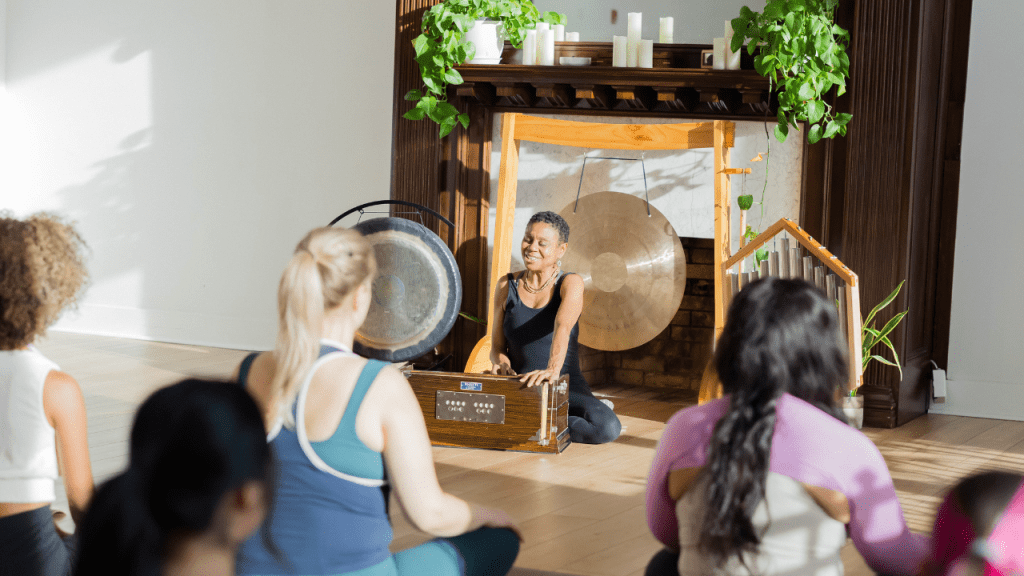
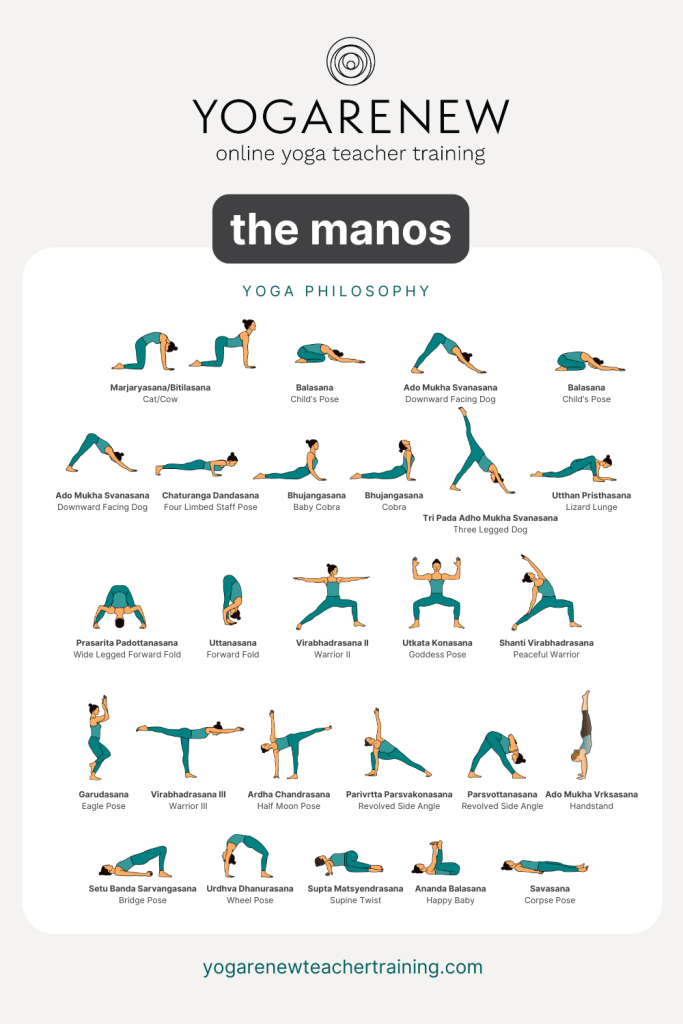
Arriving & Listening to the Mind
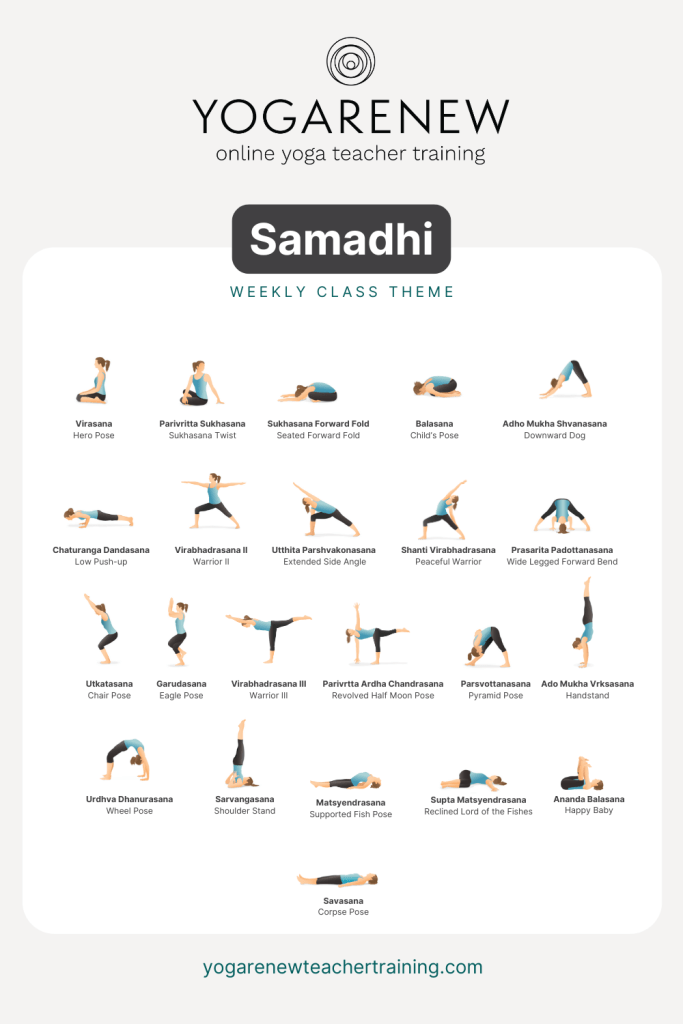
We begin low to the earth, where awareness feels the most natural. A staple in any vinyasa yoga class, Marjaryasana/Bitilasana (Cat/Cow) invites the spine to undulate while the breath begins to naturally link with movement. See if you can sync your breath with the movement and notice how naturally the Manos dictates.
We then find Balasana (Child’s Pose), offering a moment of contraction back in towards the body and a moment to pause. This posture is invited to be revisited if at any point the class feels too challenging or the body simply wishes to pause. Again, the breath accompanies the movement allowing for the preparation of movement.
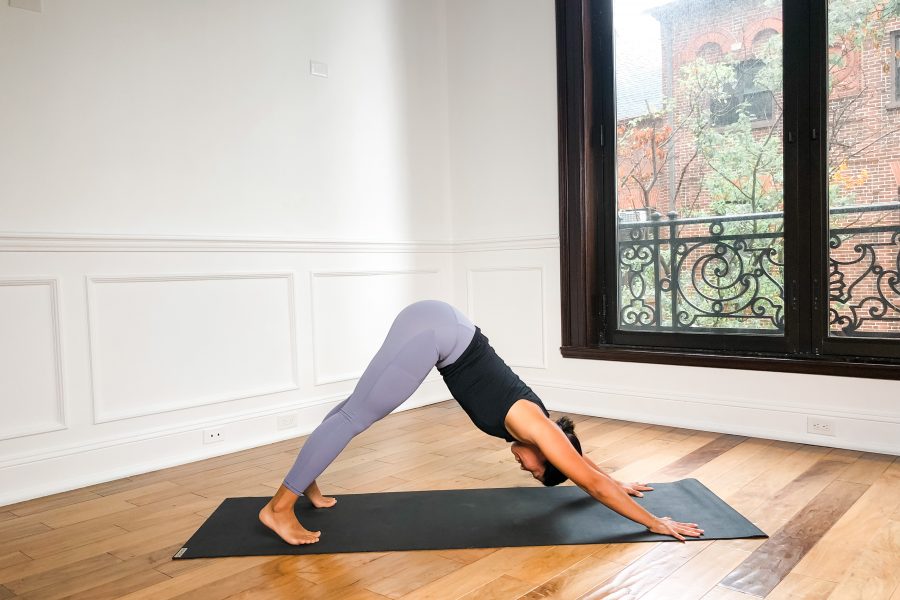
From stillness, we lift into Adho Mukha Svanasana (Downward Facing Dog), our first moment of mild effort. The Manos may rush ahead, already planning what comes next. Gently guide it back to the rhythm of breath and body.
As we move through Chaturanga Dandasana (Four-Limbed Staff Pose) into Bhujangasana (Baby Cobra, then Cobra), we explore the difference between effort and force. The Manos often equates progress with pushing. This is our invitation to redefine strength as responsiveness instead.
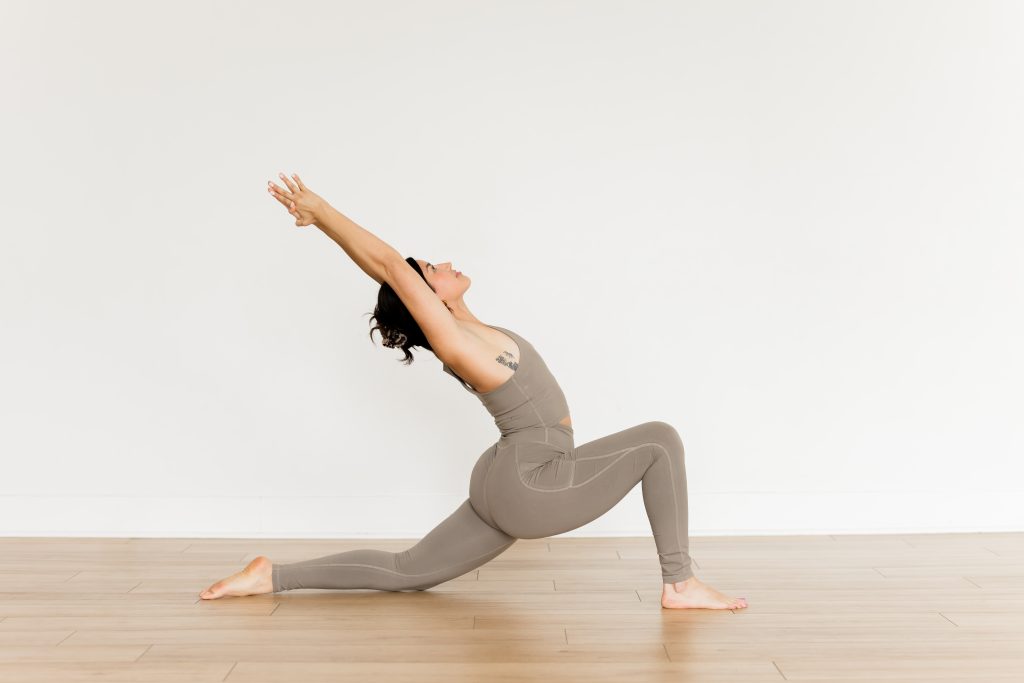
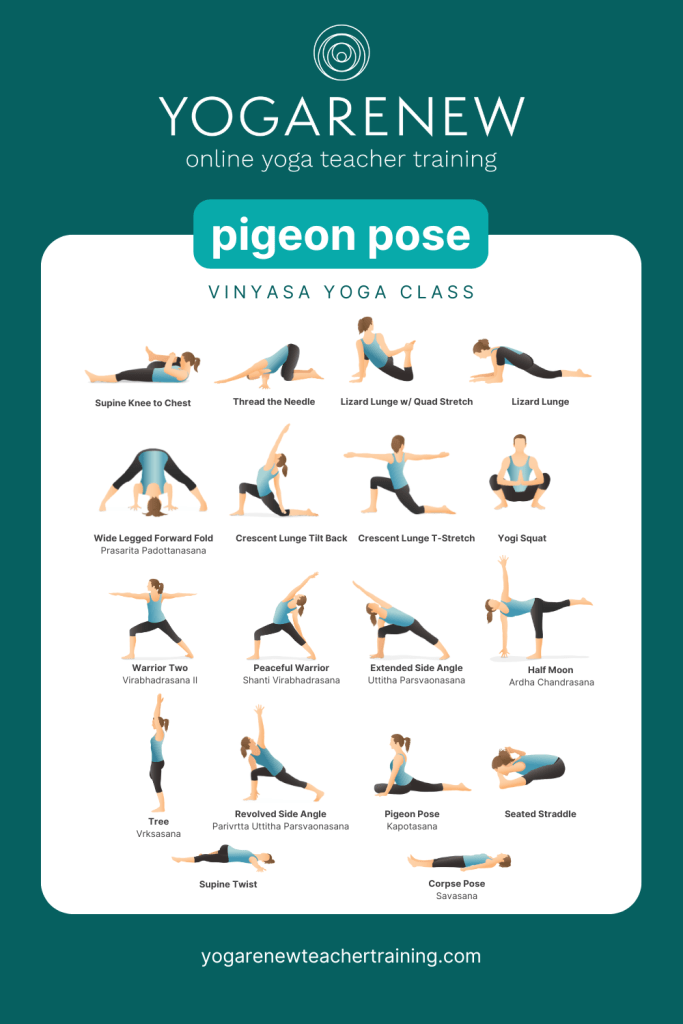
Returning to Downward Facing Dog, we lift into Tri Pada Adho Mukha Svanasana (Three-Legged Dog), opening space through the hips and noticing where the mind tightens in anticipation. We step forward into Utthan Pristhasana (Lizard Lunge), a pose that asks us to stay present with intensity without resisting it.
In Prasarita Padottanasana (Wide-Legged Forward Fold) and Uttanasana (Forward Fold), the head releases below the heart. Blood flows downward. Thoughts soften. The Manos quiets when the body feels safe enough to let go.
Flowing: Responding Without Reacting
The Standing Portion is Where the Mind Meets Balance
Starting in Virabhadrasana II (Warrior II) to Utkata Konasana (Goddess Pose), your students can experience strong shapes that also reflect a steadiness that is being cultivated internally. The mind may waver; the legs stay rooted.
Flowing into Shanti Virabhadrasana (Peaceful Warrior), expansion is explored, offering space and freedom. Peace does not mean absence of effort—it means effort guided by awareness.
Balancing & Twisting for Concentration
Garudasana (Eagle Pose) wraps the body inward, mirroring how the mind often entangles itself in thought. This balancing portion of class allows students to explore a shape by maybe wobbling and becoming unsteady for a bit. Through the effort of trying to get into the pose, they are building stamina and strength needed for the rest of the class.
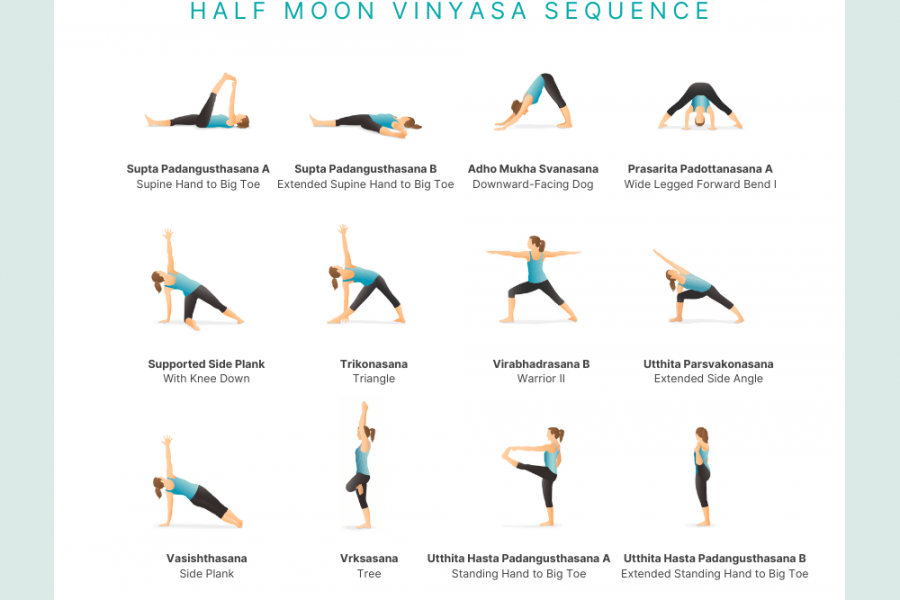
Eagle Pose moves into Virabhadrasana III (Warrior III) and then Ardha Chandrasana (Half Moon Pose) where balance becomes a direct reflection of mental clarity. The Manos may grasp for control. Instead, we let steadiness arise from subtle adjustments and patience.
Twisting into Parivrtta Parsvakonasana (Revolved Side Angle) and folding into Parsvottanasana, we wring out stagnant energy—physical and mental—creating space for fresh perspective.
Trusting the Process & Going Upside Down
For those who choose, Adho Mukha Vrksasana (Handstand) offers a powerful lesson in the Manos. Fear, excitement, doubt—all arise at once. The practice is not to silence them, but to act with awareness anyway.
Backbending: Opening the Heart-Mind
We return to the mat for Setu Bandha Sarvangasana (Bridge Pose) and Urdhva Dhanurasana (Wheel Pose). These heart-opening shapes ask the mind to trust the body’s resilience. Sensation intensifies, and the Manos has much to say. We listen—but we don’t negotiate.
Wind Down for Integration
Gentle twists in Supta Matsyendrasana (Supine Twist) help the nervous system unwind, allowing thoughts to settle naturally. In Ananda Balasana (Happy Baby), we reconnect with ease, reminding the mind that joy does not need to be earned.
Finally, we arrive in Savasana (Corpse Pose)—the ultimate practice of observing without doing. Here, the Manos can rest. Sensations fade. Thoughts drift. Awareness remains.
Closing Reflection
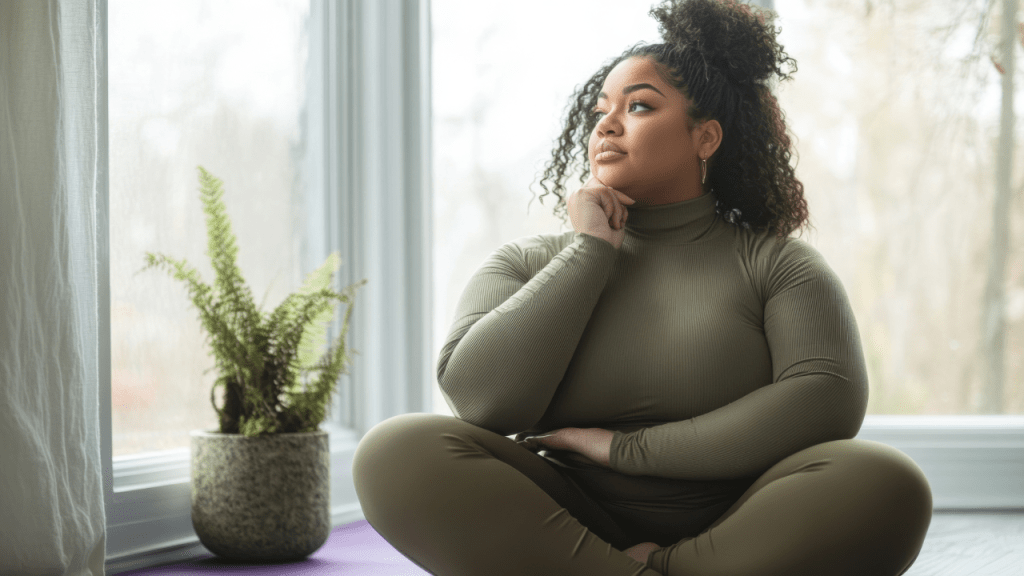
The Manos will always be active. Yoga does not aim to stop the mind, but to help us understand it. When we recognize its patterns—its urgency, its judgments, its fears—we gain the freedom to respond with intention rather than habit.
This is the quiet power of practice: not controlling the mind, but befriending it.
Let this week’s practice remind you that you are not your thoughts—you are the awareness that witnesses them.