December always seems to turn the volume up on life. The streets feel busier, the lists get longer, and emotions—both tender and overwhelming—sit a little closer to the surface.
But once all the gifts are opened and the holiday season starts coming to a close, I’m always left with this feeling of gratitude that’s not related to all the stuff, but instead comes back to one of yoga’s most underrated teachings: generosity.
Not generosity as in buying more or doing more—but the kind of generosity that begins within, changes the way we breathe, softens the way we move through the world, and expands our sense of connection.
A Personal Story: Redefining Generosity
Years ago, earlier in my teaching career, I gave a dharma talk about an experience I had where I witnessed a car accident and ended up helping the older gentlemen involved by sitting with him and guiding him through simple deep breaths until his family could be there to support him.
Two years later, around the holiday season, one of my regular students stayed after class and asked if she could speak with me. I was worried because honestly the class I had just finished didn’t feel like my best. I planned a sequence that didn’t feel right anymore, I was tired, and honestly—I was questioning everything.
But after class, once it was just us left in the studio, she put her hand over her heart and said,
“Two years ago I was recovering from a traumatic car accident and unsure if my life would ever be the same.
Reluctantly, I wandered into a yoga class as a final effort to find a way to move forward.
I sat down in class and all of a sudden you started talking about how you’d just helped a man in a car accident. I couldn’t believe it.
It was like the Universe was speaking directly to me. That class carried me through some of my hardest days and made me believe things would be ok again. And now, two years later– they are.”
I was stunned.
I remembered the dharma talk, though I hadn’t thought about it since. But I didn’t remember this student being in that class– it was at an entirely different studio.
She didn’t have to share this with me. It was vulnerable. It was honest. And it was profoundly generous.
Her words gave me exactly what I didn’t know I needed: reassurance, connection, and a reminder that what we give to the world—sometimes without even recognizing it—matters.
That moment changed how I understood generosity. It isn’t about having extra; it’s about offering what feels authentic, whether that’s presence, kindness, patience, or simply a story that reminds people of the power of a deep breath.
Generosity + Yoga Philosophy
In yoga philosophy, generosity grows out of the foundations of the Yamas and Niyamas—the ethical guidelines that shape how we relate to ourselves, others, and the world around us.
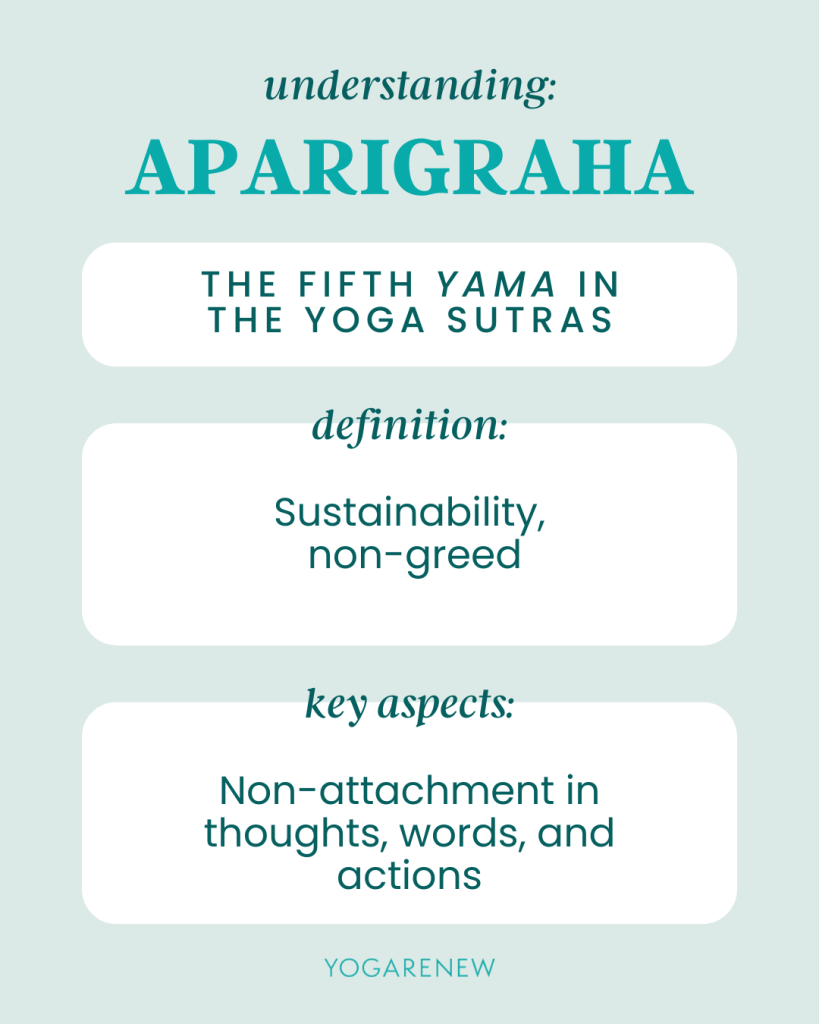
The Yama Aparigraha– non-attachment– asks us to loosen our grip. To soften the instinct to hold tight, cling, or accumulate. When we release the pressure to “have more” or “be more,” space opens. And in that space there’s room for generosity to naturally arise.
When we’re not attached to outcomes, identities, or possessions, giving becomes an expression of freedom and connection rather than sacrifice.
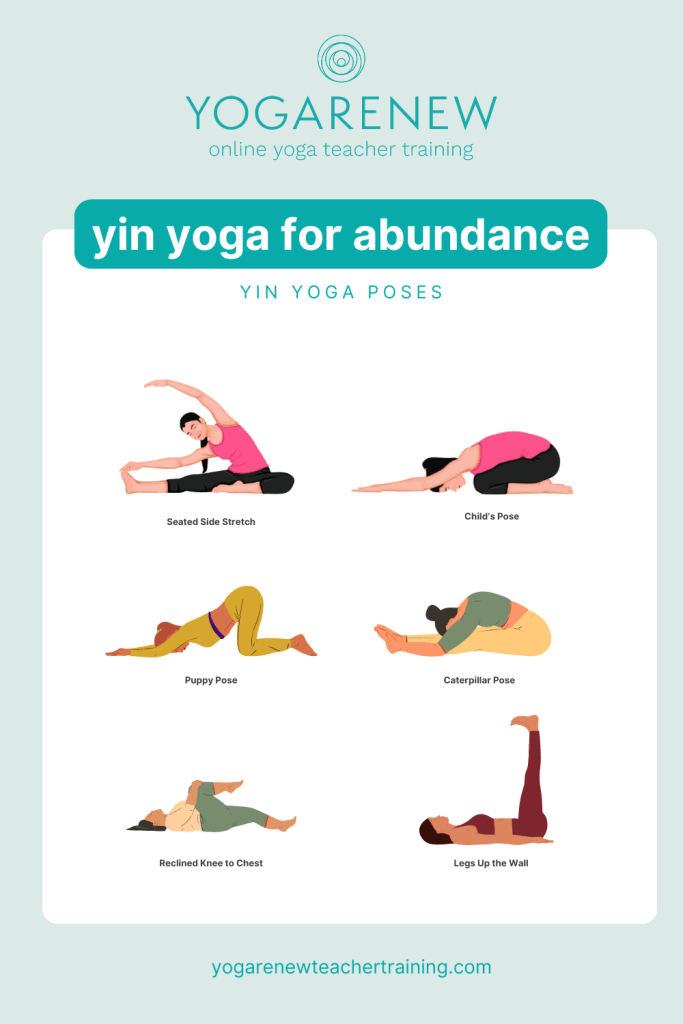
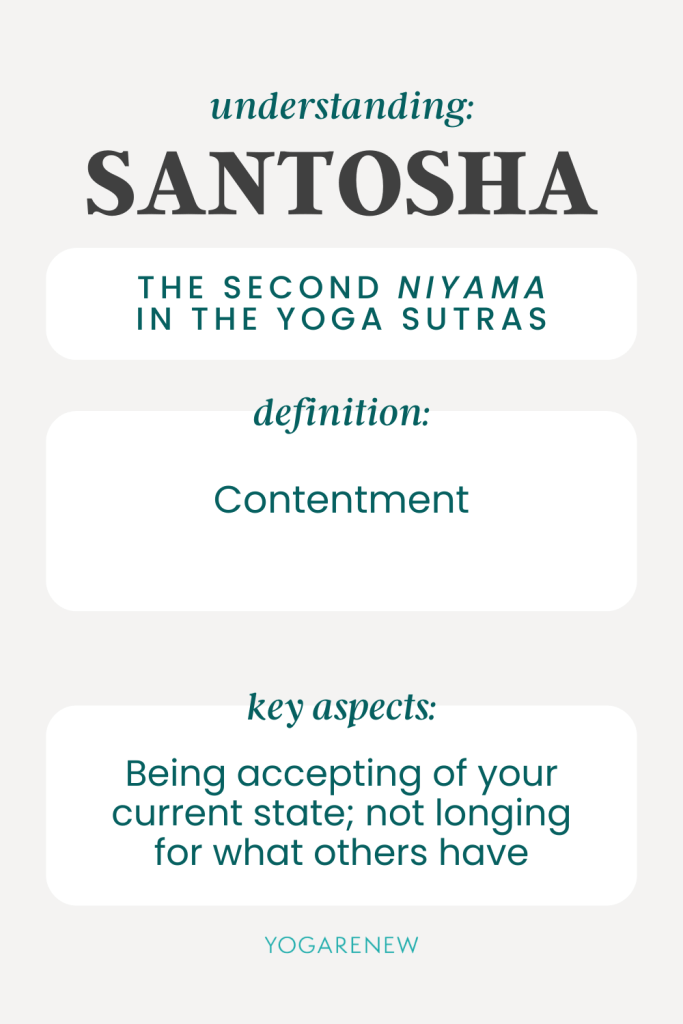
Similarly, the Niyama Santosha– contentment– invites us to rest in enough-ness. When we cultivate contentment—not complacency, but a grounded gratitude for what’s here—we shift from scarcity to sufficiency.
And when we lean into that abundance, that’s when generosity flows with ease. When we feel steady within ourselves, it feels safe to offer outward.
Together, Aparigraha and Santosha remind us that generosity isn’t about excess. It’s not reserved for the moments when we have extra time, extra energy, or extra money. It’s a mindset—a way of inhabiting the world with a softer heart and understanding that we’re a part of a greater whole.
One of the things I love about this, and about yoga in general, is that the ancient yogis understood things that modern science is now officially proving.
Generosity + Positive Psychology
Modern psychology keeps “discovering” things yogis have been talking about for thousands of years– and generosity is one of them.
Positive psychology researchers have actually studied what happens in the body and brain when we give—and it lines up so beautifully with the spirit of Aparigraha (letting go) and Santosha (contentment).
Here are a few things we know:
1. Generosity literally lights up the joy centers of your brain.
There’s this well-known study by Jorge Moll and colleagues (PNAS, 2006) where researchers scanned people’s brains while they made generous decisions.
And guess what lit up?
The same areas of the brain associated with joy, connection, and even purpose.
It’s like the brain says, “Ah yes—this is who we are.”
This is Aparigraha in action: when we let go—of fear, of grasping, of “not enoughness”—we create room for joy.
2. Small acts of kindness create lasting boosts in happiness.
Psychologist Sonja Lyubomirsky, who’s done decades of research on what makes humans genuinely happy, found something fascinating:
Doing little acts of kindness regularly (not huge, elaborate gestures) consistently increases well-being.
Not temporarily. Consistently.
That feels very Santosha to me—a reminder that contentment doesn’t come from doing more or giving more. It comes from small, intentional choices that remind us of our interconnectedness.
3. Giving to others often brings more satisfaction than giving to ourselves.
In one study from the University of British Columbia (Dunn, Aknin, & Norton, 2008), people were asked to spend money either on themselves or on someone else.
The people who chose generosity reported greater feelings of happiness and meaning—every single time.
And here’s the part I love: This effect shows up whether the “gift” is money, time, attention, or emotional support.
Which means generosity doesn’t require resources—just presence. Which, is what we’re always teaching and practicing through yoga.
4. It’s the mindset—not the magnitude—that matters.
Across all these studies, one theme stands out :You don’t need to give a lot to feel the benefits. You just need to give from a place that feels true, grounded, and open-hearted.
Yoga’s been telling us that forever: When we stop clinging (Aparigraha) and settle into enoughness (Santosha), generosity becomes the most natural thing in the world.
How Yoga Helps Us Cultivate Everyday Generosity
Generosity begins in awareness—and yoga gives us so many ways to practice paying attention.
- Breathwork reminds us that life is a cycle of receiving and releasing. We inhale, we exhale. We take in, we give back.
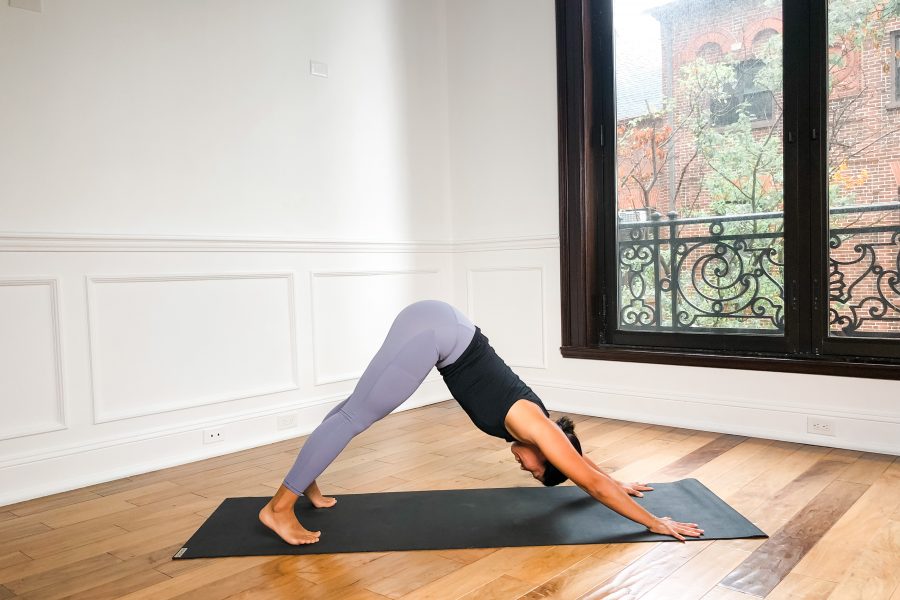
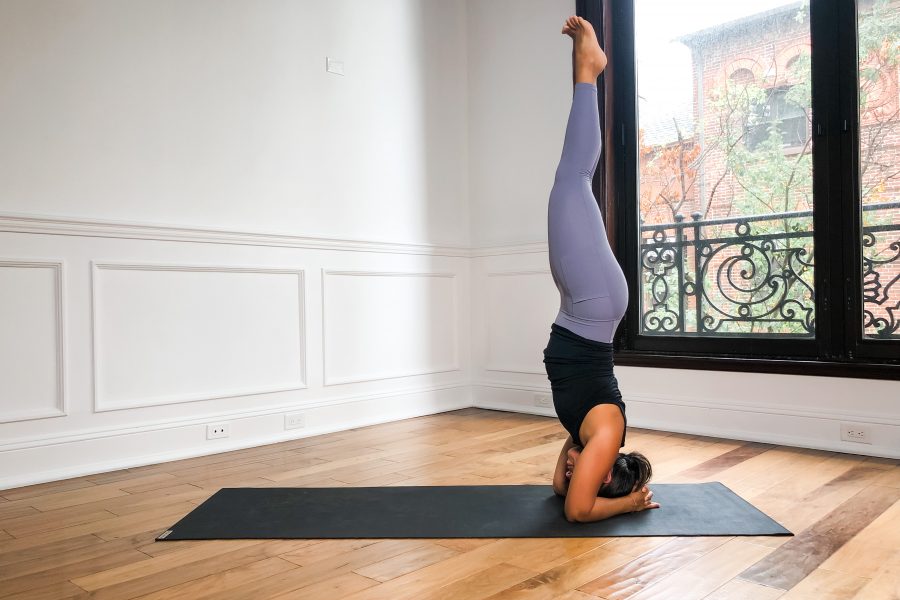
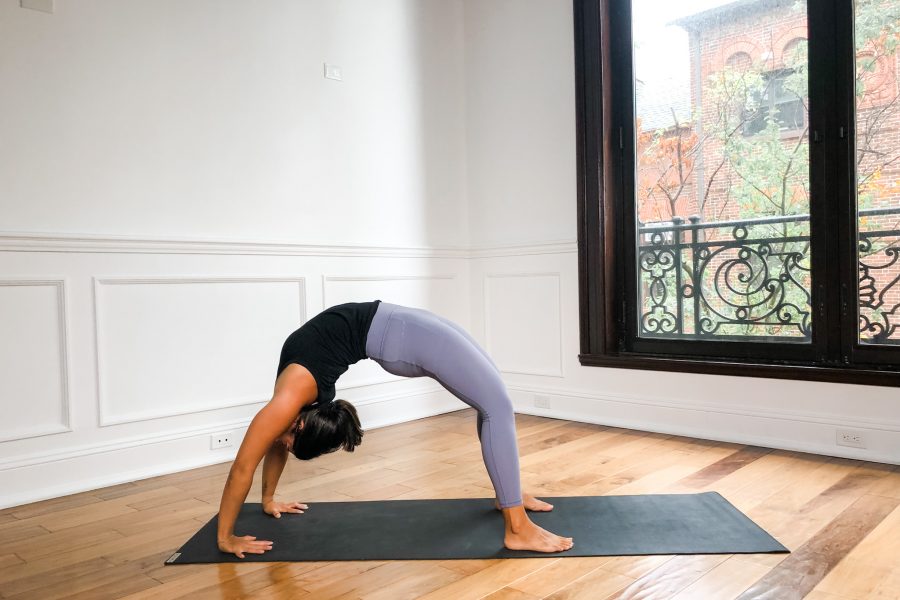
- Asana teaches us to notice when we push too hard or hold too tightly. It invites us to offer ourselves compassion in moments of challenge.
- Meditation expands the space between stimulus and response, giving us room to choose kindness even on days we feel stretched thin.
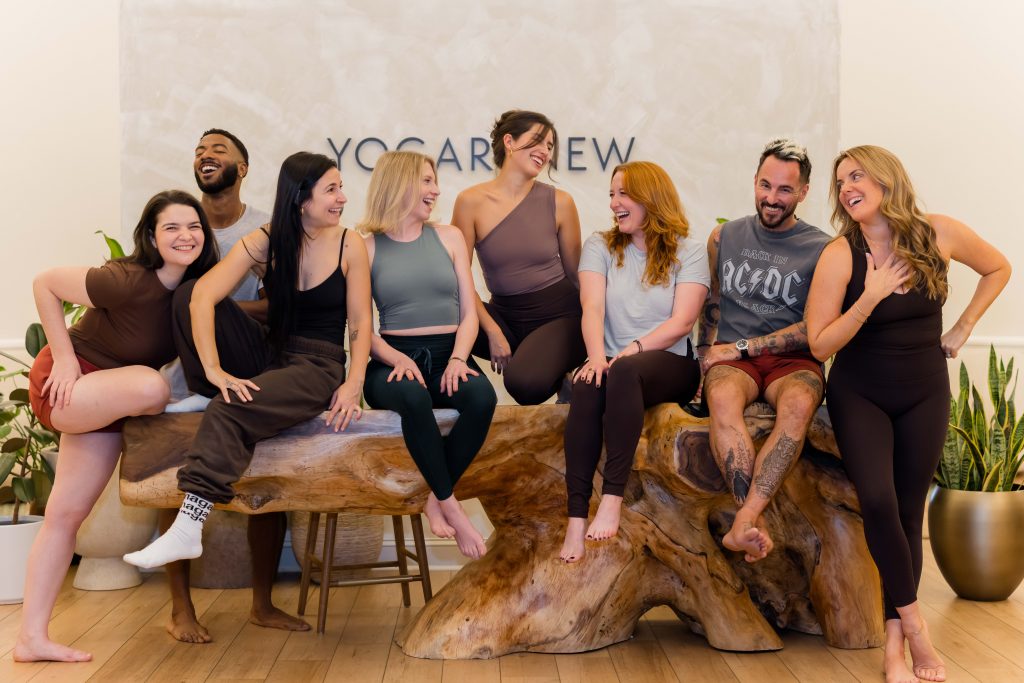
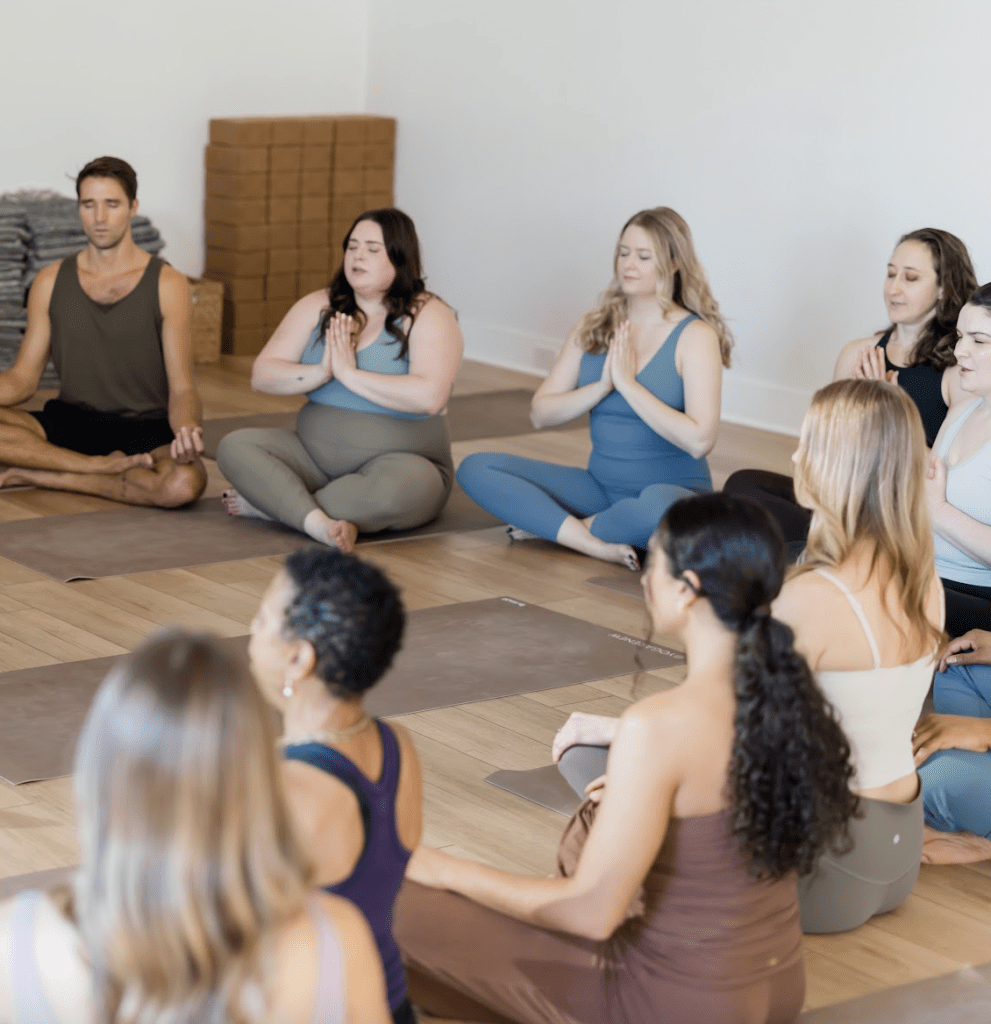
- Community—the unexpected generosity of shared practice—reminds us that we’re not doing any of this alone.
Every time we choose presence over distraction or compassion over judgment, we practice generosity in subtle, meaningful ways.
Generosity becomes not something we do, but something we become.
When we practice yoga in group settings, we foster a community. This allows our gratitude to expand + magnify.
Unexpected Ways to Practice Generosity (Even When Life Feels Hard)
Sometimes the most generous act is also the simplest. Here are a few ideas that feel light, doable, and impactful:
1. Let someone else go first—without rushing yourself.
It’s tiny, but it shifts the energy instantly.
2. Say the kind thing you’re already thinking.
Your compliment might land in someone’s heart at exactly the right moment.
3. Offer yourself the grace of not being okay.
Generosity starts with honesty.
4. Generously delete something from your to-do list.
Not because you’re giving up—because you’re human.
5. Practice micro-presence.
Ten seconds of full attention is one of the rarest forms of generosity.
6. Share something that supported you.
A practice, a recipe, a mantra, a quote—your offering doesn’t need to be original to be valuable.
7. Set a boundary that protects your energy.
Boundaries are generosity in disguise—because they allow you to show up wholeheartedly where it matters.
The Ripple Effect
Generosity is contagious.
One small act can shift someone’s entire day, and that shift can ripple further than we ever know. You may not even know how what you’ve given has helped someone else– remember it was two years before I knew my dharma talk actually made a difference.
But it’s not about giving for a “result”, it’s about giving just to give. Because it’s part of what makes us human.
In a season that often asks us to do more, buy more, and be more, maybe the real invitation is much simpler:
Give what’s true.
Give what’s kind.
Give what’s available.
And start with yourself.
— Sending love, Kate