“Perfection in asana is achieved when the effort to perform it becomes effortless”
Yoga Sutra 2.47
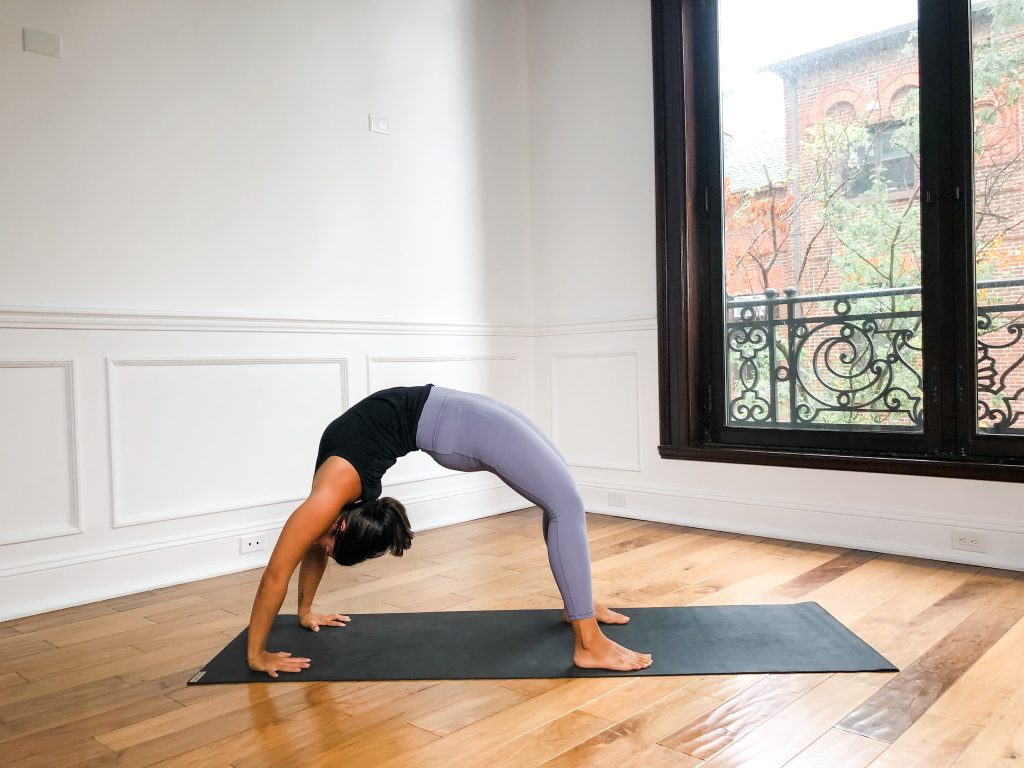
Arm balances require strength, agility, coordination, and concentration in both body and mind. Physically they tone the arms, wrists, shoulders, back, and abdomen. They also require flexibility and mobility of the hips and shoulder joints.
Ultimately, as we continue to practice these physically challenging poses we begin to develop lightness, equanimity, and poise. The effort to maintain the pose remains, yet tension and strain is released and left behind.
Arm balances undoubtedly require a fair amount of effort, especially at first, but as we refine our practice we can start to find strength as integration, not hardness, which is relaxation is action or effortless effort.
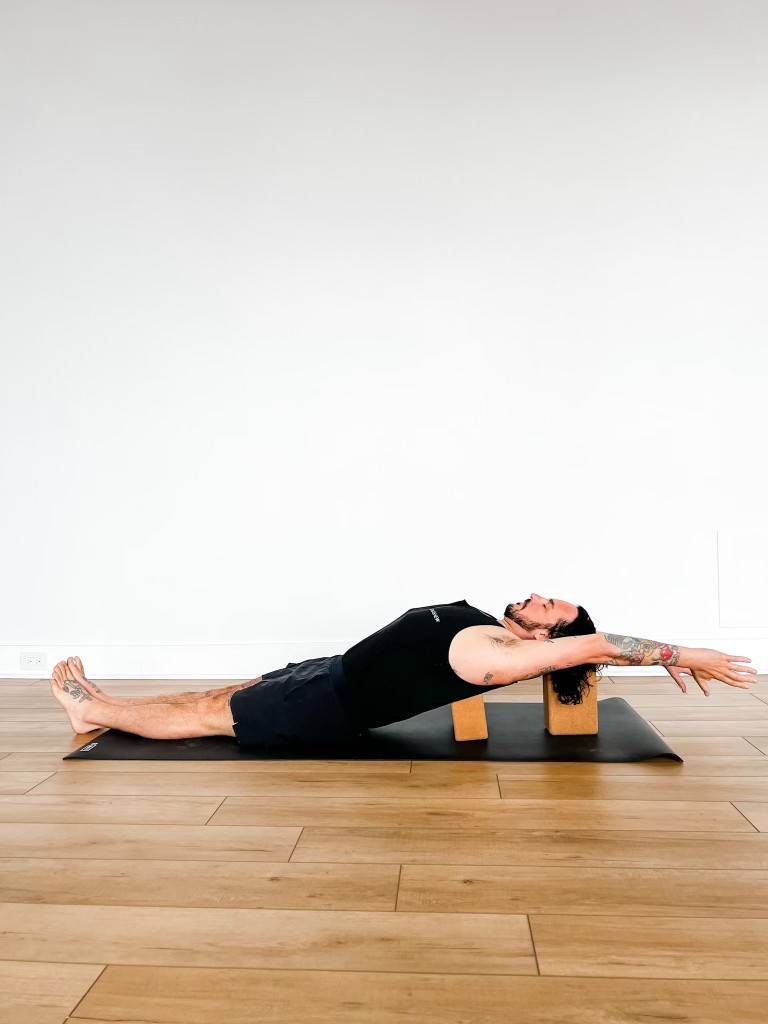
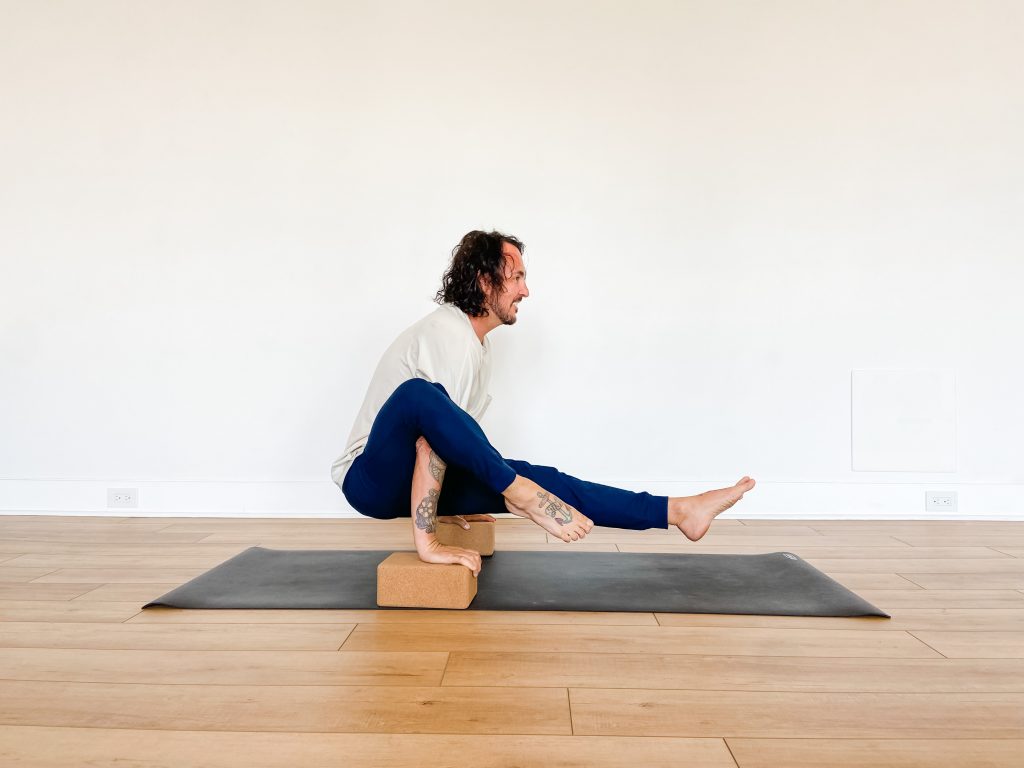
Peak Pose: Eka Hasta Bhujasana
Eka means “one,” Hasta means “hand” and Bhuja means “arm.” This pose is translated as one hand and arm pose but often referred to as “Elephant Trunk Pose” as the shape resembles the trunk of an elephant. This arm balance is in the family of poses with the leg over the upper arm (above elbow) and is a great place to start before moving onto poses such as Koundinyasana II, Tittibhasana, Bhujapidasana, and Astavakrasana.
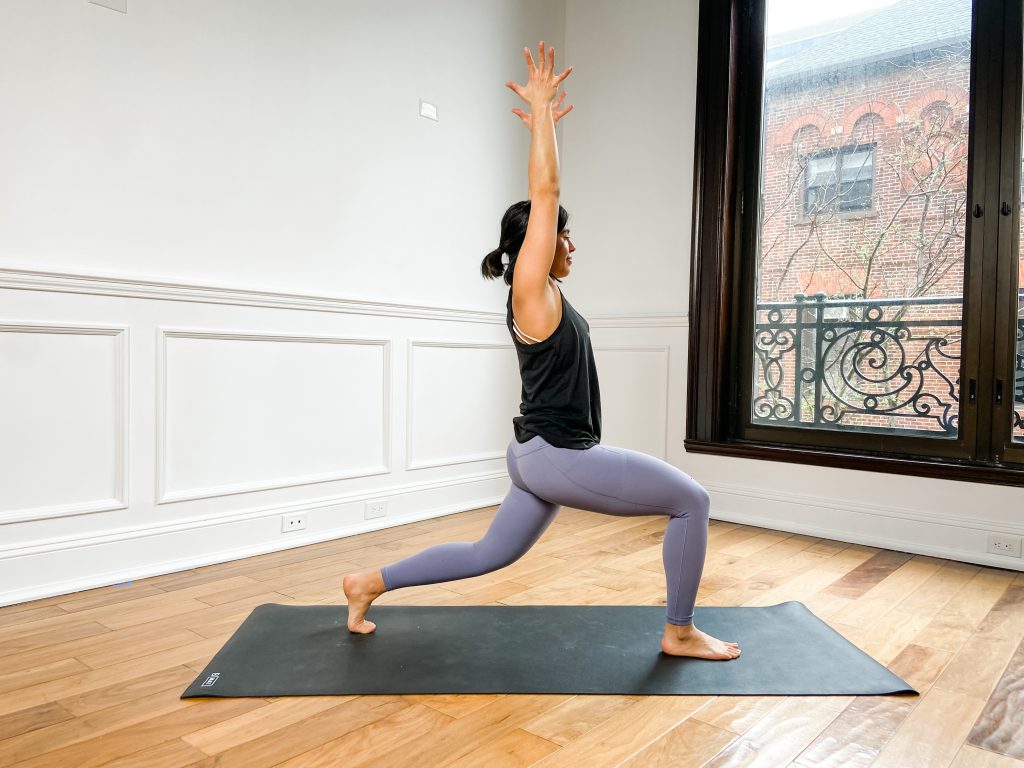
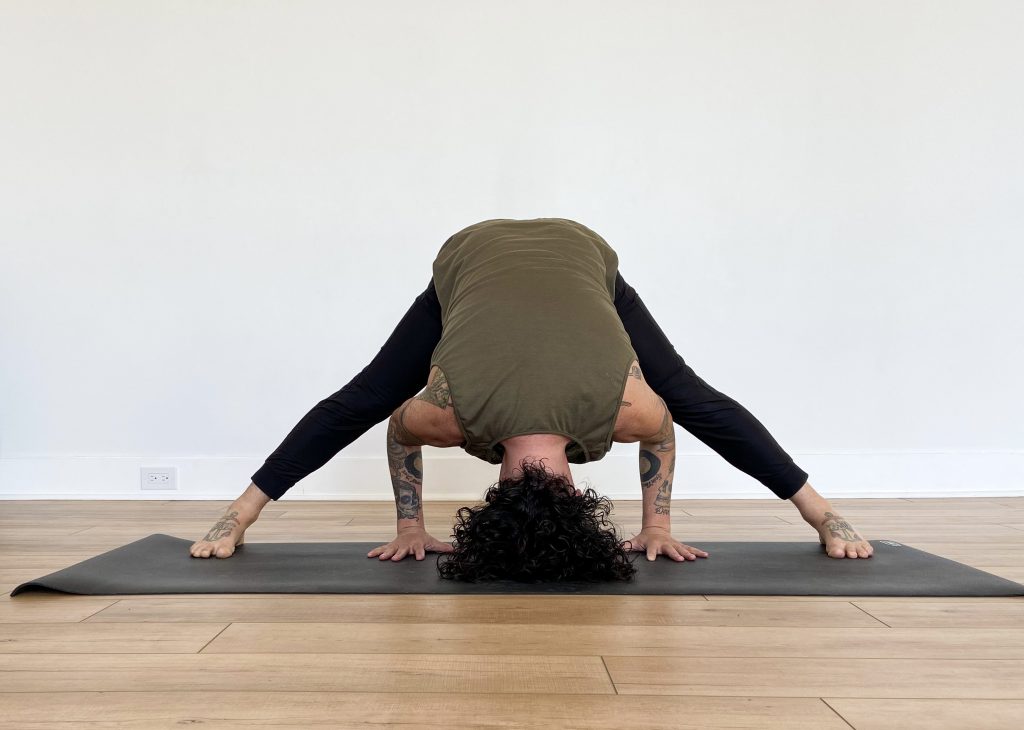
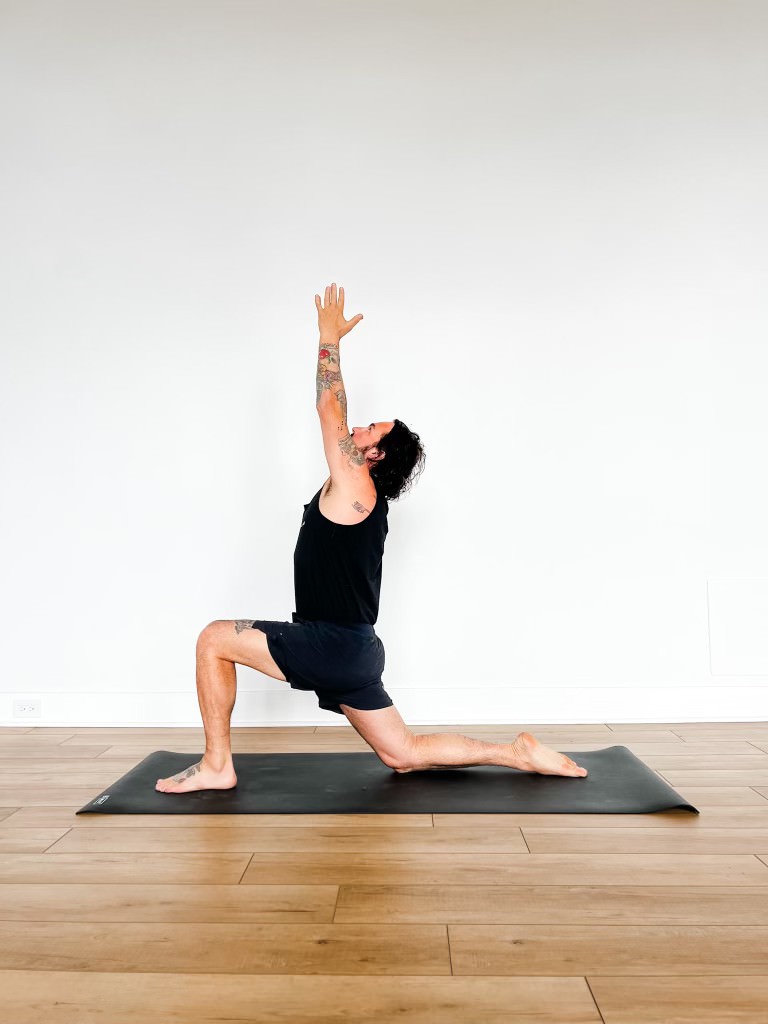
Supporting Pose 1: Utthan Pristhasana (Lizard Pose)

Lizard Pose is a great pose to incorporate into a sequence when practicing arm balances, but especially arm balances with the leg over the upper arm. It’s a deep hip opener that also opens the groins, hamstrings, and hip flexor muscles. It also opens the upper back, shoulders, and neck.
How to get into Lizard Pose:
- Start in Downward Facing Dog Pose
- Lift your right leg and step it outside your right hand. Bend your knee until its over your heel
- Bring your back knee to your mat to start
- You can keep your arms straight with your palms under your shoulders or for a deeper stretch bring your forearms to the mat with your elbows under your shoulders
- Option to curl your back toes and lift your back knee making your back leg straight
- Breathe into your upper back and let your head relax
- Stay for 5 to 10 breaths
- Repeat on the other side
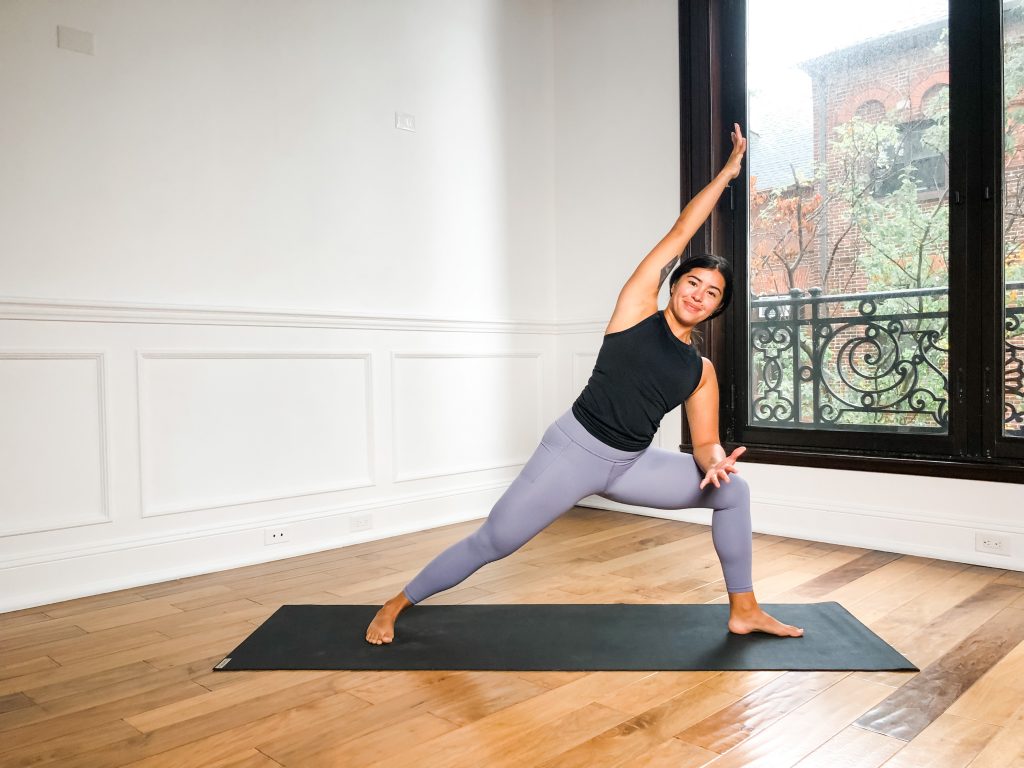
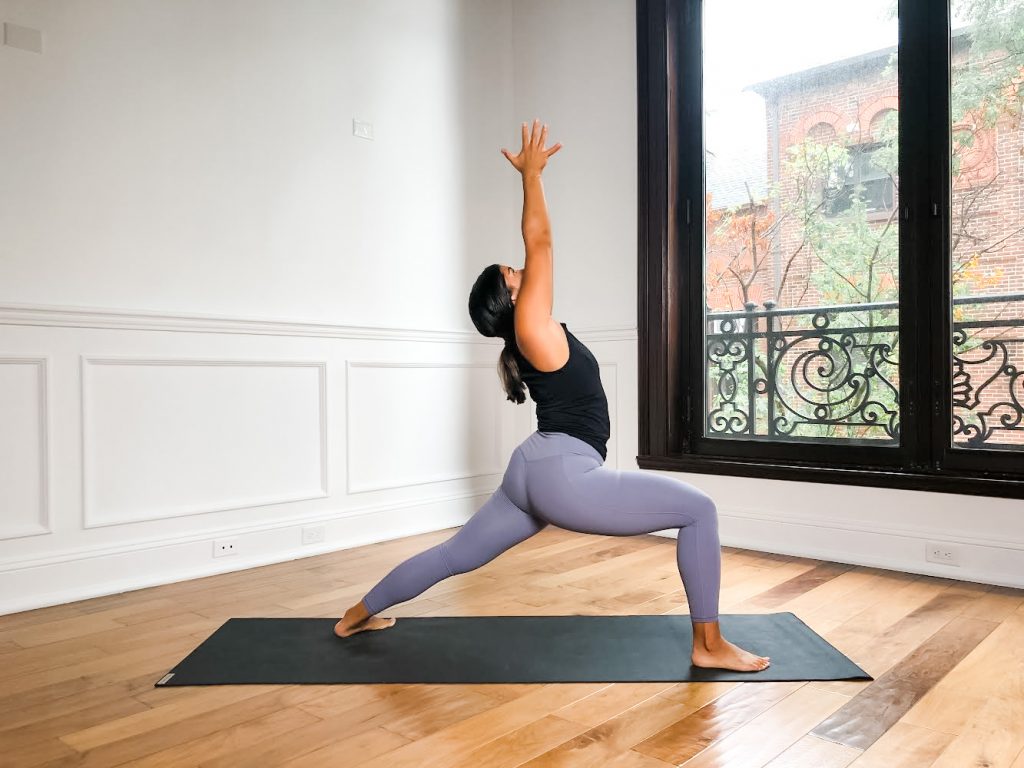
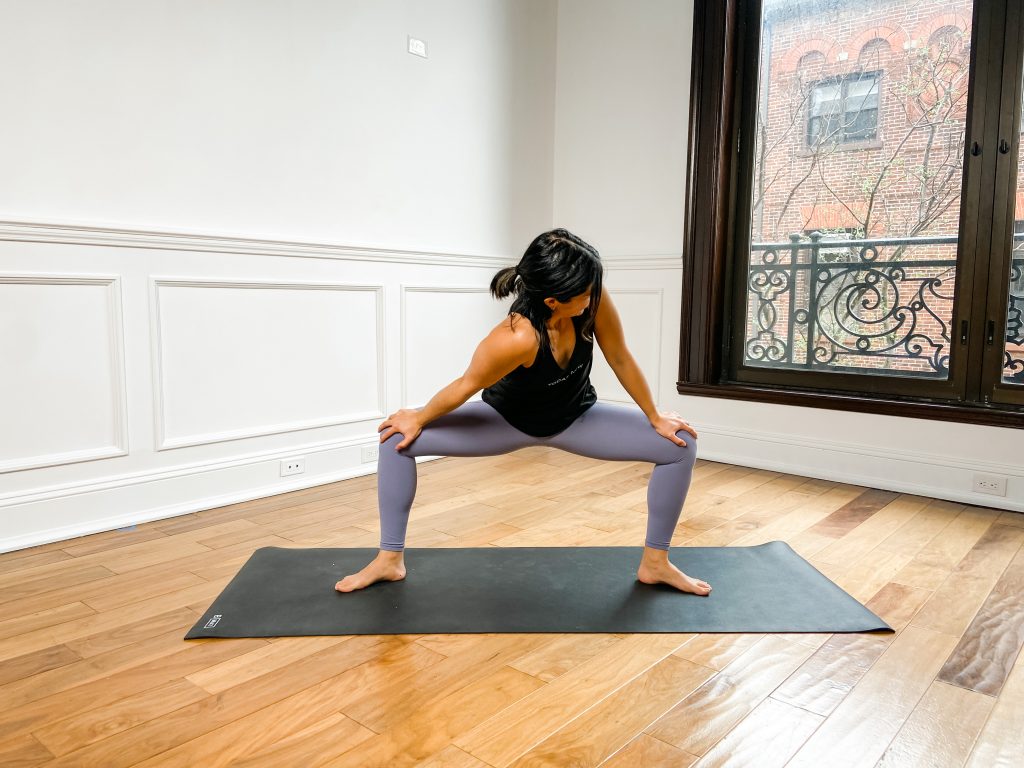
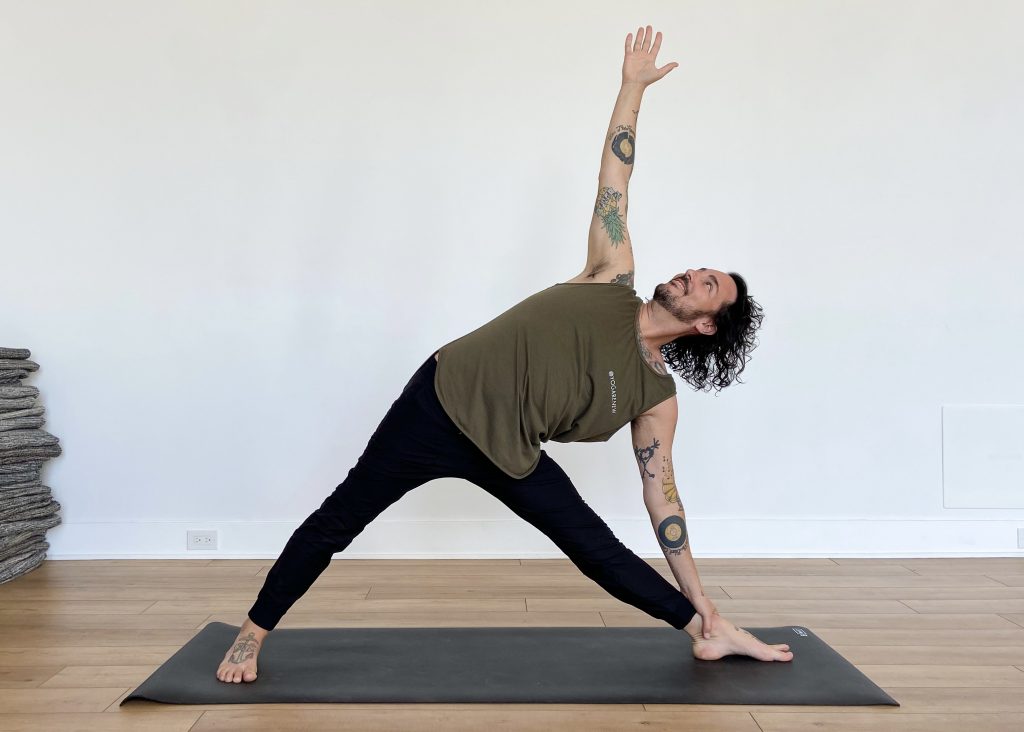
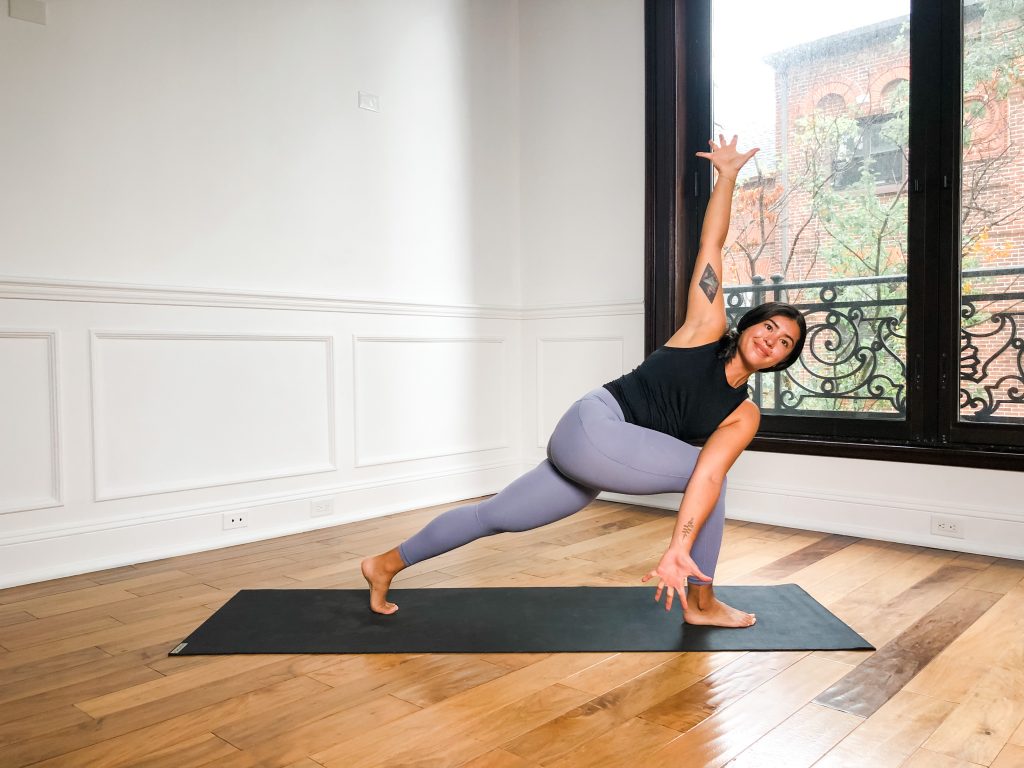
Supporting Pose 2: Utthita Parsvakonasana (Extended Side Angle)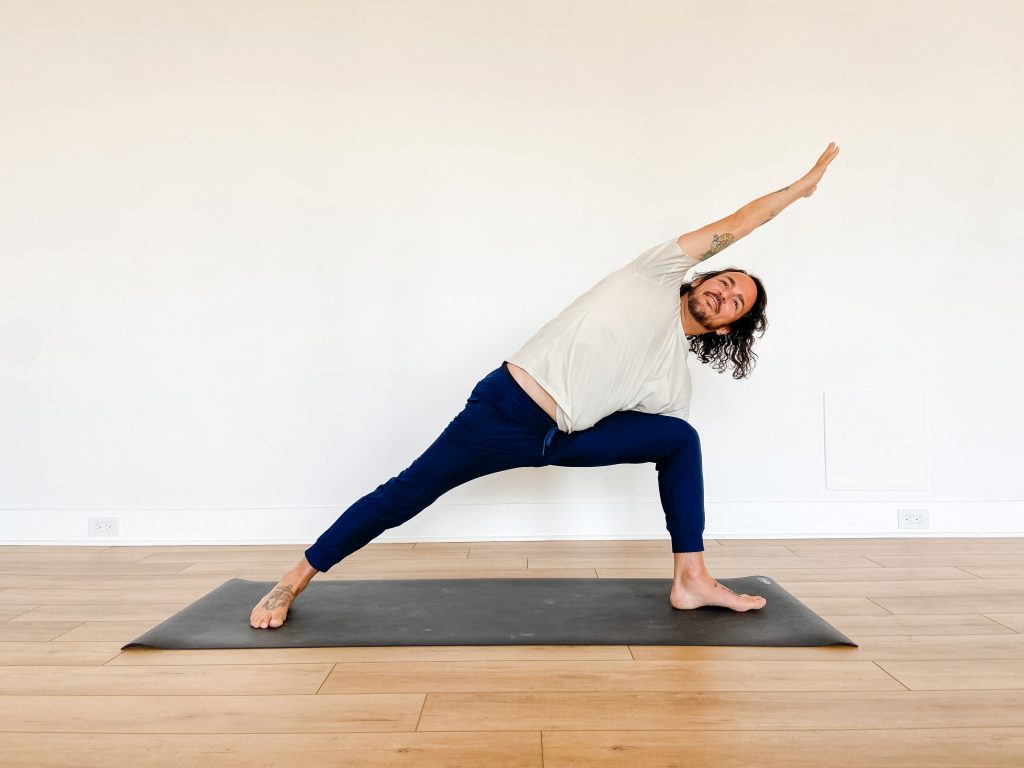
Extended Side Angle is a standing pose that extends the trunk laterally over a bent front leg. It does precisely what its name suggests, extending the sides of the trunk. It creates a single line of lengthening from the back foot to the extended fingertips.
How to get into Extended Side Angle:
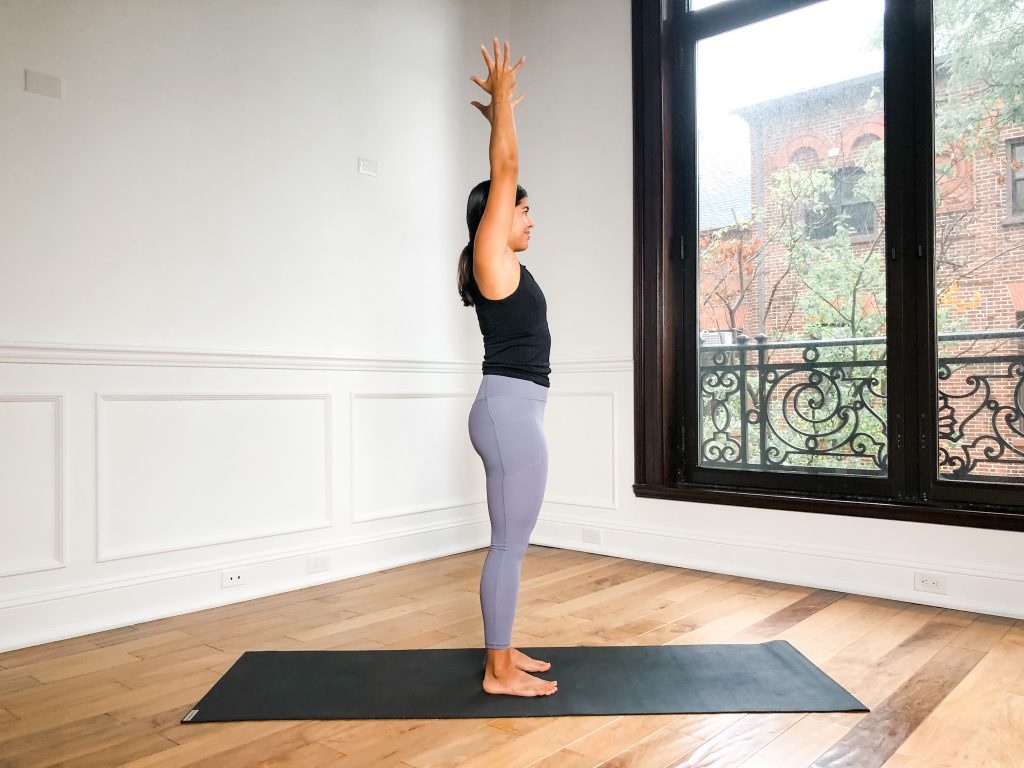
- Stand in Tadasana and step your feet 3 ½ to 4 feet wide
- Turn your right leg and foot out to 90 degrees and the left leg and foot inward 15 degrees – Bend your right leg until the knee is over the ankle forming a right angle. Keep your back leg straight
- Extend your torso laterally alongside your right leg and bring your right hand outside your right foot – Your outer right knee and inner right armpit should be sealed together
- Extend your left arm overhead alongside your left ear – Your palm should face the floor and fingers outstretched.
- Turn your gaze upwards towards your inner left bicep
- Stay for 5 breaths
- Repeat on the other side
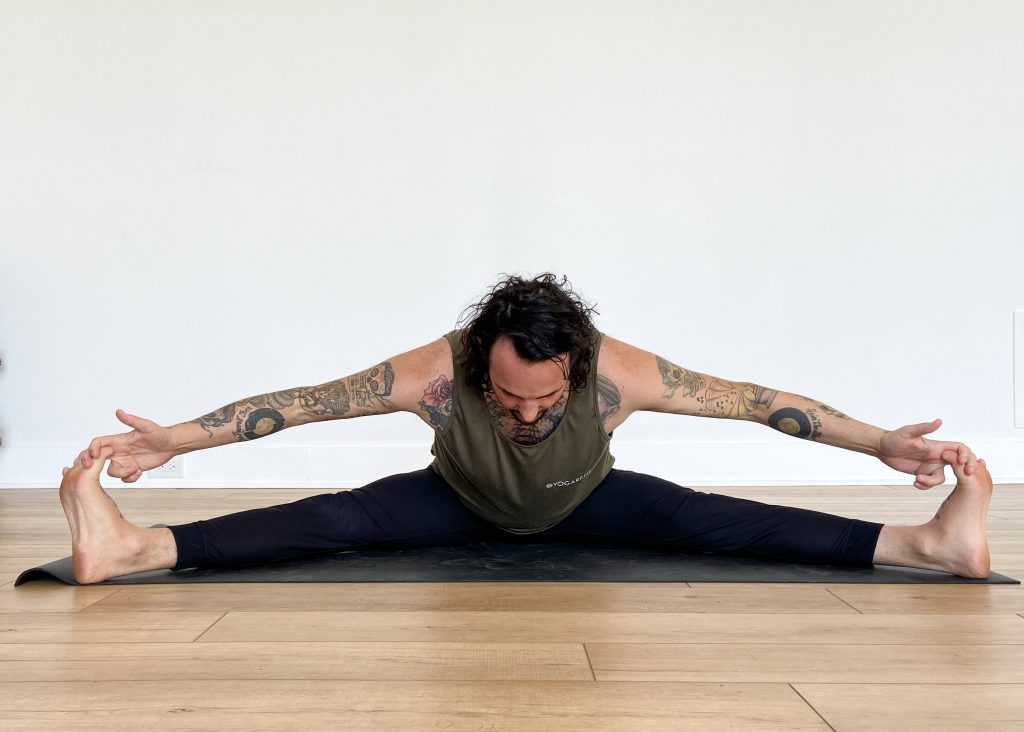
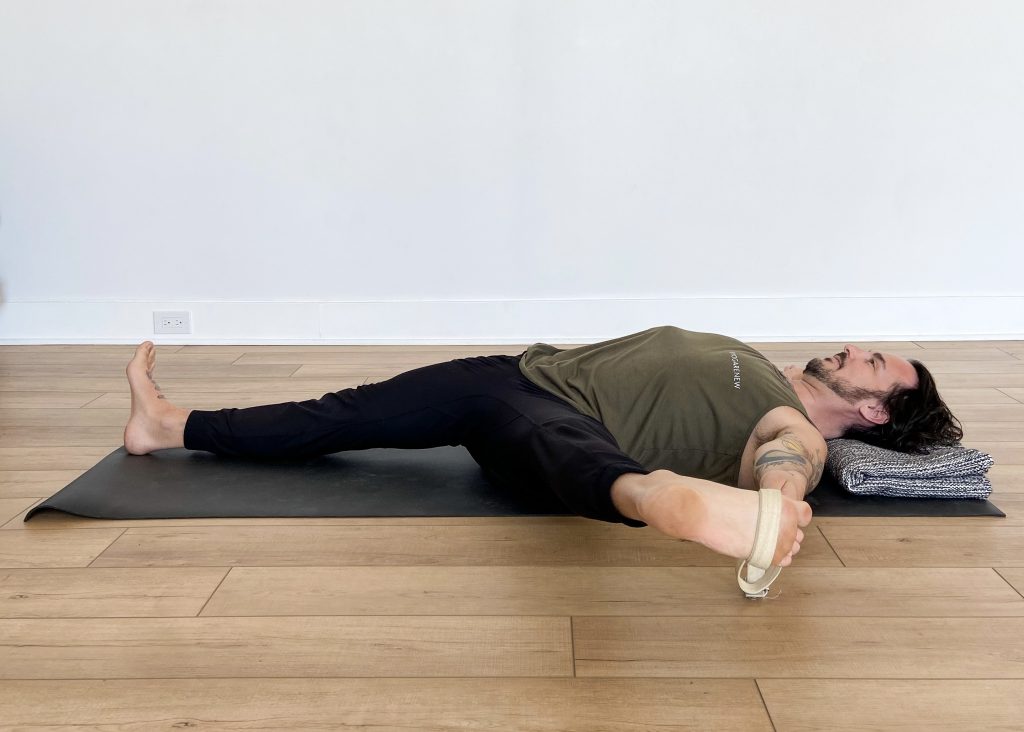
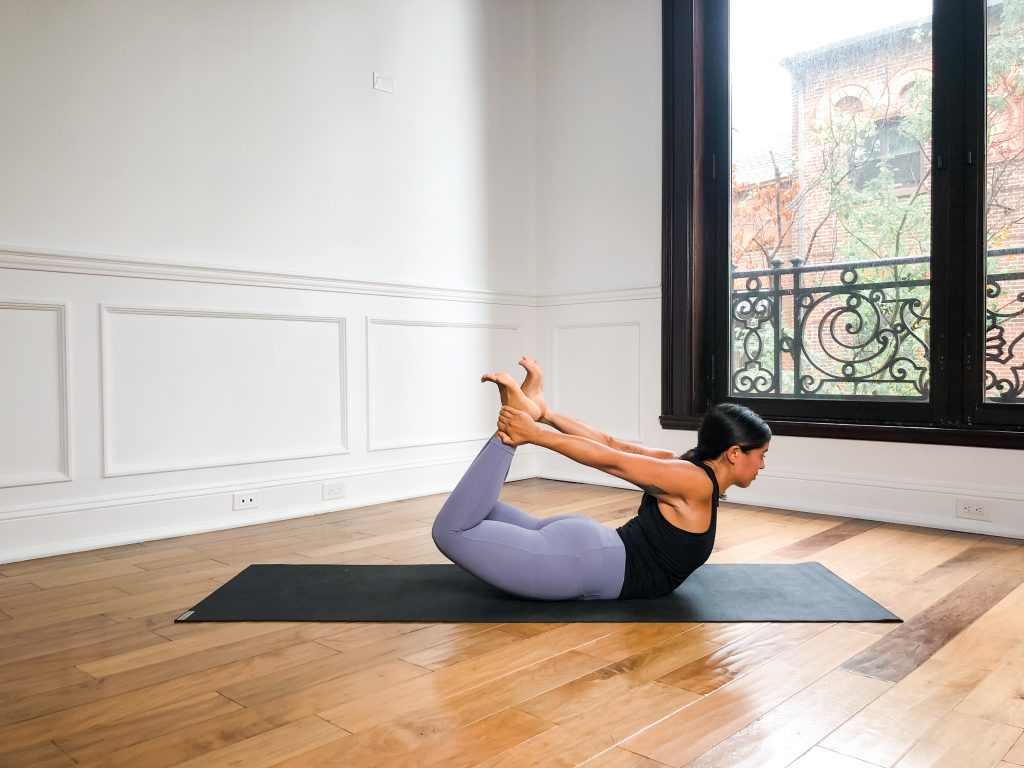
Supporting Pose 3: Marichyasana 1 (Sage Pose)
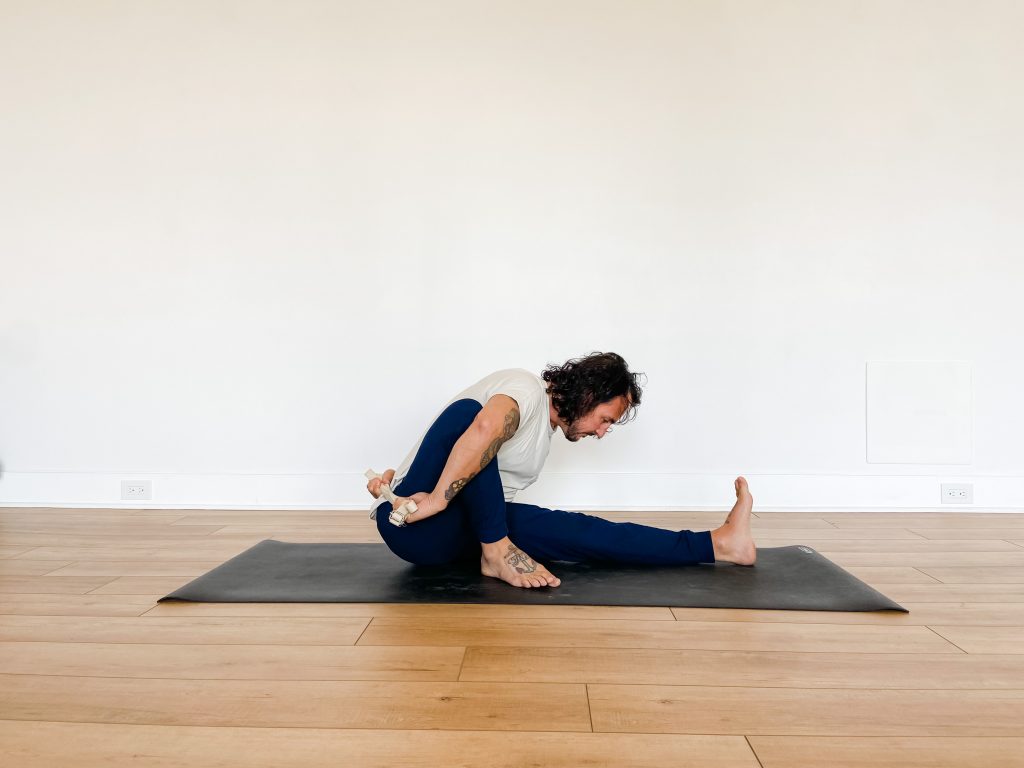
This complex seated forward fold binds the hands together behind the back and around a bent leg. This pose stimulates the abdominal muscles and kidneys and opens the muscles of the back, shoulders and neck.
How to get into Sage Pose:
- Start seated on the floor with your legs extended straight in front of you – You can sit up on a blanket to help lift
- Bend your right leg, bringing your heel towards your sit bone
- Lift your right arm and reach forward inside your right thigh towards your left big toe
- Turn your arm, bringing your thumb to face the floor, and then bend your elbow, wrapping your arm around your bent leg – Your armpit and shin should be sealed together
- Take your left arm and wrap it behind your back, clasping your hands together – If your hands don’t reach you can use a strap
- Inhale lift your chest, exhale extend your torso over your straight left leg
- Stay for 5 breaths
- Repeat on the other side.
Peak Pose: Eka Hasta Bhujasana (Elephant Trunk Pose)
How to get into Elephant Trunk Pose
- Start seated on the floor with your legs extended straight in front of you
- Bend your right leg and place it over your right upper arm. Keep the inner right thigh and knee pressing into the torso and shoulder – Keep your left leg straight
- Plant your hands alongside your hips – You can use blocks under your hands to help lift
- Inhale, and as you exhale, press your palms down and lift your buttocks, torso, and straight (left) leg off the floor
- Pull your abdomen back towards your kidneys, round your upper back and lean forward
- Stay for 5 to 10 breaths
- Repeat on the other side