For years, my vinyasa yoga practice was a complement to my athletic work, primarily long distance running- running strengthened my muscles and yoga lengthened them. But in 2013, I tore both of my hamstrings during the NYC Marathon, and my relationship with my body, and how I stay healthy and active, changed.
Before that though, I want to bring us back to what the yoga world was like back in the heyday of vinyasa yoga in New York City in the 2010s- with vinyasa yoga studios on seemingly every corner, and massive yoga companies churning out vinyasa yoga teachers. The breath-to-movement style of the yoga practice was a popular and energetic way to lengthen and sweat, and vinyasa exploded in popularity in New York City, and across the country, in the early 2010s. By 2017, according to the New York Times, there were at least 85 yoga studios across the city.[1] Classes were packed, and prime time classes at popular studios in Chelsea, Brooklyn Heights and Park Slope were often sold out. Vinyasa yoga was IT.
The Vinyasa Yoga Explosion
I started taking yoga in 2002, and became a yoga teacher in 2014. I, like many other practitioners, saw the meteoric rise of yoga, particularly vinyasa, and was grateful that in my neighborhood in Carroll Gardens, Brooklyn, we went from one yoga studio to at least five from 2005 to 2010.
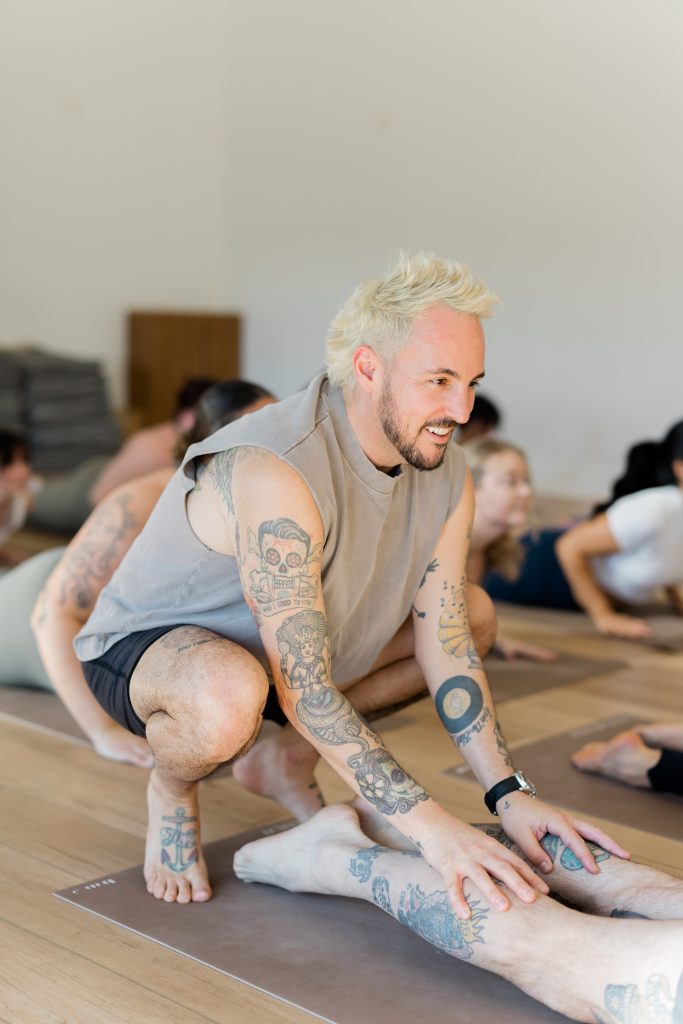
I started teaching at a vinyasa yoga studio in Chelsea and the population of teachers were primarily willowy and flexible, rather traditional Western yoga teachers, who could fold themselves into all types of complicated yoga shapes, and look fantastic on social media while doing it. As an athletically-built, muscular, not particularly-bendy person, my yoga practice looked and felt different than them. As my teaching career progressed, my teaching style, although vinyasa-focused, began to shift to slower, more alignment-based classes. Rather than teach a class around showy, body-bending poses, I tended to teach more “simplistic” poses in ways that broke down the fundamentals of alignment.
I had two poignant interactions with students that shifted my practice and narrowed my focus to alignment-based teaching. First, after a class focusing mostly on triangle pose, a woman came up to me and complained that the class wasn’t “hard enough”, that she wanted more “challenging poses”. Interestingly though, throughout the class, she struggled to maintain alignment and balance in the foundational poses, like Warrior 2 and low lunge. Later that year, a different woman came up to me after a class where we moved slowly and focused on split-stance poses, like low and high lunges, and balancing on one leg, Warrior 3 and Ardha Chandrasana. She told me she felt like her body was put back together. THAT was what I wanted people to feel after my classes, not like I had pulled their bodies apart, but like we had actively put their bodies back together. From then on, my classes were much more alignment-based, focused on foundational poses to support functional movement. The classes I taught still flowed, connecting breath-to-movement, but alignment was purposeful and the poses tended to be more foundational and simplified.
Vinyasa Yogi to Alignment Teacher
My teaching methods changing coincided with how my practice shifted, and it was around this time I started actively recovering from a series of injuries, two torn hamstrings during a marathon, and a few years later, a torn labrum. My doctors and physical therapists all highlighted the imbalances in my body as part of the reason for my injuries, my right hip was a little lower than my left. With this knowledge, my personal practice merged with my teaching methods- foundational, alignment-based movements.
Many of the yoga classes I took focused on “advanced” poses, and I struggled with the designation of “advanced” as only meaning bendy or upside-down or pretzel-twisted. For me, advanced also meant being able to balance in proper alignment in Warrior 3, slowly transitioning from one pose to another in control, or maintaining a strong Ardha Chandrasana, it didn’t always mean pushing myself into poses that were in the back of Light on Yoga.
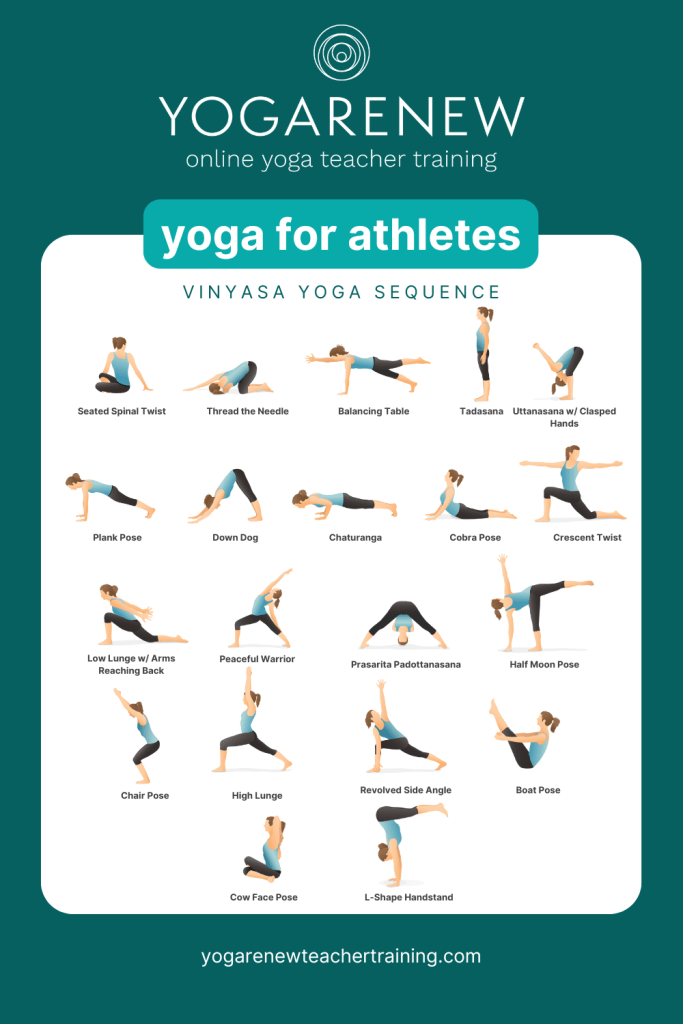
There is this unique difference between challenging ourselves as athletes or yoga practitioners, and pushing ourselves beyond our realistic limits, and part of this connects to how I taught the yoga for athletes classes and the Yoga for Athletes workshop with Yoga Renew. For some of us, our mobility prevents us from bending our bodies in certain ways. It simply doesn’t matter how much we “practice”, our joints, and the tendons and ligaments within them, may not bend in specific ways. For example, my knees and ankles do not bend comfortably into a Lotus pose, because my knee and hip joints do not have that specific mobility.
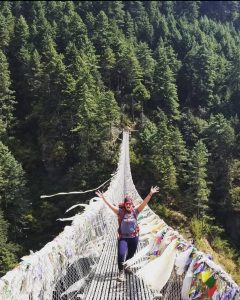
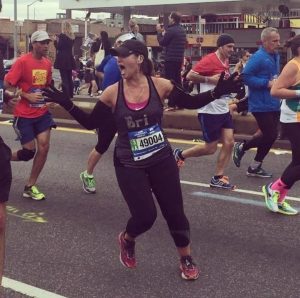 To clarify, I am not saying we should not push ourselves! I have run multiple half and full-marathons, hiked Mt. Kilimanjaro three times and hiked to Everest Base Camp three times. Pushing our physiological limits is incredible, and if we want to achieve something like a summit, road race, climb or a challenging yoga pose, we should work towards those goals! My frustration with the vinyasa yoga scene was that it seemed like the only goal was bendy, instagram-worthy yoga poses that pushed our bodies into mind-melding, and often back-hurting, knee-popping ways. It is healthy to recognize what does and does not work for our individual bodies, and it is a testament to one’s practice to be able to say, “This does not serve me.”
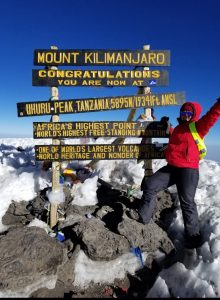
As my teaching, yoga practice and running converged, I realized that there were poses that did not and would not be good for my body. Certain poses would not challenge me, they would simply hurt me because of how my body is put together. I also started to see that some teachers did not ascribe to that thinking. For me though, rather than pushing my students’ bodies into poses that made their backs, knees and necks hurt later in the day, I wanted people to leave my classes feeling good! To quote Brittany Policastro in the Huffington Post in 2015, “[Vinyasa yoga became] more about giving a cool and challenging class than making sure students [were] first and foremost, safe in their bodies.”[2] I saw that more and more as vinyasa yoga became more popular. I never wanted to be the kind of teacher who pushed a student to do something that they knew would be harmful to them. There is a clear delineation between discomfort and pain. Discomfort can challenge us, pain is our body telling us something is wrong.
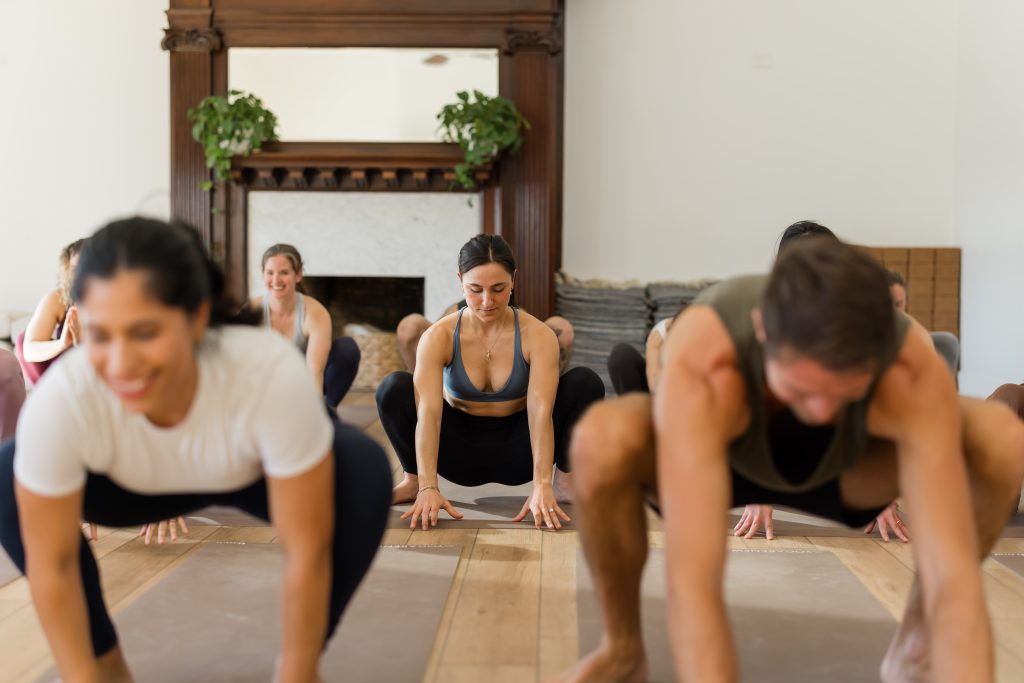
As a long-distance runner, I wanted to teach yoga for athletes. When I pitched it to the owners of the Chelsea yoga studio, they were skeptical. They gave me a challenging time slot (Wednesday, 9:30am), and although it took time, the class grew in popularity. There was no vinyasa in this class. The focus was alignment, strength-building, mobility and flexibility. When we started an athletes class on Saturday afternoons, the classes increased in popularity and the student population was increasingly diverse.
Alignment-based, focused on functional movement and repetitive stress motions, we had practitioners of different ages and abilities, a competitive Jiu Jitsu athlete, an aspiring NFL player, personal trainers, fellow yoga instructors and athletes recovering from injuries. It was exciting to see people challenged in new and often simple ways, such as low lunge twist.
Yogi to Yogi-Athlete
As athletes, we are often active in ways that make us better at something else, strength training to become a faster runner, agility work to become better at basketball, mobility work to become a better tennis player, and all of those practices are valuable to our overall physical health. Yoga for athletes, and what you’ll see in the Yoga for Athletes workshop with YogaRenew, is more foundational than that. I teach classes that improve functional movement, movements based on real-world situational biomechanics.[4] I often said in my athletes classes, I want these classes to improve functional movement so we can get up and do whatever it is we love to do – walk, run, hike, surf, jump rope, climb, lift… in a healthy way, for the long term.

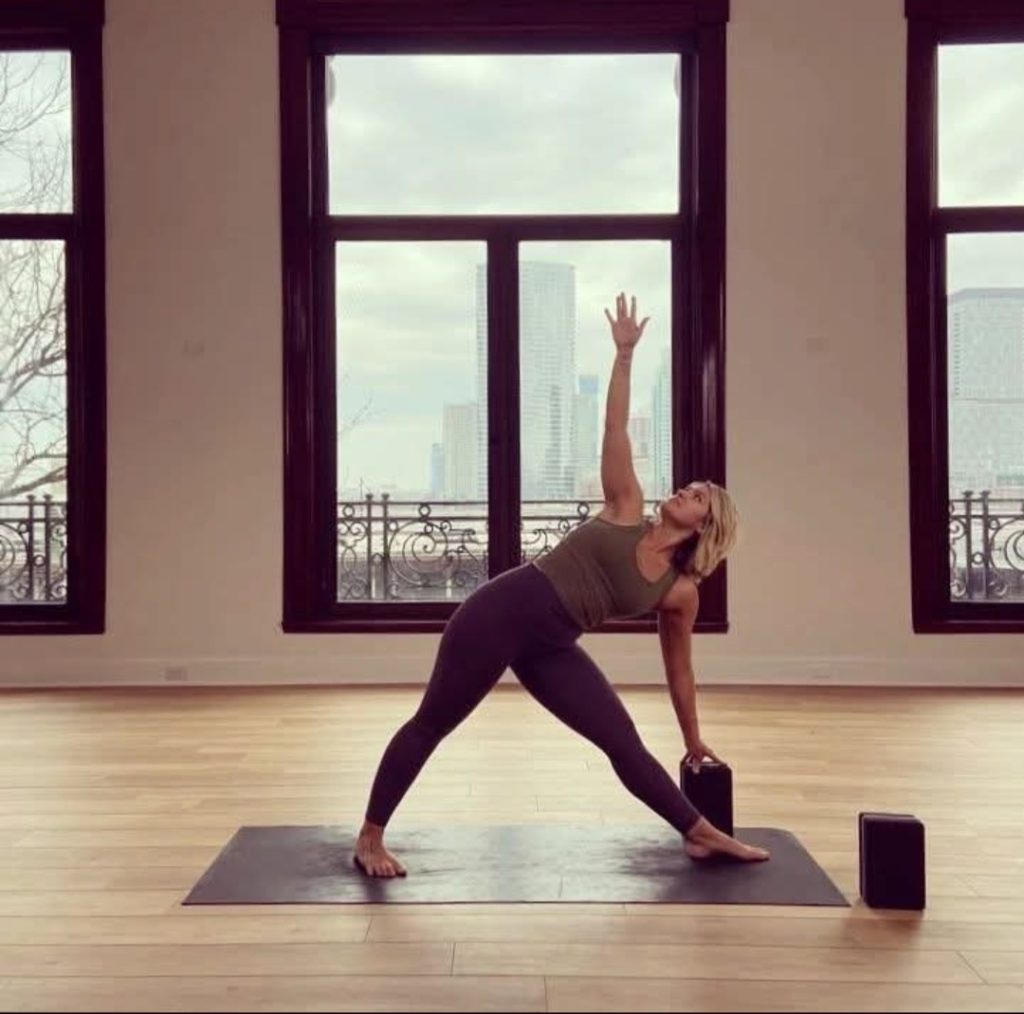
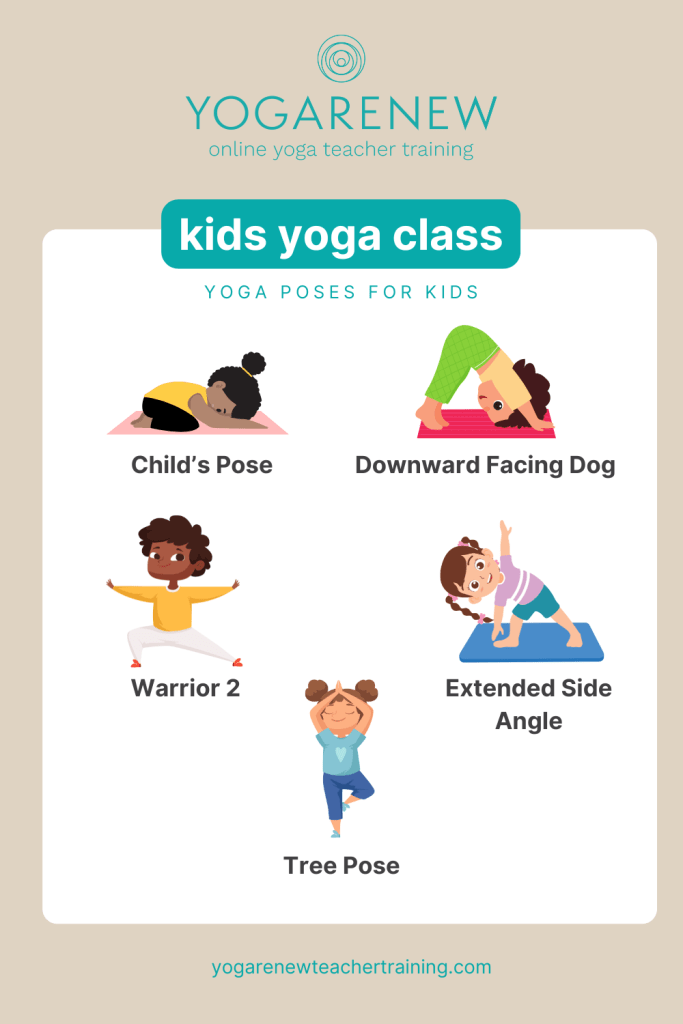
Triangle Pose: A fundamental pose to lengthen the arms and legs and open the chest.
Of course we all have more individualized, specific goals, like running a marathon, hiking a mountain or recovering from an injury, so my athletes classes, and specifically the Yoga for Athletes workshop with Yoga Renew, focuses on the basics, improving functional movement and understanding the concepts of flexibility and mobility, and stability and alignment, so that people can use those building blocks to enhance their yoga practice and improve their athletics.[4,5]
Yoga for Athletes: The Breakdown
Yoga for athletes classes interweave asanas that address functional movement, repetitive stress motions, stability, alignment, flexibility, mobility, strength training and overall strength. Each of these components are a valuable tool to advance the yoga practice and support athletic goals. These are the foundational building blocks from which we then move to running, climbing, yoga, golf, pickleball, any of the athletic activities we love! By improving unilateral movement, we strengthen our running. By fortifying the stabilizing muscles in our ankles, we improve our ability to spring in all directions for tennis. By strengthening our piriformis, we can hike safely, stabilizing our knees over our toes. Yoga has become a standard practice for many athletes as it so clearly benefits so many facets of performance, like preventing injury, enhancing muscle function and combatting stress.[4]
The benefits to improving and strengthening our functional movements are endless. A study in 2016 showed that yoga optimized performance in college athletes.[5] Understanding these concepts is vital to a healthy yoga and athletic practice. Recognizing the differences between these concepts (flexibility and mobility are not the same!) empowers us to understand our biomechanical boundaries and recognize when and where we can challenge ourselves.[12]
Functional Movements
Functional movements are movements based on real-world situational biomechanics, such as walking, sitting and climbing stairs. In our context, it also refers to running, moving laterally, repetitive motions such as rotating our shoulders in a specific way (tennis, lifting, pickleball, etc). A 2022 study published in the International Journal of Environmental Research and Public Health found that yoga improved college athletes’ Functional Movement Screen scores, improving their movement patterns and demonstrating more mindful functional movement overall.[6]
In athletes classes and in the Yoga for Athletes workshop, I teach asanas that mimic functional movements, and promote stability and alignment. For example, split-stance asanas, such as low and high lunge, teach our body strength and create muscle memory. Our bodies learn how to be in a split stance position in a healthy, strong and stable way, so, when we move fast and hard, like running, these positions are already learned. The muscles know how to create and stabilize the shapes.[9]
Repetitive Stress Motions
Repetitive stress motions are actions that are repeated, generally with impact, that cause stress to our musculoskeletal and/or nervous system. These actions often affect our joints and can, over time, cause injuries from overuse, imbalances and misalignment. That’s how I tore the labrum in my hip. After years of slightly misaligned hip joints, and thousands of miles of running, the head of my right femur bone tore the labrum in my right hip. One of the most common causes of injuries from repetitive stress motions are ankle and knee injuries.[3] After years of slight misalignment and overuse, ligament, tendon and muscular damage can and often does occur in our knees and ankles. The #1 most common sports injury in the United States are sprains and strains, usually involving damage to ligaments, muscles or tendons.[3]
In the article “Yoga for Repetitive Stress (Muscle) Syndrome”, Kristie Reilly discusses how the yoga practice can counter the many impacts of repetitive stress motions.[7] In the athletes classes, asanas that decompress the skeletal system, and reduce or counter high intensity and repetitive impact work can promote rest and healing, reducing susceptibility to injury. Seasoned athletes know the huge importance of “rest” days, but that doesn’t mean days of doing nothing. Active rest and recovery can be practicing asanas that help our bodies recover from high impact activity, such as legs up the wall, which allows fresh, oxygenated blood to flow to our upper extremities, as well as stimulating our lymphatic fluid.
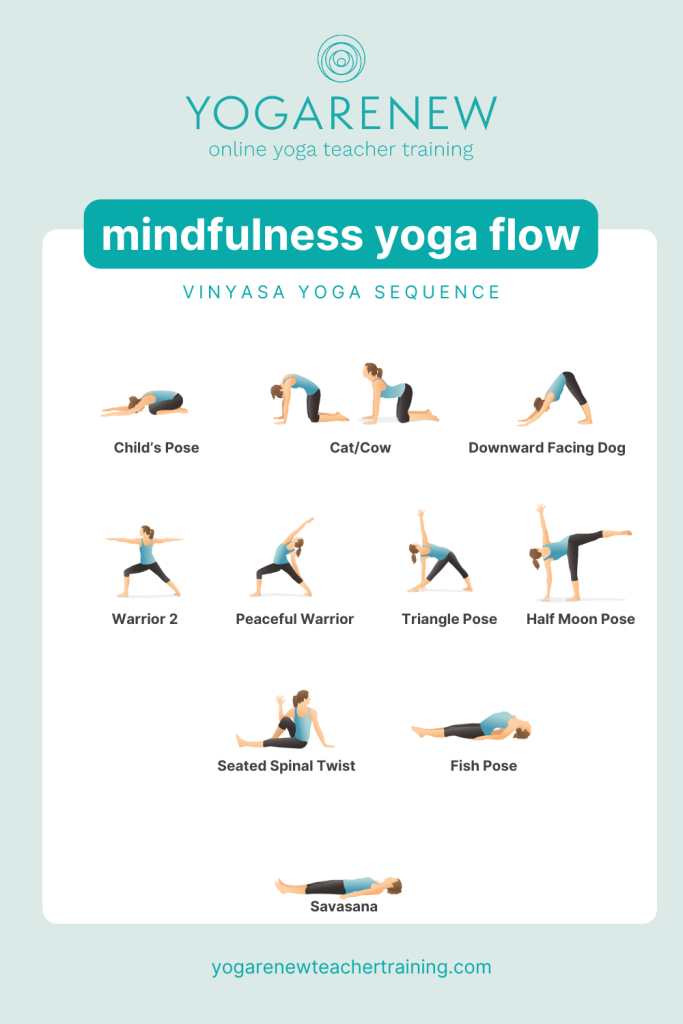
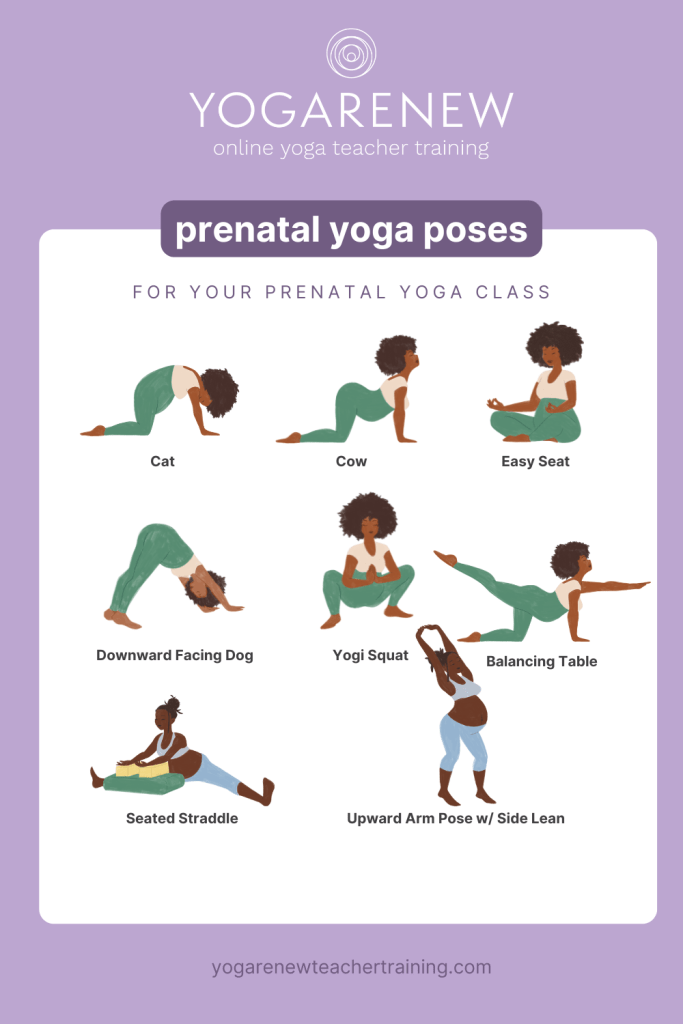
Stacey Pierce-Talsma, of the University of New England College of Osteopathic Medicine, discusses how specific yoga poses can address overuse injuries and details how poses counteract these issues.[8] Child’s pose stretches the ankles, spine, hips and thighs, while reducing back and neck pain. Cat-cow improves spinal flexibility, releases muscle tension in the back and neck, and increases the connection between the mind and the physical body. Utilizing asana to counteract the effects of repetitive stress motions can help us practice our athletic activities longer and healthier.[4,8]
Stability
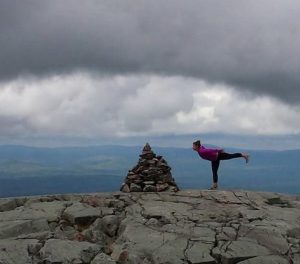
Warrior 3
Stability is the body’s ability to maintain postural equilibrium and support joints during movement. I teach stabilization poses in every athletes class. Stability is being able to keep one’s self upright while moving in all directions. Asanas, like Warrior 2, Warrior 3 and Ardha Chandrasana, improve overall strength and stability, and challenge the small stabilizing muscles around the ankles and knees. Postural equilibrium and joint alignment encourages healthy, safe and efficient functional movement.[9] Johns Hopkins details the overall benefits of yoga and how it improves stability.[9] A 2022 study published in the Slovenian Journal of Public Health found evidence that even a four week yoga program improved people’s dynamic and static stability.[10]
My favorite stabilizing pose is a variation of tree pose, standing on a neatly folded blanket next to a wall. The focus is the balance and strengthening of the standing ankle and knee, rather than the lifted leg. The wall is there to support that intention. I always encourage my students to use blocks or the wall in balancing poses as the poses are meant to build strength and stabilization for the small stabilizing muscles up to the large muscle groups. Stabilizing poses also enhance proprioception, our body’s ability to sense its position and movement in space.[11] Proprioception is crucial to athletes as we climb, play tennis, hike, run and engage with the world around us. Our ability to adapt quickly to our changing environment enables us to move quickly, gain strength and react to our surroundings.
Alignment
All of these concepts, and the asanas we practice to improve them, flow into each other. Our stabilizing poses help strengthen our ability to maintain alignment. Proper alignment of the body puts less stress on our spine and joints, and supports good posture. Alignment is how our head, shoulders, spine, hips, knees and ankles line up to each other. Asanas that encourage musculoskeletal alignment enable us to create, practice and maintain healthy bio-mechanic positioning- these poses help us stand up straight! Misalignments can start small, but can be exacerbated by repetitive stress motions over time. Our bodies are not perfectly symmetrical, so I encourage practitioners to stay an extra few breaths on the side that feels a little more wobbly or seems more challenging. We all have an ankle that is stronger or a hip that may feel a little weaker. Acknowledging that our bodies have misalignments, and then addressing them through stabilizing asanas, promotes alignment and can help us avoid injury.
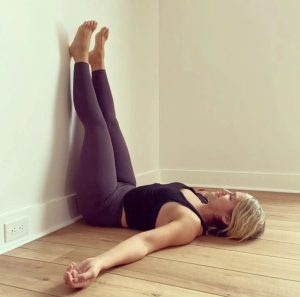
Legs up the wall
In my yoga for athletes workshop, I highlight how strength and alignment work together- when we move our bodies slowly and with intention, we create habitual patterns of alignment and stability in the body. Ann Swanson’s 2025 article, “The Science of Stability,” also highlights how our yoga practice develops resilience within our physiological body, which helps us adapt to change more quickly and promote overall stability.[11] When we engage in repetitive stress motions, our bodies’ muscular system utilizes that muscle memory and training, which enables us to remain stable and in proper alignment.
Flexibility vs Mobility
Flexibility is the ability of a muscle or muscle groups to passively lengthen through a range of motion, whereas mobility is the ability of our body’s joints to move actively through a range of motion. These are important distinctions for our own knowledge and body awareness, and also because these words are often used interchangeably in the yoga world. Flexibility and mobility have two distinctly different meanings, but are important to overall fitness and health. Jimmy Haley, of Penn State’s Kinesiology Department, states that flexibility and mobility are “key components of health to the individual.”[12]
In yoga, we often practice asanas that focus on flexibility, such as seated forward fold or forward bends. These asanas promote muscular flexibility through passive extension. This doesn’t mean that the pose itself is passive, we may be effortful in a pose that promotes flexibility, but the muscle that is being lengthened is in a passive state. Flexibility encourages a healthy range of motion in the muscles, and cultivates healthy alignment, mobility and muscle coordination. When our muscles can extend to their full range of motion in yoga, and our other activities, our body functions at a healthier, more efficient level.[9]
Mobility range is different from person to person. It’s important to find which postures enhance your practice and which postures can seem more difficult and find ways to modify them or use props!
Mobility, on the other hand, is the ability of our joints to move actively through a range of motion. The dynamic movement of our asana practice can promote healthy mobility throughout our joints. Flexibility and mobility are essentially different, but they work in conjunction to create healthy, functional movement.[12] Flexible muscles, muscles that can lengthen passively in a healthy range of motion, promote and support healthy, dynamic joint mobility. Knowing the difference between these two concepts empowers practitioners to make informed choices about practicing asanas that can challenge them, and not participating in asanas that do not feel safe. “There are many different factors that can impact how mobile or flexible someone is. Age, genetics, past injuries or surgeries…” all can affect the flexibility of our muscles and the mobility in our joints.[13]
As I previously mentioned, Lotus pose does not work for my body. I do not have the mobility in my hip, knee and ankle joints to sit in Lotus pose without pain, so I choose not to practice any variation of Lotus. I stress this in athletes classes- learning the difference between discomfort and pain. Learning how to push ourselves into comfortably uncomfortable spaces in our yoga and athletic practices can help us grow. Discomfort can challenge us, increase our strength, advance our training and promote flexibility and mobility. Pain, however, iis our body’s indication that something is wrong, that a pose or movement is harming us. Recognizing that something does not work for your body demonstrates informed body-consciousness and promotes healthy longevity in the asanas and activities that work for you!
Strength
Finally, strength training and strength are always components of my athletes classes. Strength training is physical movement, effort or exercises designed to improve strength and endurance. The asana practice builds strength through bodyweight movement and resistance training.[14] Strength is our body’s capacity for exertion and/or endurance. The asana practice can be used as a benchmark or gauge of our training and muscular capacity. Through tailored strength-focused asanas, we can improve our overall strength and endurance. A 2021 meta-study found that a consistent yoga practice showed positive effects on “muscle strength, balance, mobility and lower body flexibility.”[14]
Our entire asana practice can be strength-focused based on how we set up our poses, how long we hold them and utilizing props- Tree pose on a blanket, Warrior 2 with a block between the front knee and a wall, Chair pose with a block between our heels, low lunge with fingers hovering off the ground. Utilizing props and our weight distribution can help us focus our body’s exertion towards certain muscle groups and enhance our strength building capacity. A 2015 study showed that a consistent yoga practice was an effective way to improve overall functional fitness and strength, and the 2021 meta-study showed that, specifically for people in their 60s and 70s, yoga had a positive impact on overall physical fitness.[15,14] Our yoga practice, in conjunction with and as a complement to our overall strength training, not only benefits our athletic goals, but improves our overall health. As our body’s capacity for exertion and endurance grows, we build on that strength, improving our overall training and expanding our knowledge of our bodies’ current abilities and future possibilities!
Take it to Your Mat!
I encourage you to utilize these concepts to explore your own body and practice. Practice asana that resonates with your body and training. Find what works for your body to promote stability, alignment, flexibility, mobility and strength, and counter imbalances. The asana practice is varied and vast, and can be tailored to what works for your specific needs and what your athletic goals are. Whether you want to run a 5k or a marathon, hike a local mountain or Mt. Kilimanjaro, play tennis, pickleball or handball, cycle around town or compete in a 50 mile race, the more knowledge and information we have on how we can put our body safely together, as opposed to pulling it apart, the more successful and healthy we can be for the long-term and achieve our athletic goals.