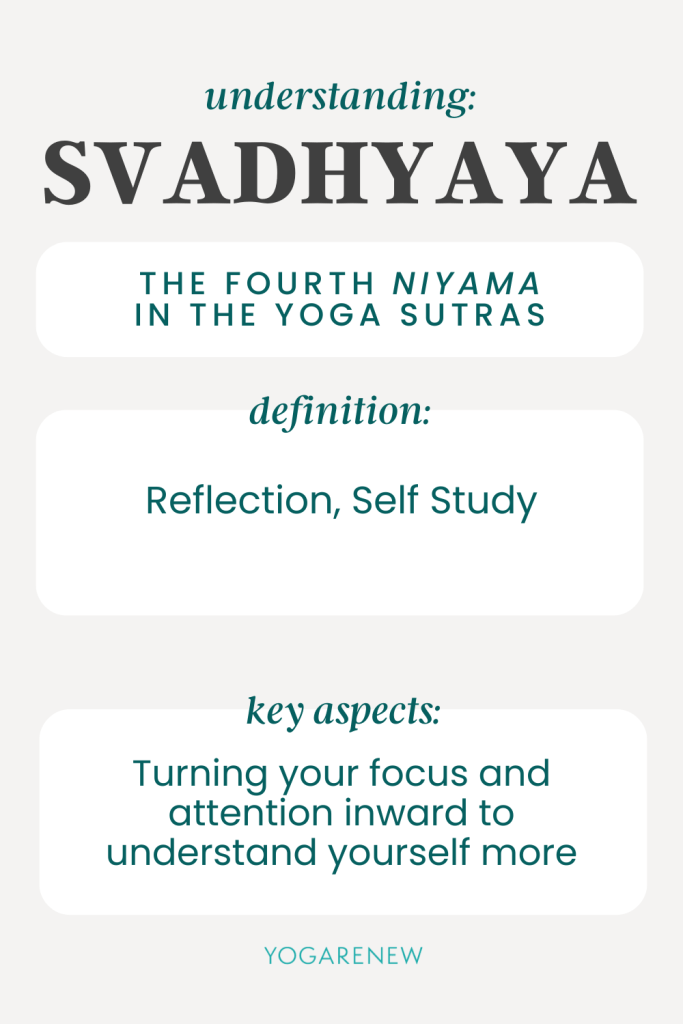
In the journey of yoga, Svadhyaya stands as a beacon of self-awareness and personal growth. Svadhyaya, derived from Sanskrit, means “self-study” or “self-reflection.” It is one of the five Niyamas outlined in Patanjali’s Yoga Sutras and serves as a powerful tool for deepening your understanding of both yourself and your yoga practice. In this blog post, we’ll explore the significance of Svadhyaya and how it can inspire and guide you toward greater self-discovery, leading to transformative changes both on and off the mat.
What is Svadhyaya?
Svadhyaya is the practice of studying oneself through introspection, reflection, and the study of sacred texts. It invites us to dive deeper into our thoughts, behaviors, and motivations, cultivating a greater understanding of who we are and why we do what we do. This principle is not just about intellectual study but involves a heartfelt exploration of your inner world, fostering personal growth and spiritual awakening.
Svadhyaya on the Mat: Self-Discovery Through Practice
Your yoga mat is a powerful space for practicing Svadhyaya. It offers an opportunity to observe your reactions, emotions, and patterns as you move through your practice. Here’s how you can bring Svadhyaya to life during your yoga sessions:
- Mindful Observation: Pay attention to your thoughts and emotions as you move through different poses. Notice any resistance, frustration, or joy that arises, and reflect on what these feelings reveal about your inner state.
- Non-Judgmental Awareness: Practice observing your thoughts and reactions without judgment. Svadhyaya is about understanding, not criticizing. This compassionate approach allows you to learn from your experiences rather than being weighed down by them.
- Setting Intentions: Begin your practice with a specific intention related to self-discovery. Whether it’s understanding a particular emotion or exploring a new aspect of yourself, use your time on the mat to delve deeper into that intention.
Svadhyaya Beyond the Mat: A Daily Practice of Self-Reflection
Svadhyaya extends far beyond your yoga mat, offering valuable insights that can transform your daily life. Here are some ways to integrate Svadhyaya into your everyday routine:
- Journaling: Writing down your thoughts and experiences is a powerful way to engage in self-study. Journaling allows you to process your emotions, track your progress, and uncover patterns that may not be immediately apparent.
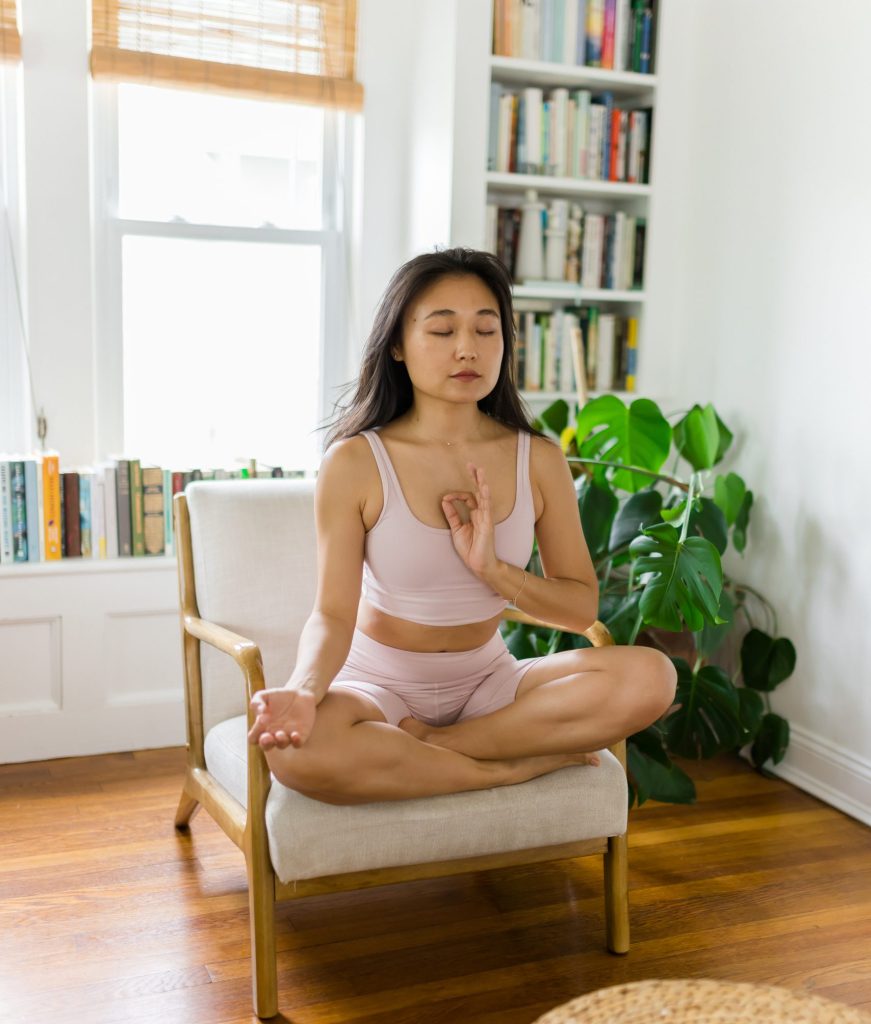
- Meditation: Incorporate regular meditation into your routine as a means of self-reflection. Meditation helps you connect with your inner self, offering clarity and insight into your true nature.
- Study of Sacred Texts: Explore ancient yogic texts, such as the Yoga Sutras or the Bhagavad Gita, as part of your self-study. These texts offer timeless wisdom that can guide your personal growth and deepen your understanding of yoga philosophy.
The Transformative Power of Svadhyaya
Engaging in Svadhyaya leads to profound personal transformation. As you explore your inner world, you begin to uncover the layers of conditioning, beliefs, and habits that shape your life. This awareness empowers you to make conscious choices, align with your true self, and live a more intentional and fulfilling life.
- Breaking Free from Old Patterns: By understanding your habitual thoughts and behaviors, Svadhyaya gives you the power to break free from limiting patterns and create new, empowering ones.
- Deepening Your Spiritual Connection: Self-study helps you connect more deeply with your spiritual self, fostering a sense of inner peace, purpose, and fulfillment.
- Enhancing Your Yoga Practice: The insights gained through Svadhyaya can enhance your yoga practice, making it a more meaningful and transformative experience.
Explore Svadhyaya with Our Online Yoga Courses
If you’re inspired by the principles of Svadhyaya and eager to deepen your self-study, our online yoga courses offer the perfect opportunity to explore this transformative practice. Designed to guide you through the depths of yoga philosophy, our courses provide the tools and guidance you need to embark on a journey of self-discovery and personal growth.
- Comprehensive Curriculum: Our courses cover the full spectrum of yoga philosophy, including the Niyamas, Yamas, meditation, and more. You’ll gain a deep understanding of Svadhyaya and how to apply it in your life.
- Interactive Learning: Engage in interactive learning experiences that encourage self-reflection and personal growth. Our courses include video lessons, guided meditations, journaling prompts, and discussions to enhance your understanding and practice of Svadhyaya.
- Flexible and Accessible: Study at your own pace, from the comfort of your home. Our online platform makes it easy to fit yoga study into your busy life, allowing you to continue your journey of self-discovery whenever and wherever it suits you.
Embark on Your Journey of Svadhyaya
Svadhyaya is a lifelong journey of self-discovery, offering endless opportunities for growth, transformation, and spiritual awakening. By embracing this principle, you can deepen your understanding of yourself, enrich your yoga practice, and live a more intentional and fulfilling life.
Continue Reading
If you’re ready to dive deeper into the practice of Svadhyaya and explore the transformative power of self-study, we invite you to join our online yoga philosophy course. Start your journey today and unlock the potential within you, guided by the timeless wisdom of yoga philosophy.
Explore the last of the Niyamas, Isvara Pranidhana in this next blog post.
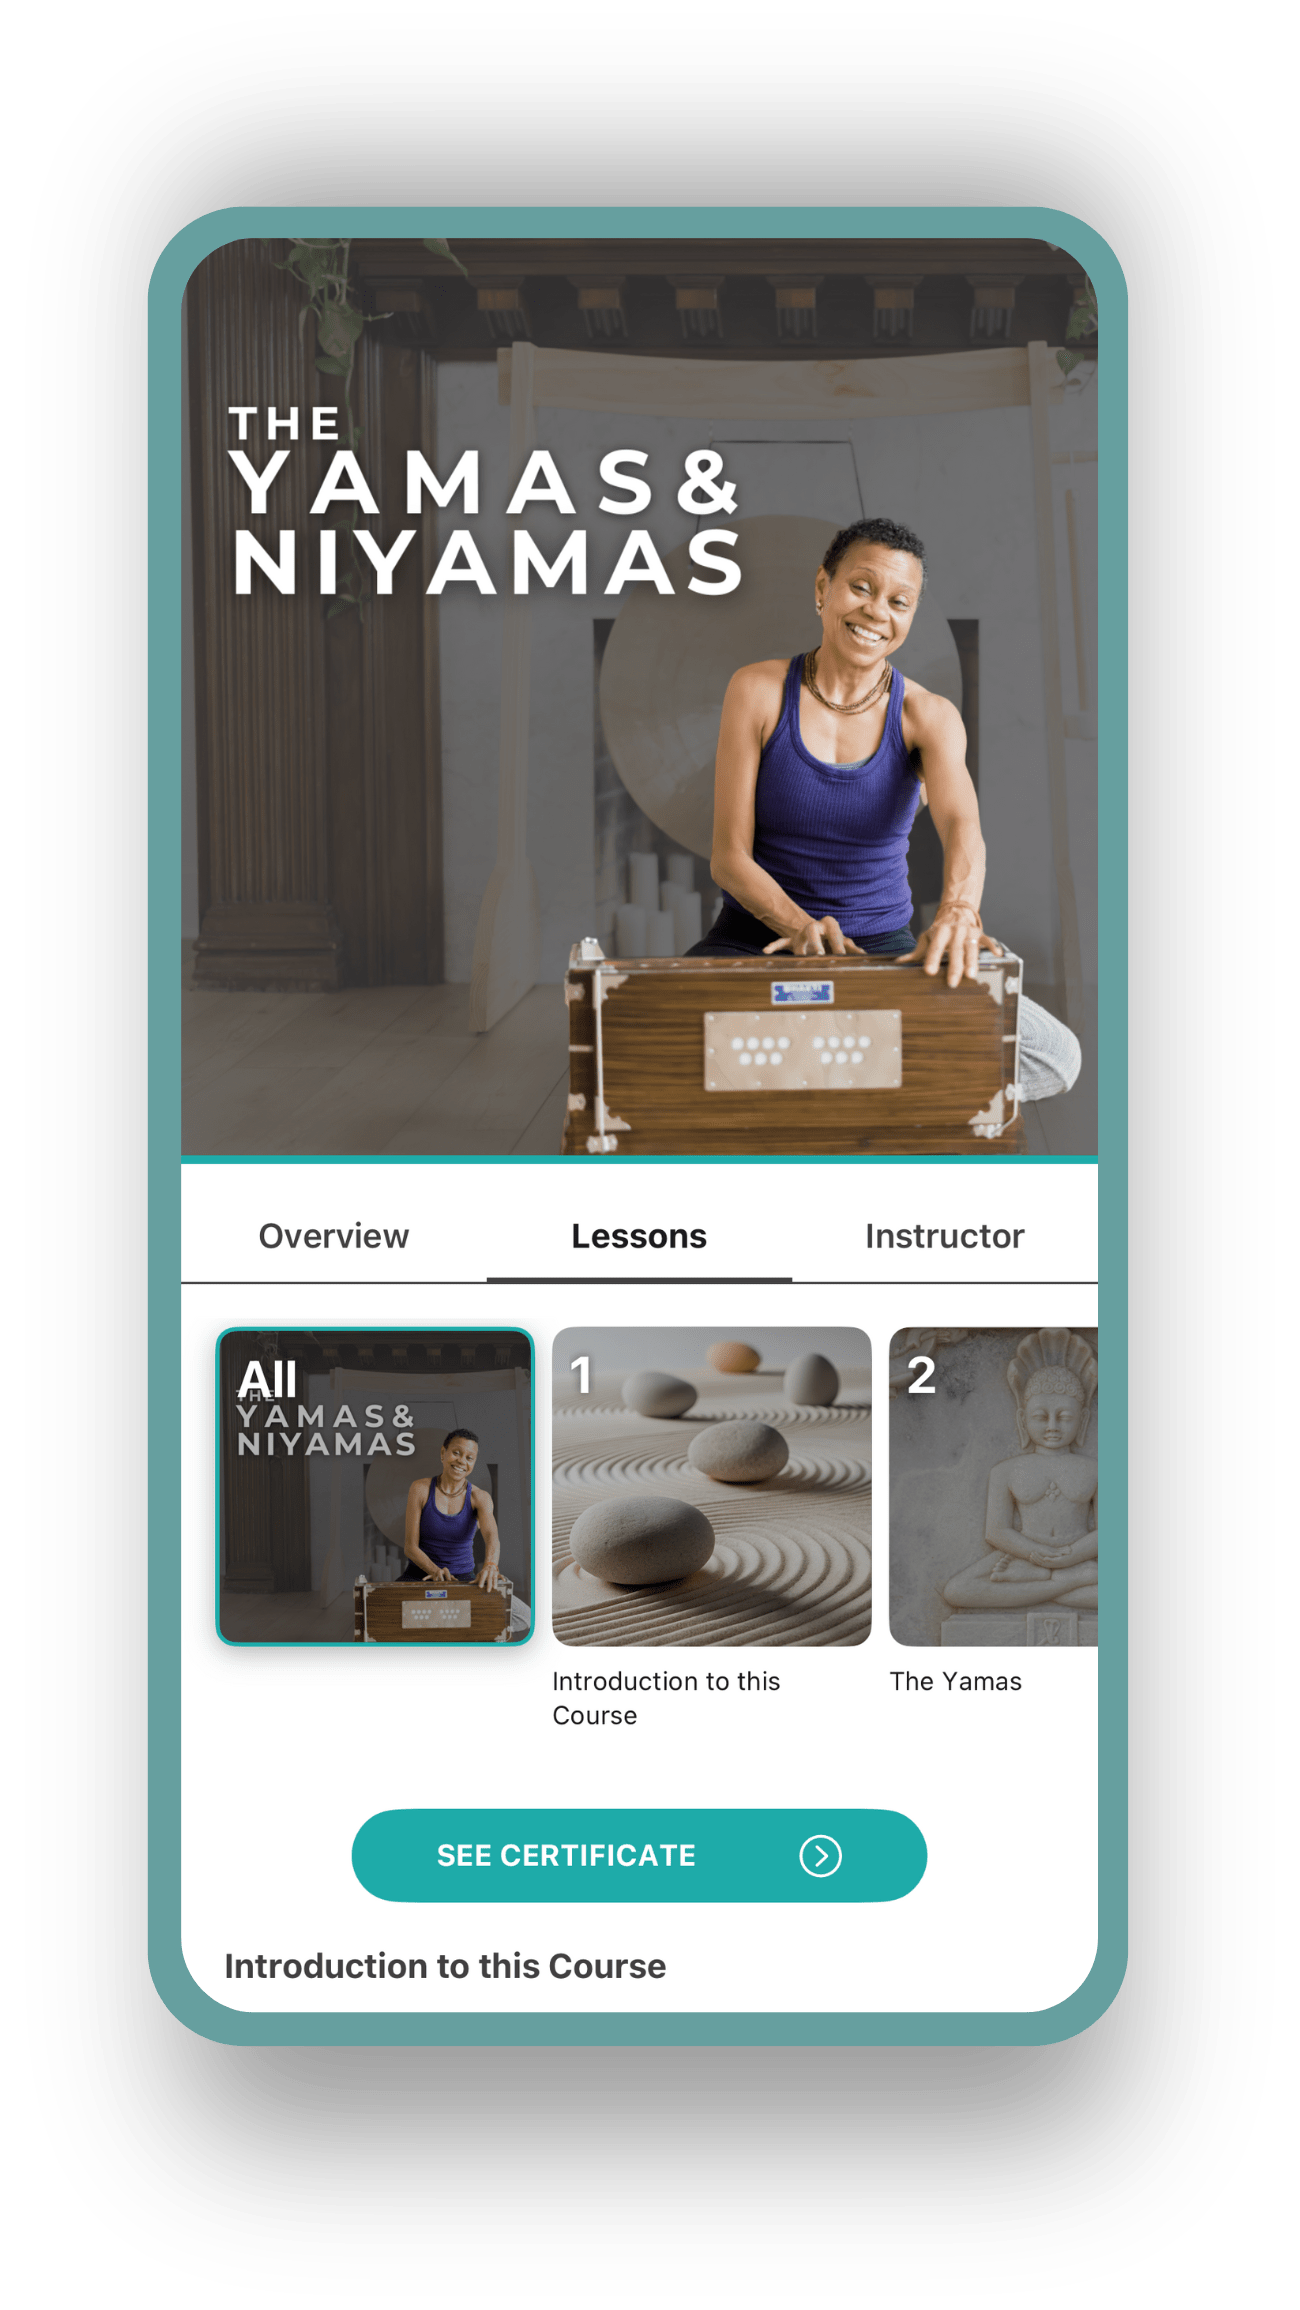
Take a Journey Through the Yamas/Niyamas
Enhance your spiritual journey with incredible insight on the Yamas/Niyamas in Julie Pasqual’s immersive and transformative online course. Get started for free, and gain access to YogaRenew’s app with all of our workshops, classes, series and live events.