The more you study yoga and the more you inevitably study topics like anatomy, alignment, muscles, tissues, and all things body-related. During these studies, you’re bound to come across the topic of fascia tissue. When I did my first Yin Yoga Teacher Training, I was totally obsessed with learning about fascia tissue and wondered why I hadn’t studied it more in the past. It’s often understood as the connective tissue in our bodies, but it’s so much more!
Like almost everything else in the practice of yoga, this fibrous network goes beyond being only about connection. As you dive into the deeper study of fascia, it relates to so many other concepts within the mind and body and hope you move through this world.
The first time a teacher described fascia to me, they compared it to “that white stuff” you see when you peel an orange. It’s what keeps the fruit connected, but it’s not something everyone thinks about when they think of an orange. In your body, fascia is like the thread that interlaces through every fiber of muscle, every pivot of bone, every whisper of nerve, and every thrumming organ. With its fibrous collagen, its resilient elastin, and its nurturing gel-like matrix, fascia is the perfect blend of strength and vulnerability. It has a dual role of both supporter and facilitator within your body.
What exactly is fascia?
Fascia is an ongoing, continuous web of connective tissue that surrounds and supports every muscle, bone, nerve, blood vessel, and organ to the cellular level. Fascia is this super-thin, tough layer that wraps around all your muscles and bones. It helps keep everything in place and allows you to move, bend, and play without your insides getting all jumbled up. It’s really important because it serves as the connector to all the different parts inside of you and makes sure they work well together.
Why is fascia important in the yoga asana practice?
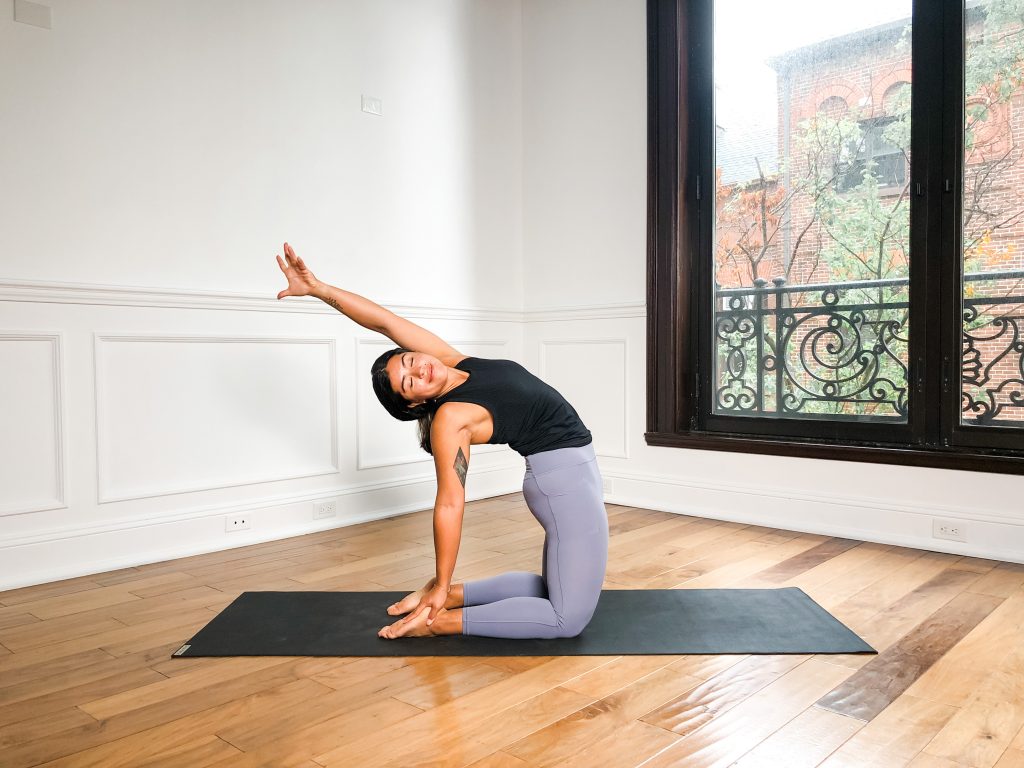
When you perform yoga asanas (postures), you’re not just stretching muscles; you’re also stretching and stimulating the fascia. Healthy fascia is elastic and resilient, so a regular yoga practice helps maintain its suppleness. This can lead to increased flexibility, improved range of motion, and a feeling of openness in the body. Doesn’t that sound amazing?
Yoga also encourages the mind-body connection through the practice. When you move mindfully, it may lead to a more nuanced perception of the body’s internal state. Since fascia is rich in nerve endings, it may play a role in proprioception (the sense of the relative position of one’s own parts of the body) and interoception (the sense of the internal state of the body). Yoga enhances this connection and awareness, which can, in turn, lead to better engagement and training of the fascial system.
What about trauma?
If you dig into the study of fascia, you are bound to come up with the connection it has to trauma. Yoga teaches us that every experience in life gets stored somewhere in the body. Fascia is thought to hold tension and trauma, both physically and emotionally. When fascial tension is released, it can sometimes help process and release emotional tension. Yin yoga specifically focuses on this concept and this practice.
What about flow?
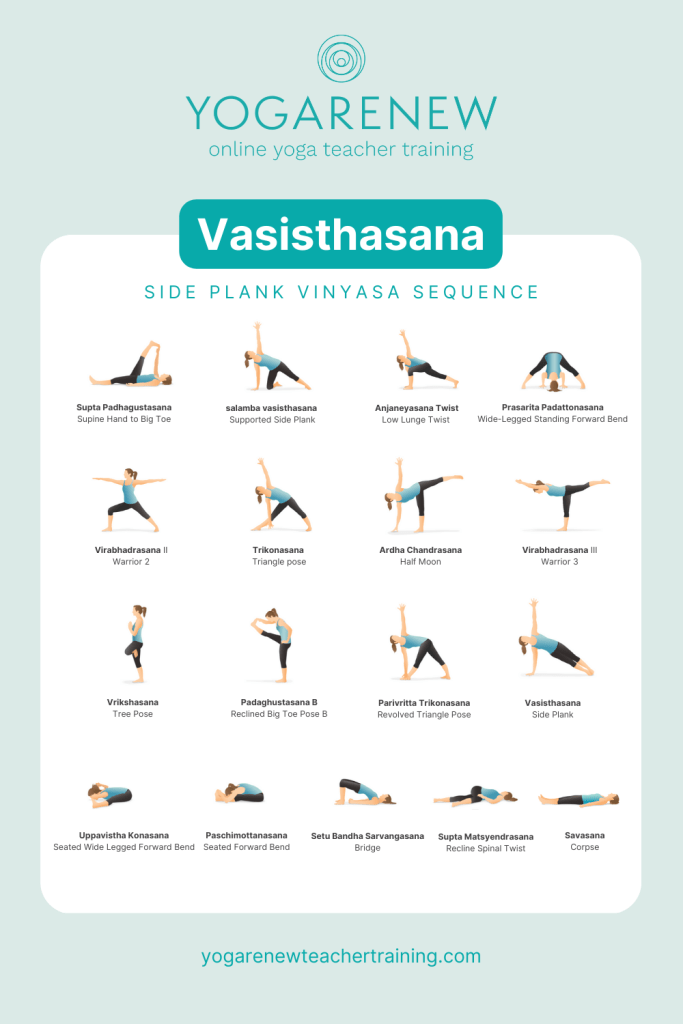
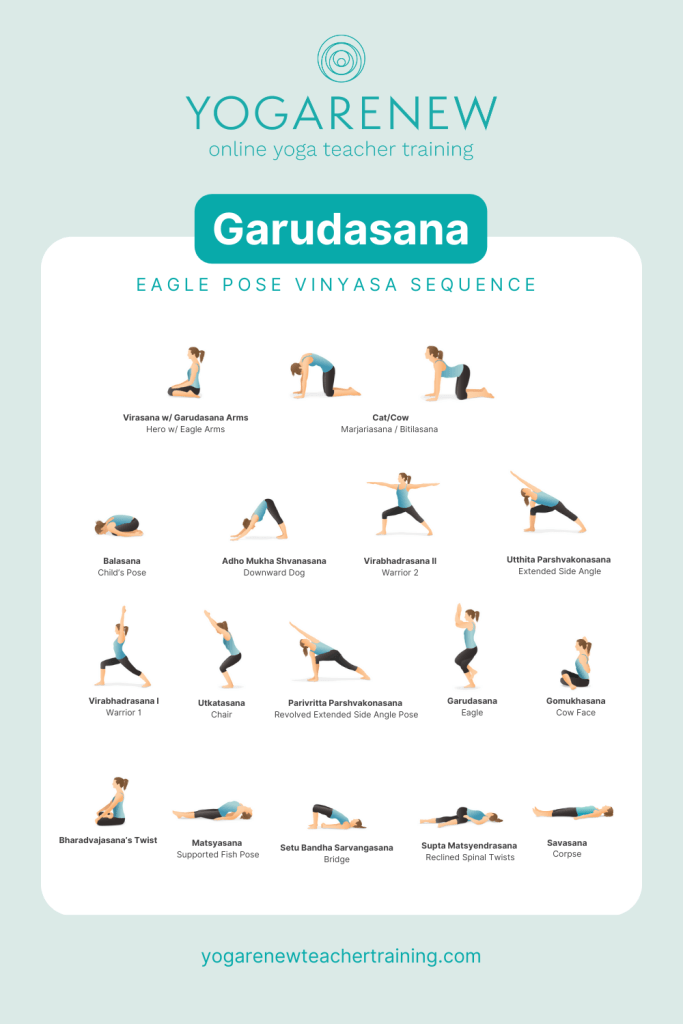
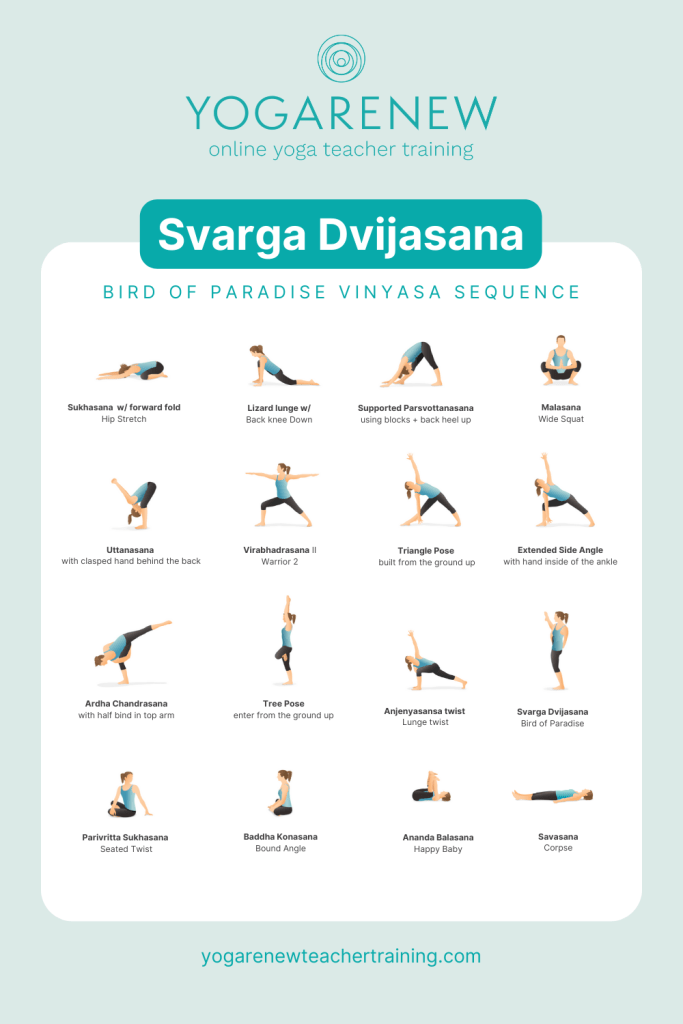
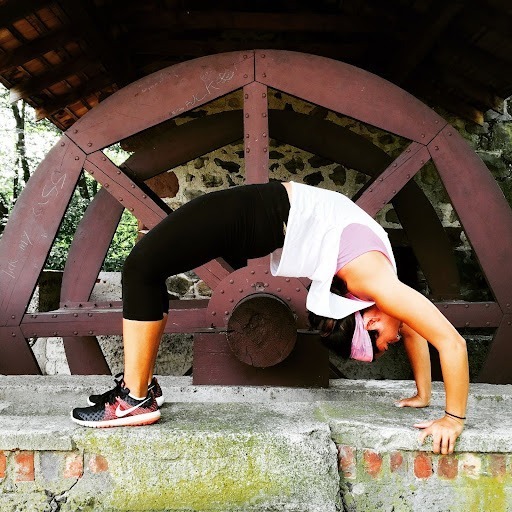
In a vinyasa yoga class, there is more of a “flow” component to the practice than in other styles of yoga. You move from asana to asana in a more fluid way and also connect more deeply to the breath syncing with the movement. The quality of flow in yoga movements is similar to the quality of a healthy fascial system. A well-maintained fascial network allows for smooth, gliding movements of muscles and joints, which is something that regular vinyasa yoga practice can enhance.
Injury and Recovery
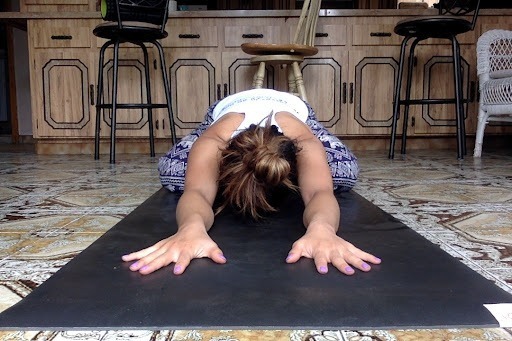
Regular movement, like a regular yoga practice, can help maintain fascial health, which is essential for injury prevention. When fascia is not well-maintained, it becomes dehydrated, stiff, or sticky. This can lead to a higher risk of injury. Yoga, and overall movement, can help keep the fascia and the body less prone to injury. When the fascia is well-maintained, recovery time from injuries may be shorter.
The Subtle Body
Through the study of the subtle body in yoga, you learn about the existence of channels of energy, or nadis, within the body. Some teachers I’ve had have suggested that fascia may correlate with these pathways because fascia penetrates all regions of the body. When you study the chakras, you also come to understand that some energetic blockages can cause physical blockages and vice versa. If the fascia tissue is healthy and well-maintained, it may be easier to move through blockages and create a better energetic flow throughout the body.
When the subtle body is in alignment, it may lead to more clarity, better decision making, deeper connections in relationships, and an overall healthier sense of self and feelings of wellbeing. As practitioners of yoga, we’re always learning how to connect the subtle body with the physical body and it’s so interesting how the fascia tissue can help support that connection.
Fascia as a Pathway to Awareness
As you aim to understand the landscape of your inner self, your perspective may shift from simply acknowledging the body’s mechanical nature to embracing its sentient capabilities. You may begin to notice the subtle cues of tightness or the signals of moving out of harmony and ease. When you’re aware that this fascia tissue is everywhere and that it’s one of the keys to healthy movement and awareness, it can help deepen your overall connection to yourself.
It’s so elegant!
Fascia is kind of like your body’s clever designer. It intricately layers itself from the outermost sheath that entwines nerves and blood vessels to the deeper fibrous networks that support muscles and bones, down to the webbing that encompasses each organ. Each layer is elegant support structure that delicately supports you.
It helps you be more graceful — The grace of our movement, the integrity of your posture, and your comfort within your own skin rely on the health of this connective tissue. Fascia isn’t just an observer in your bodily narrative; it’s an active participant in your ability to move through life gracefully. When cared for, it may feel like you’re moving with ease from place to place and with ease comes grace.
It’s all connected!
Yoga is about connection. As you bring this understanding to your mat, you can engage not only in a sequence of asanas but in a deeper relationship with the essence of your physical being. This practice goes beyond the physical realm. It asks you to connect with your soul and it revitalizes the hidden strands of your vitality. Begin to see each and every movement as a delicate tribute to the fascia. Try to see each breath as a gentle nudge to awaken its potential. With every asana, with every mindful transition, you can communicate with this web within you.