Teaching yoga to a peak pose is one of the most transformative ways to elevate your students’ practice. Not only does it help them build strength and flexibility, but it also fosters a sense of accomplishment and balance. In this post, we’ll explore why peak poses are so impactful and how you can seamlessly incorporate them into your classes. Whether you’re a seasoned instructor or just starting your yoga teaching journey, this method can deepen both your teaching skills and your students’ experiences. Ready to elevate your teaching game?
What Is a Peak Pose in Yoga?
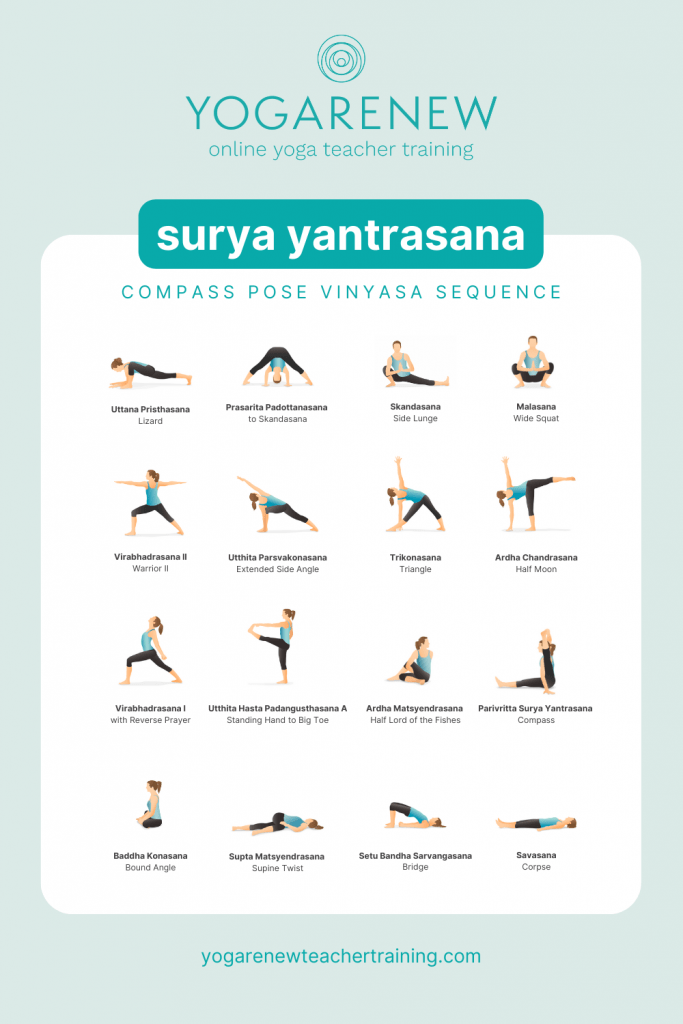
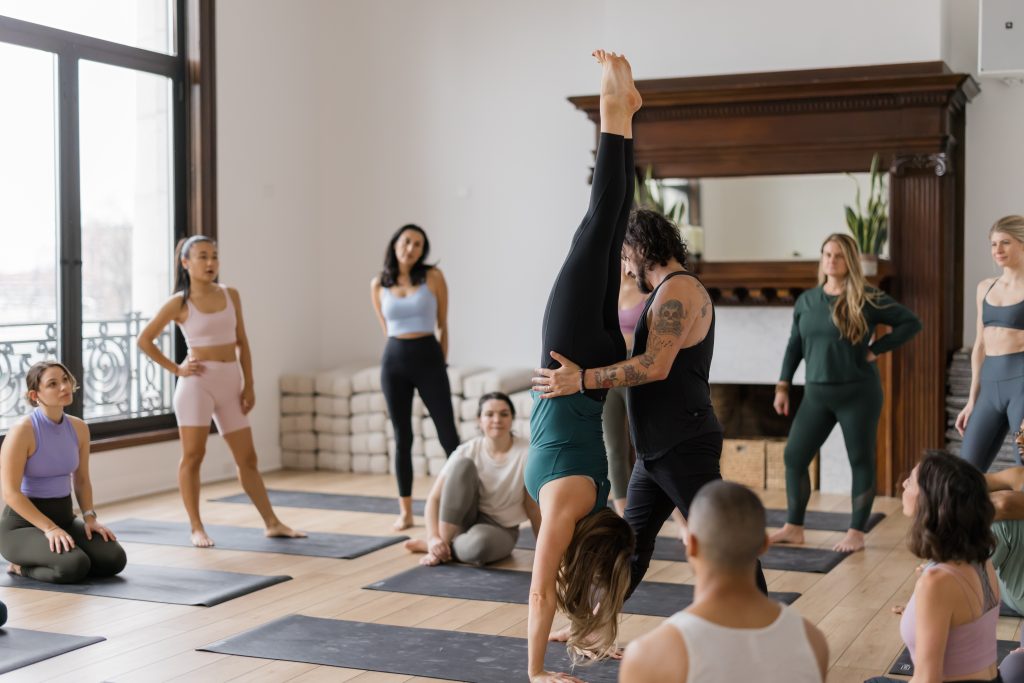
A peak pose, also known as an apex pose, is the culmination of your yoga class sequence, a posture that represents the physical and energetic high point of your practice. Peak poses are often more challenging and require both mental focus and physical preparation. Common examples include poses like Crow Pose (Bakasana), King Dancer (Natarajasana), or Wheel Pose (Urdhva Dhanurasana).
Why Teach to a Peak Pose? The Transformational Benefits
Teaching to a peak pose provides multiple benefits for your students. Here’s why it’s a valuable approach:
- Builds Strength Gradually: Sequencing the class in a way that prepares students for the peak pose allows them to gradually build up strength, flexibility, and focus.
- Increases Body Awareness: By working towards a specific goal, students become more mindful of alignment and their body’s capabilities.
- Creates a Sense of Achievement: There’s something deeply satisfying about reaching a peak pose that may have once seemed unattainable. This builds confidence and motivation in students to continue their practice.
- Develops Focus and Concentration: Working toward a challenging pose requires concentration, which encourages students to stay present throughout the class.
Interested in learning more about how to create powerful, well-structured classes? Check out our 200-Hour Yoga Teacher Training to deepen your knowledge of sequencing and teaching techniques.
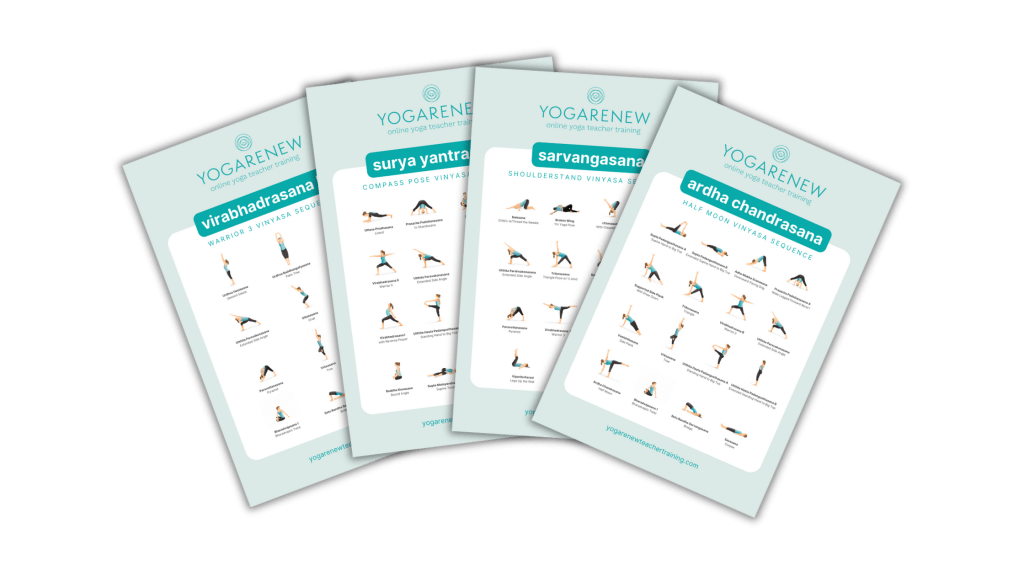
How to Sequence a Class Toward a Peak Pose
A successful peak pose class requires intentional sequencing. Here are some steps to keep in mind:
- Warm-Up: Begin with gentle movements and stretches to prepare the body. This can include Cat-Cow poses, gentle twists, and light forward bends to awaken the spine and muscles.
- Build Heat: Introduce more dynamic poses that build heat in the body. Sun Salutations and standing poses like Warrior I (Virabhadrasana I) or Chair Pose (Utkatasana) are excellent for this phase.
- Focus on Key Areas: As you approach the peak pose, incorporate postures that focus on opening or strengthening the key areas needed for the peak pose. For example, for Wheel Pose, include backbends and shoulder openers.
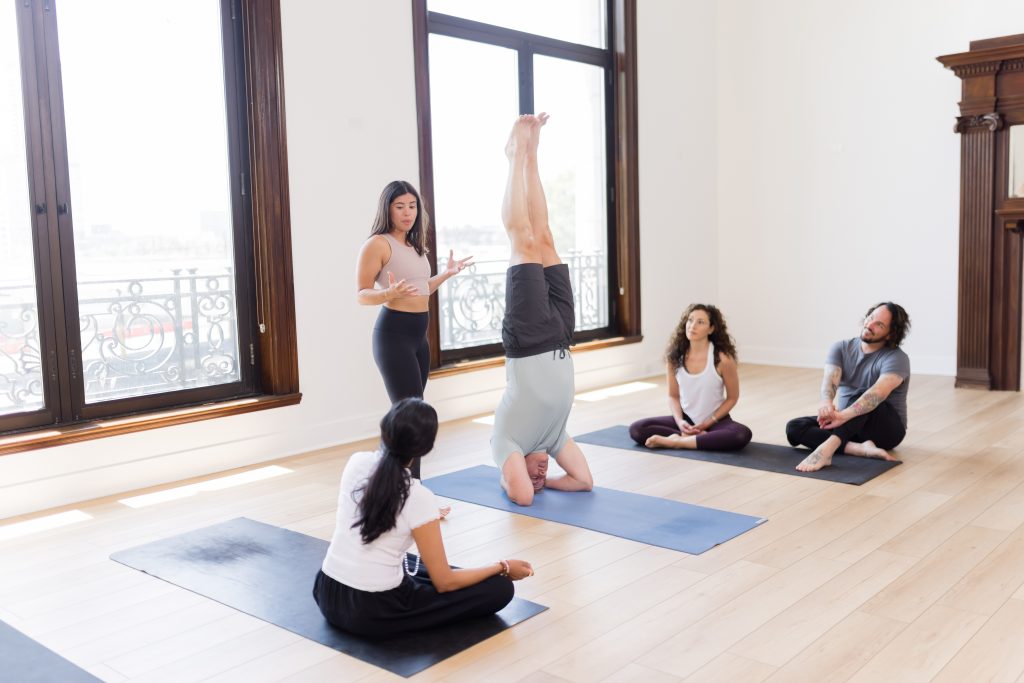
- Peak Pose: Lead students into the peak pose, offering variations for different levels of experience. Provide clear instructions and emphasize the importance of breathing.
- Cool Down: After the peak pose, guide students through calming, restorative poses like Child’s Pose or Supta Baddha Konasana to balance the intensity.
Sequencing for a peak pose requires careful attention to body alignment and flow. Our Advanced Sequencing Course covers everything you need to know about structuring classes that challenge and inspire.
Tips for Teaching a Successful Peak Pose Class
- Offer Modifications: Not all students will be able to perform the full expression of a peak pose. Provide modifications and alternative poses to make the class accessible for everyone.
- Focus on Alignment: The safety and alignment of students should always come first. Ensure students are properly aligned to prevent injury, especially in more advanced peak poses.
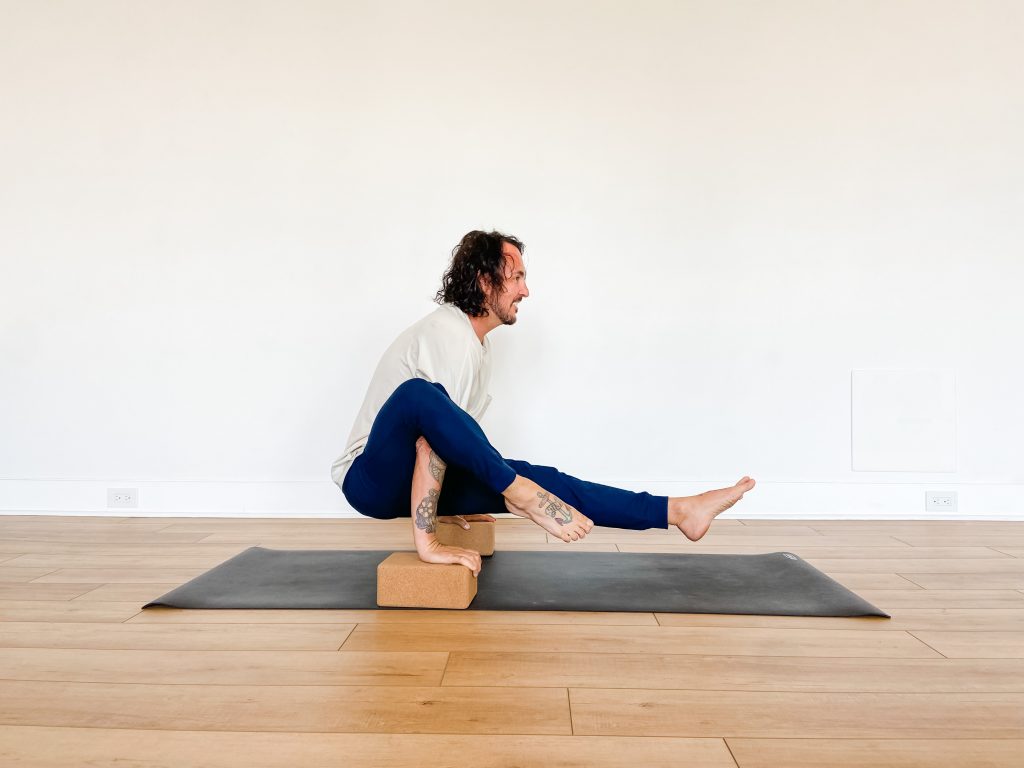
- Use Props: Props like blocks and straps can be useful tools to help students approach more challenging poses.
- Encourage Mindfulness: Remind students that the journey to the peak pose is just as important as the destination. Encourage them to be present and mindful throughout the entire class.
There are so many ways to structure a yoga class, but teaching to a peak pose offers a unique and empowering experience for your students. It allows them to build strength, focus, and confidence, all while achieving a sense of balance and accomplishment in their practice.
Ready to take your yoga teaching skills to the next level? Enroll in our 200-Hour Yoga Teacher Training or Advanced Sequencing Course today and learn the art of sequencing classes for peak poses, along with other transformative teaching techniques. Start your journey toward becoming a more confident and knowledgeable instructor!