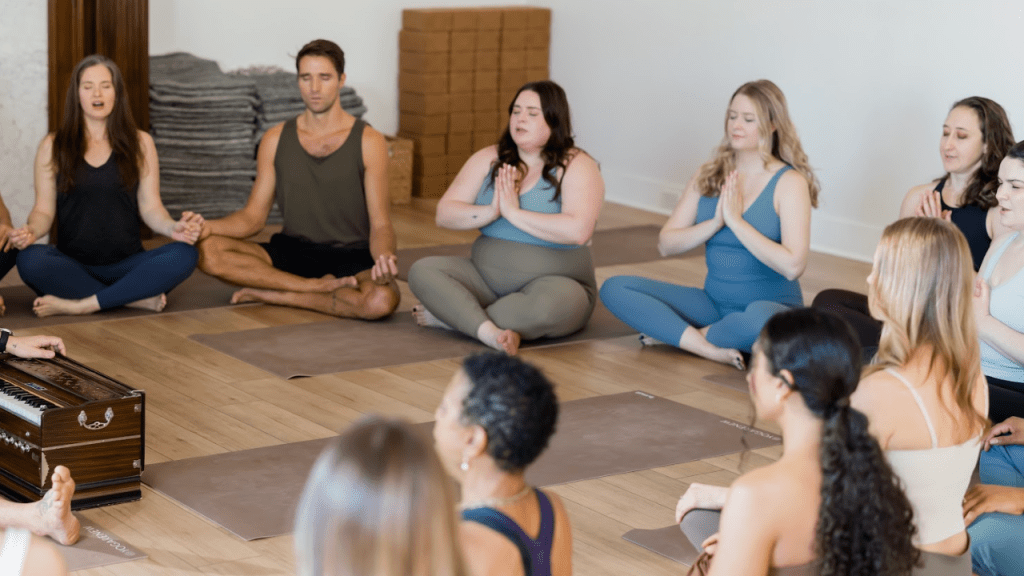
Over the past few decades, mindfulness has moved from a niche contemplative practice into a wellresearched approach for supporting mental and physical health. A growing body of studies shows that regular mindfulness practice can improve cognitive functioning, strengthen the immune system, support better sleep, reduce chronic pain, and ease symptoms of depression and anxiety.
As the benefits of mindfulness have become clearer, researchers have begun asking an important question: How does mindfulness compare to the treatments we already rely on for anxiety? That curiosity led to one of the most compelling studies to date.
Mindfulness can be just as effective as medication
One of the most striking recent findings comes from a 2022 study published in the Journal of the American Medical Association (JAMA). Researchers conducted the first-ever direct comparison between a standard anxiety medication, escitalopram (the generic form of Lexapro) and a mindfulness-based stress reduction program (MBSR). Their question was simple: Is mindfulness meditation as effective as medication for treating anxiety disorders?
The answer was yes.
The study followed 276 adults diagnosed with generalized anxiety disorder over the course of two months. Half took a daily dose of escitalopram, while the other half participated in an eightweek MBSR program. By the end of the study:
- Both groups showed moderate, meaningful improvements in their anxiety.
- Both experienced roughly a 20% reduction in symptoms.
- Neither treatment outperformed the other, they were equally effective.
These results align with what we see in many medication studies for anxiety: consistent, measurable relief. What’s remarkable is that mindfulness meditation matched that level of benefit without the side effect profile that often accompanies medication.
This doesn’t mean mindfulness replaces medication for everyone. But it does mean mindfulness is a legitimate, evidence-based option. One that can stand alongside traditional treatments as a powerful tool for managing anxiety.
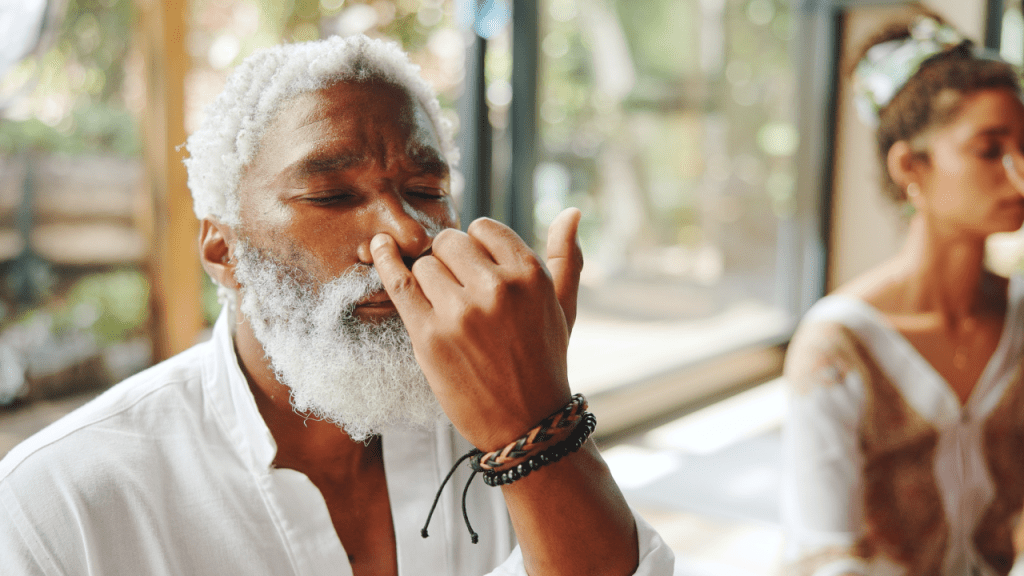
Before exploring how mindfulness helps with anxiety on a practical level, it’s helpful to understand what mindfulness actually is.
What is ‘Mindfulness’?
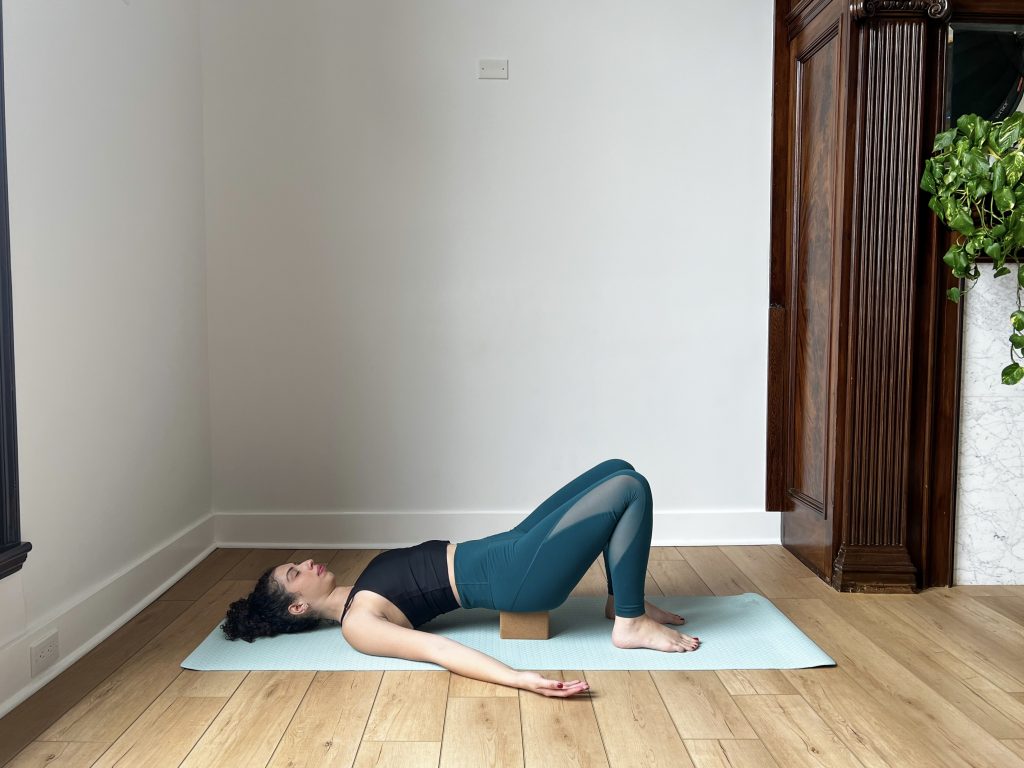
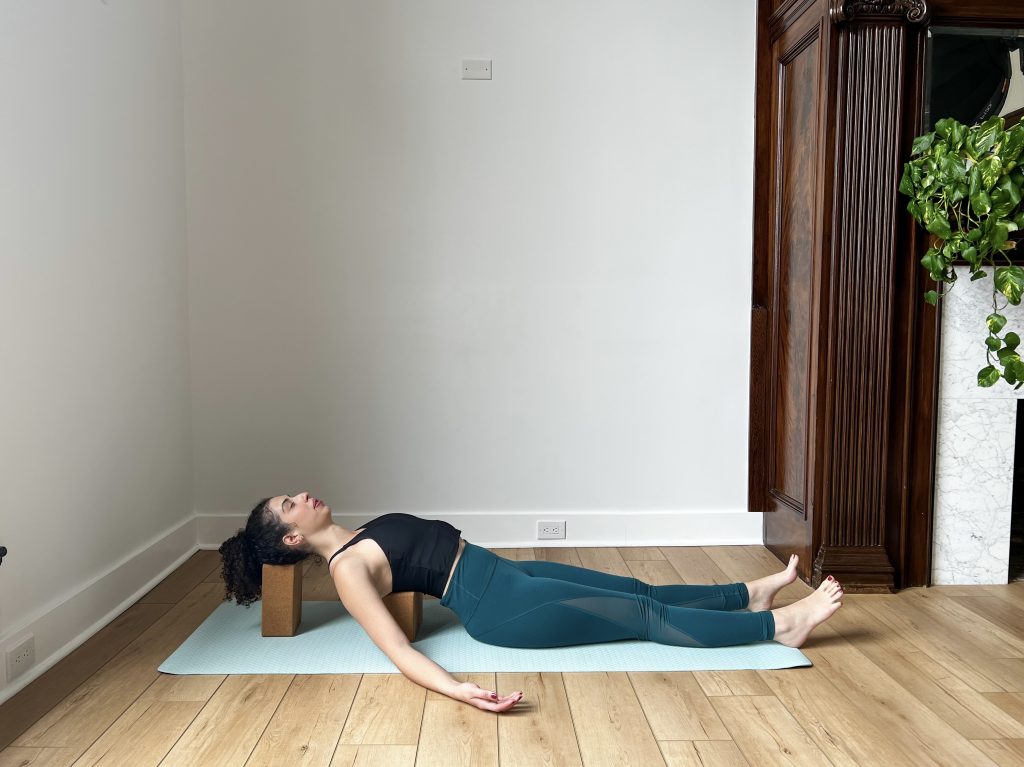
Mindfulness is the practice of bringing gentle, nonjudgmental awareness to the present moment exactly as it is. When anxiety pulls your mind into the future or into spirals of “what if,” mindfulness invites you to return to what is actually happening right now in your body, your breath, and your surroundings. Instead of getting swept up in predictions or fears, you learn to observe your thoughts, emotions, and sensations with curiosity rather than resistance.
This shift in attention creates a powerful space between you and your automatic reactions. In that space, you can see your anxious thoughts as thoughts—not facts—and you can feel the sensations of anxiety without assuming they mean danger. That clarity makes it easier to respond to anxiety with steadiness instead of getting carried away by it.
At its core, mindfulness isn’t about forcing yourself to feel calm. It’s about learning to stay with your experience, even when it’s uncomfortable. You don’t have to feel peaceful or positive; you only have to notice what’s here. Over time, this practice reduces reactivity, increases emotional awareness, and helps you build a more stable inner foundation.
For people living with anxiety, mindfulness becomes a way of meeting yourself with understanding rather than judgment. When you can pause, breathe, and witness your experience with kindness, you create the conditions for relief, resilience, and a more compassionate relationship with your own mind.
To appreciate why mindfulness is so effective, we also need to understand the nature of anxiety itself, how it arises, why it persists, and what keeps it looping in the mind and body.
Understanding anxiety
Anxiety is more than just feeling nervous, it’s a complex emotional and physical response that shows up when something feels uncertain, important, or out of our control. The American Psychological Association describes anxiety as “an emotion characterized by feelings of tension, worried thoughts, and physical changes like increased blood pressure.” That definition captures the basics, but to really understand anxiety, it helps to look at how it operates in our minds and bodies.
Anxiety as a ‘state’ and a ‘trait’
Anxiety can show up in two different ways:
- State anxiety: A temporary reaction to a specific situation, like feeling nervous before an interview or a difficult conversation. It rises and falls depending on what’s happening.
- Trait anxiety: A more enduring tendency to feel anxious across many situations. It’s part of someone’s temperament, a long-term pattern rather than a momentary spike.
Most people experience both to some degree. Some feel anxious only in certain contexts, while others are naturally more prone to anxiety in general.
Generalized Anxiety Disorder
There’s also generalized anxiety disorder, which is different from both state and trait anxiety. It involves persistent, excessive worry about everyday situations for at least six months, often accompanied by symptoms like restlessness, fatigue, irritability, muscle tension, and trouble sleeping. Many people experience anxiety disorders, yet fewer than half seek professional support, even though therapy can be essential for understanding and managing these patterns.
Why does uncertainty increase anxiety about certain things?
A major driver of anxiety is intolerance of uncertainty. When we struggle with not knowing how things will turn out, our minds try to fill in the gaps. That’s when anxiety tends to spike, because the future is inherently uncertain, and our minds don’t like that.
This discomfort often leads to two common coping strategies:
- Worry: The mental side of anxiety, a chain of negative thoughts about what might go wrong.
- Avoidance: Steering away from situations that feel overwhelming or threatening.
Both feel protective in the moment, but neither actually helps.
Why worrying doesn’t work
People who worry often believe it helps them prepare or stay safe. But research shows:
- Worry doesn’t prevent bad outcomes.
- Trying to suppress worry makes it stronger.
- Worry amplifies the feelings of anxiety.
Worry is not the emotion itself; it’s the thinking part of anxiety. And the more we try to push it away, the more it rebounds. The real work is turning toward the underlying emotion with curiosity rather than fighting the thoughts.
Why avoidance makes anxiety grow
Avoidance is the behavioral side of anxiety. It’s the zigzagging around the thing that scares us, canceling the meeting, postponing the task, distracting ourselves instead of facing the discomfort.
Avoidance feels soothing in the short term, but it reinforces fear over time. As Dr. Harriet Lerner writes, “It is not fear that stops you from doing the brave and true thing… the problem is avoidance.” Avoidance keeps us from living fully and makes the feared situation loom even larger.
Anxiety is a blend of:
- Physical sensations (tension, restlessness, racing heart)
- Thought patterns (worry, predictions, self-doubt)
- Behaviors (avoidance, distraction)
- Attention habits (fixating on the future, resisting the present moment)
- Underlying sensitivity to uncertainty
Understanding these layers helps us see anxiety not as a personal flaw but as a pattern we can work with. When we recognize how anxiety operates, how it loops, how it grows, and how it quiets, we’re better equipped to meet it with clarity, compassion, and skill.
With this foundation in place, we can now look at how anxiety shows up in everyday life and how mindfulness helps us work with it in real time.
Mindfulness for Anxiety- Practical Application
Anxiety often shows up when we care deeply about an outcome, we can’t fully control. Imagine you’re starting a new project, tackling a difficult task at work, or trying to write an essay for class. You want it to go well, but you’re unsure where to begin, how good it will be, or how it will be received. It’s the perfect setup for anxiety: high stakes, lots of uncertainty, and no guaranteed outcome.
Sometimes the anxiety gets so strong that it becomes hard to actually do the work. You sit down to write or plan, but anxiety tightens around you. Instead of starting, you find yourself checking email, scrolling the news, snacking, anything to get temporary relief from the discomfort. You’re not lazy; you’re anxious. And you need a way to work with that anxiety so you can move forward more effectively.
Breaking Down the Experience
When you look closely, your experience has a few key components:
- Feelings: You’re anxious, agitated, restless.
- Thoughts: “I can’t do this.” “They won’t like it.” “I’m going to fail.” These are the stories the mind tells.
- Actions: You try to work, but you also avoid the task because it feels overwhelming.
These three elements reinforce each other. Anxious thoughts fuel anxious feelings, which lead to avoidance. Avoidance brings short-term relief, but in the long run it strengthens the belief that you can’t do the task, so the anxiety grows.
- Attention: Another important piece, most of your attention is in the future. You’re imagining what might happen, how things could go wrong, and all the possibilities you can’t control. This future-focused attention multiplies worry because the mind can generate endless “what ifs.”
- Resistance: There’s also a subtle resistance to the present moment. The difficulty of the task feels like it shouldn’t be happening. The struggle feels like a problem you shouldn’t have to deal with. That resistance adds another layer of suffering and pushes you toward distraction.
So now we have the full picture: anxious thoughts, anxious feelings, avoidance, attention pulled into the future, and resistance to the present moment.
How Mindfulness Helps
1. Returning to the Present Moment
Mindfulness begins by bringing you back to what’s real and immediate. You take a gentle breath in and out. You reconnect with your body, your breath, your surroundings. Instead of labeling everything as “anxiety,” you get curious:
- What sensations are actually here?
- Is there a buzzing or tightness in the body?
- Are there images of failure or imagined reactions from others?
- Is there an urge to escape?
As you observe these experiences directly, the anxiety becomes less solid. It’s no longer a single, overwhelming thing, it’s a shifting collection of sensations, thoughts, and energy patterns. By moving toward the experience instead of away from it, you discover that anxiety is not as threatening as it first appeared.
2. Working with Anxious Thoughts
From this steadier place, you can look at your thoughts with more clarity. You name them: predictions, worries, assumptions. Then you ask:
- Are these thoughts definitely true?
- Is this outcome guaranteed?
- Could things turn out differently?
This isn’t forced positivity; you’re not trying to brainwash yourself into believing that all will be well. It’s simply thinking more accurately, more inline with reality. When you look at your track record, you see that things usually turn out reasonably well.
But the mind still whispers, “What if this time is different?” Instead of trying to argue with that doubt, you open to uncertainty:
- Can I be okay even if this doesn’t go perfectly?
- Could I handle a disappointing outcome?
You remember that you’ve faced setbacks before and made it through every one of them. You’re still here.
From here, you ask a simple, grounding question:
- What needs to be done right now, with the thoughts and feelings I’m having?
Usually, the answer is small and doable: draft the first paragraph, outline the project, write the first sentence. Not the perfect version, just the beginning. You can do that, even with anxiety present. The anxiety can come along for the ride. And once you start, continuing becomes easier.
How can I incorporate mindfulness into my daily life?
Bring to mind something in your own life that you’ve been avoiding because of anxiety. Take a slow breath in and out. Notice the sensations in your body, getting curious about your sensations, questioning your thoughts, and opening to uncertainty. Then identify one small step you can take with awareness and acceptance, one step that moves you toward what matters, even if anxiety is present. Then simply see what happens next.
These small, mindful steps may seem simple, but they add up. And when we zoom out, a larger picture emerges, one that offers genuine hope for anyone living with anxiety.
Mindfulness really does work…
The growing research on mindfulness offers something genuinely hopeful for anyone living with anxiety. For years, medication has been one of the most reliable, evidence-based treatments we’ve had, and it still is. But now we also know that mindfulness-based practices can offer comparable relief, giving people another path toward healing that is accessible, empowering, and rooted in their own awareness.
Mindfulness doesn’t promise a life without anxiety. What it offers is a different relationship to anxiety, one where you’re not fighting your thoughts, bracing against sensations, or trying to control every uncertain outcome. Instead, you learn to meet your experience with steadiness, curiosity, and compassion. Over time, that shift can loosen anxiety’s grip and open up more space to live, work, and connect with greater ease.
The study comparing mindfulness to escitalopram doesn’t mean everyone should replace medication with meditation. It means we now have more than one effective option, and that’s good news. Some people will benefit most from mindfulness alone. Others will find that mindfulness works best alongside therapy, medication, or other forms of support. What matters is finding the combination that helps you feel grounded, capable, and connected to your life.
Mindfulness is not about perfection or constant calm. It’s about learning to return to your breath, your body, your present moment, again and again, especially when anxiety rises. Each return is a small act of courage. Each moment of awareness is a step toward freedom.
If you’d like to deepen your understanding of mindfulness and learn how to integrate these practices into your daily life, you’re warmly invited to enroll in my Mindfulness Certification Course. It’s a supportive, structured way to continue this journey with guidance, community, and meaningful practice.