The ancient science of Ayurveda, a 5,000 year old system of healing, offers a few handy tips and tricks to move from the cold winter into the damp and warmer springtime weather with ease. This transformative period, rich in potential for growth, requires certain diet and lifestyle shifts. Ayurveda teaches that you don’t have to feel sluggish, deal with seasonal allergies, experience sleep issues, or catch the colds that sometimes come with the springtime. Let’s take a deeper look at Ayurveda, Kapaha season, the seasonal shifts, and some really exciting practices to incorporate into your life to boost immunity and get you feeling your best this season!
In Ayurveda, Spring is Kapha season
Kapha Dosha is one of the three primary Doshas, or energetic forces in Ayurveda. In Sanskrit, the word “ka,” means water, and “pha,” means earth, so Kapha embodies the qualities of both these elements. Some qualities that make up Kapha are: heaviness, coolness, moistness, and stability. Since Kapha Dosha governs the springtime, it is common to see these qualities in the world around you and also feel them inside of you. It may be muddy and damp when you look outside your window, so you may experience feelings of heaviness or sluggishness in your own mind and body. Be mindful that you may start to feel the shifts right before Kapha season is in full force.

Vata, Pitta and Kapha Doshas with Ayurvedic icons of elements: ether, fire, air, water and earth – used in Yoga, Ayurveda, Buddhism.
What is Ritusandhi (The Seasonal Interlude)?
The concept of Ritusandhi, refers to the time between two seasons. If you’re living where it isn’t full blown springtime just yet, you may be in that space between winter and spring. During Ritusandhi, you can begin to prepare your mind and body for the upcoming season ahead by finding out what foods will be in season and cultivating movement that helps create a bit more heat in your body. It’s a great time to think about incorporating more vigorous yoga classes into your routine and getting outside for long walks. As the seasons change, small shifts are key to maintaining overall health.
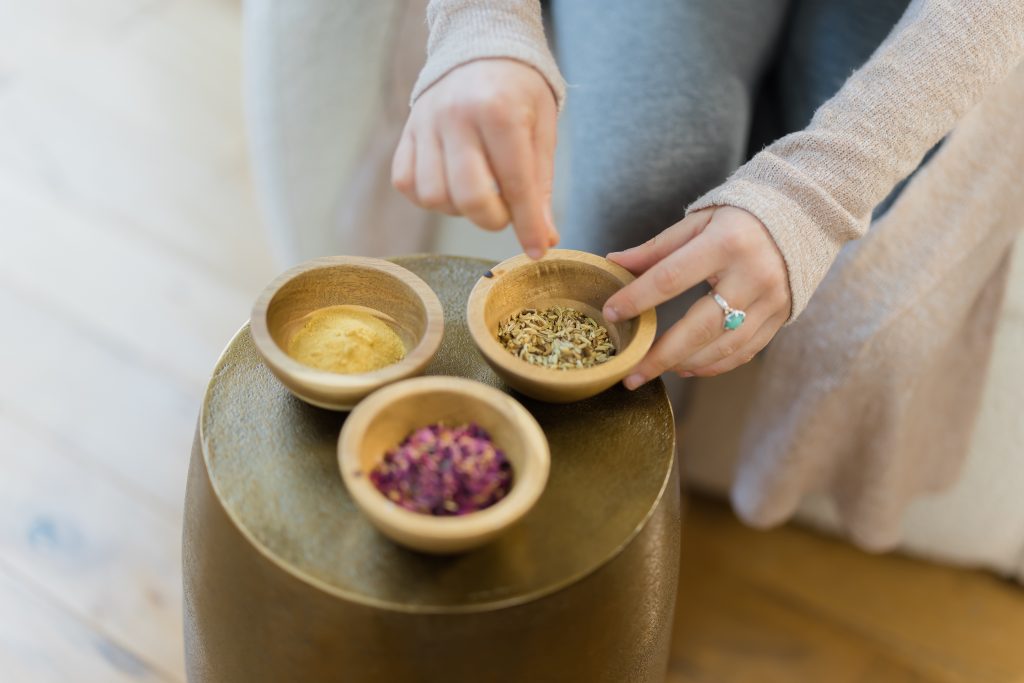
Ayurveda cooking habits for Spring

Cooking Ayurvedic meals is another great practice for self-care for yoga teachers.
There is a teaching in Ayurveda that like increases like and opposites balance. During the springtime, Ayurveda teaches to consume foods that have light, dry, and warm qualities to counteract Kapha’s density. This also will kindle your digestive fire (agni) and allow for better digestion of not just meals but also experiences. Bitter greens like kale and dandelion, act as natural detoxifiers, while spices like turmeric, ginger, and black pepper ignite metabolism and cleanse the blood.
Spring may also be a great time for internal cleansing and Ayurveda teaches that taking on a mono-diet style of cleanse like a kitchari cleanse may serve as a reset for the digestive system, kindling the agni without depleting vital energy. Kitchari is often a blend of basmati rice, split mung beans, vegetables, and digestive spices. Always consult an Ayurvedic professional before attempting a cleanse or join a group cleanse led by someone you trust! Understanding what to eat and how long to eat it for is specific to each person.
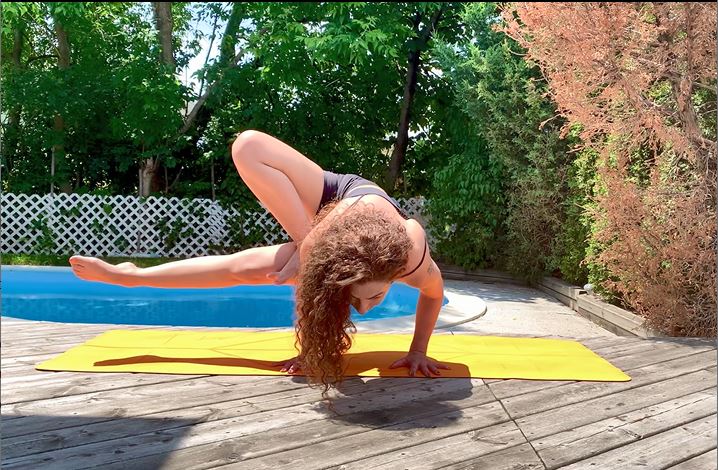
Why yoga asana is perfect for Springtime
To counter Kapha’s static nature, yoga asana classes that have more of a dynamic flow like Vinyasa or energetic poses like backbends and twists, may help bring in a sense of lightness. Incorporating outdoor activities like walks in nature or simply moving your yoga practice outside can be helpful in balancing out some excess qualities or depleted qualities that have begun to move out of balance. If you enjoy pranayama, try to incorporate Kapalabhati and Bhastrika. These breathing exercises help to move pranaya (life force) throughout your body and enhance mental clarity.
When in doubt, start your mornings with a few rounds of Sun Salutations, which warm your body, enhance circulation, and sharpen your mind. Sun Salutations also sync your breath with your movement, so they help incorporate yoga asana and pranayama into your practice all at once. This is a great way to begin your day or morning routine.

Lisa Bermudez in Anjaneyasna (Crescent Lunge) – a great yoga pose for springtime and staple in any Vinyasa yoga class!
Embracing Routine & Nurturing Yourself
You probably have heard it over and over again, but Ayurveda loves a solid routine. For some of you, this may sound daunting, but it can be really easy if you start small! Turn whatever you already do into the foundation of your routine. If you already brush your teeth every morning, try to lock in a specific time for that and stick to it. You may even begin to incorporate some practices like tongue scraping and dry brushing into your springtime mornings, too!
When it comes to lunchtime, Ayurveda will almost always suggest having lunch be the biggest meal of your day and having lunch at the same time each day. When you can lock in a predictable schedule for mealtimes, your body will thank you with stronger digestion and much more energy. If possible, have a lighter dinner and try to put anything with a screen away at least two hours before bedtime.
Take some time either before bedtime or during the first few hours of your morning to journal. Journaling offers a sanctuary for reflection, allowing you to process and release stored emotions, making room for new insights and inspirations. A common imbalance during Kapha season is a feeling of stagnation, both in your body and in your mind. Yoga helps move your body and journaling can help move stuck emotions or thoughts that keep you weighed down during this beautiful season. You don’t have to write anything profound! You can keep it simple and jot down what you’re feeling.
In embodying some of these simple principles and practices, you can embrace spring’s full spectrum, from the cleansing rains to the vibrant new plant life all around you. This season of renewal invites you to shed the old and welcome the new with an open heart.. Through mindful engagement with Ayurvedic wisdom, you can navigate this transition with ease and grace, all while feeling your best!
Ayurvedic Tips for Transitioning Into Spring
- Take moon baths: Embrace the light of the full moon! Moonlight is believed to help balance and cool down excess heat in the body, making it a perfect practice for when you may feel overstimulated or overwhelmed with any kind of change or any news you may receive. You do not need to physically be outside! You can enjoy a bath during the full moon from right inside your home.
- Host an herbal tea party: Host a herbal tea tasting party with friends. Include teas like ginger, cinnamon, tulsi, and green tea, all of which are excellent for balancing Kapha.
- DIY essential oils: Experiment with making your own herbal-infused oils. Start with a base like sesame oil, then add essential oils like rosemary or eucalyptus. Use these oils for self-massage to invigorate and warm the body.
- Plant a garden: Engage in gardening, even if it’s just a window herb garden. Connecting with earth (one of the Kapha elements) by planting and nurturing seeds can be so very grounding and fulfilling.
- Walk in the rain: Embrace spring showers by allowing yourself a moment to walk (or dance!) in the rain. The water itself has the ability to cleanse and move whatever isn’t serving you anymore.
- Make a Spring soundtrack: Create a “Spring Vibes” playlist filled with music that inspires joy, new experiences, and energy. Create different playlists for yoga classes, car rides, and for your spring cleaning.
7 *BONUS* Springtime Ayurveda Recommendations:
- Make a seasonal fruits & vegetables chart: Keep a chart of seasonal fruits and vegetables on your fridge for inspiration. Spring favorites include asparagus, strawberries, and leafy greens, which are all excellent for balancing Kapha. Do some research to find out what is locally in season for where you live. and favor those options.
- Source Ayurvedic cookbooks: Invest in a good Ayurvedic cookbook that focuses on seasonal eating. This can provide not just recipes but also insights into balancing doshas with diet throughout the year.
- Start journaling with prompts: Purchase or create a journal that includes prompts for self-reflection, gratitude, and setting intentions. These practices support mental and emotional clarity during the transition into spring. You may also make it a commitment to journal every morning or evening, as we discussed earlier!
- Stock up on essential oils: Stock up on essential oils like peppermint, eucalyptus, and rosemary. Use them in a diffuser to cleanse and energize your living space, or add a few drops to your bath for an aromatic, Kapha-balancing soak. Always test oils out on a small area before you use them on your whole body!
- Get outside & get moving: Find a map or app that highlights nature trails in, or close to, your area. Regular hikes or walks in nature will connect you with the newness that naturally comes with spring.
- Start a cleanse or a detox: If possible, treat yourself to a weekend detox retreat or a day at an Ayurvedic spa. These experiences can provide a deeper cleanse, relaxation, and rejuvenation, aiding in the seasonal transition. Find out about seasonal cleanses that involve kitchari and Ayurvedic herbs. When in doubt, you can always keep it simple and spend a few days eliminating processed foods, refined sugar, and fast food.
- Plant an Ayurvedic herb garden: Start an Ayurvedic herb garden with plants like tulsi (holy basil), mint, and cilantro. Growing your own herbs not only connects you with the earth element but also provides fresh, balancing ingredients for your kitchen. There’s just something sweet about cooking with herbs that you’ve pulled from you own garden!
 — Written by Lisa Bermudez