I often call myself the accidental yoga teacher. I took my first yoga teacher training, not because I wanted to teach, but just to learn more. I had, and have a job I love— performing as a hospital clown. For most of my adult life, I have worn a red nose (mostly over a mask since Covid) and tap shoes and spent at least 12 hours a week as my alter ego, Dr. Ima Confused at Harlem Hospital.
From the outside, it may seem like teaching yoga and clowning are two incredibly different beasts, but these two practices have more in common than you might think…
Let me share:
Yoga & Clowning are Both Practices
Number one is that they are both just that—practices. They both require you to show up and commit, and keep learning, relearning, and experiencing… a true practice.
To teach the ancient art and science that is yoga is an ever-evolving thing. Each class is a new entity: what poses to pick, how to cue, how to theme, how to speak to the bodies you have before you at that particular time. My work in the hospital is like that as well, where every interaction is of the moment–looking to see what that particular child, family, or staff member needs. It is always malleable, always fresh, and constantly changing and evolving.
This dynamic is what makes both of these practices opportunities to be fully present in the moment. Just as there is no “phoning in” a yoga class as the teacher, there certainly is no “phoning in” as a clown, when a hospitalized six year old is looking at you wanting you to cheer them up.
Both as a teacher, and Dr. Confused, I move breath by breath, moment by moment.
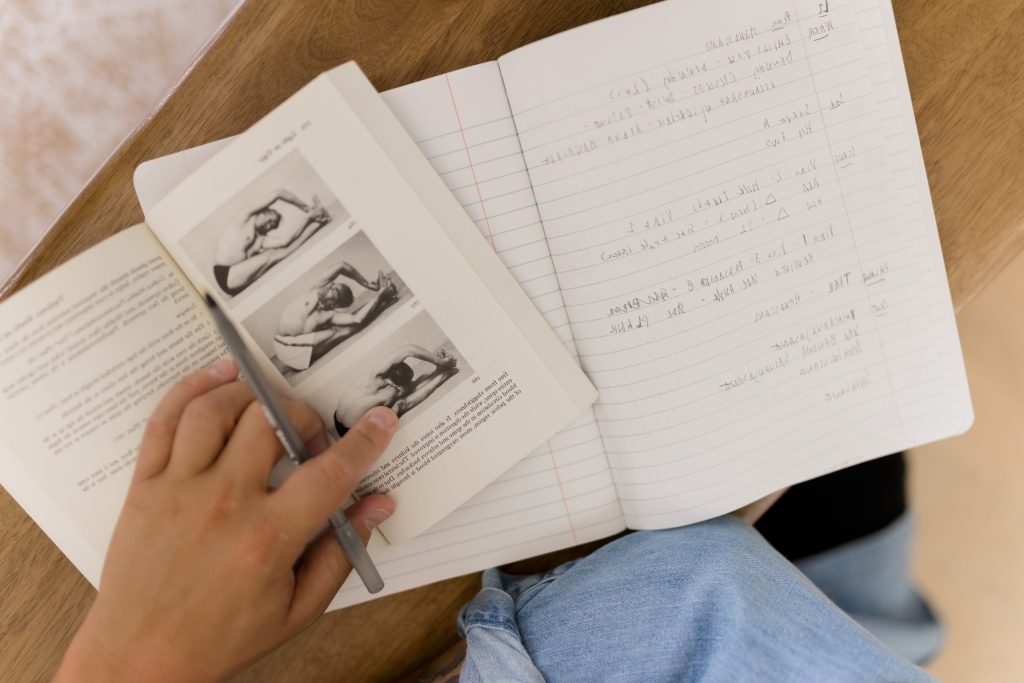
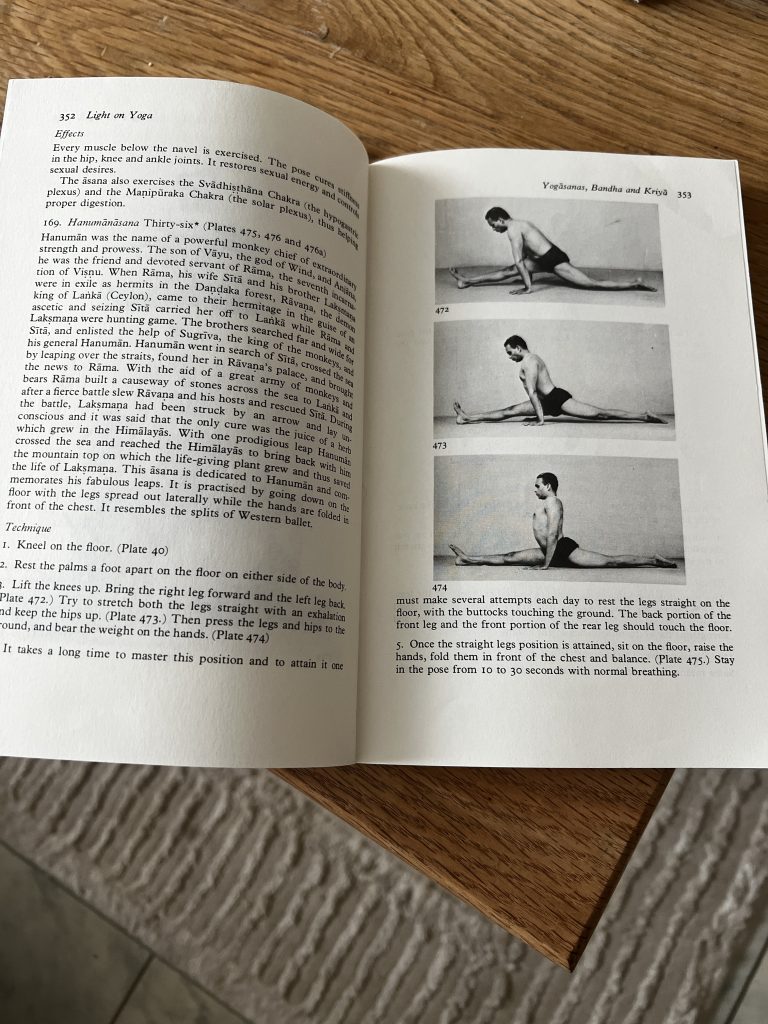
Both of my jobs are incredibly physical. Being a clown is not just a painted face and twisting balloon animals. A true clown derives from Comedia Dell Arte, and is a highly physical genre of life—I spend almost as much time lifting up my leg high as a clown, as I do in Virabhradasana 3 (warrior 3) in a yoga class, if you can believe it!
Selfless Service
Another similarity between my day job and my night job is that they are both centered around service. Dr. Ima Confused is there for each child, parent, and health care hero that crosses her path, just as yoga teacher Julie Pasqual is there for every student that walks into class. When the students are children, that aspect of service is particularly highlighted for me!
Just as in the hospital, I empower the patient by making them the “director” of my clowning, by sharing with children the beautiful practice of yoga I am showing them how they can have mastery in their own lives. To show a child that as uncontrollable as this world is (especially to the young) that there is a place they can chose to go, that is inside of themselves that is calm, and still, and is always there is something really special. This power that is as close as their own breath, and lives in their very own body, is an accessible power that can be such a gift to a child. It can set them up for a life of what we call in yoga, Santosha, meaning contentment.
Life is About Being Present
I am beyond lucky to spend my life trying to give to people in these two unique ways. They both have taught me about the significance of being present and showing up. The more I give to people in this way, the more my soul feels contentment. Also, the ability to constantly learn and grow over time, with each practice, has shown me just how profound and magical the human experience is.
As that great soul, Mahatma Ghandi said, “The best way to find yourself, is to lose yourself in the service of others.”
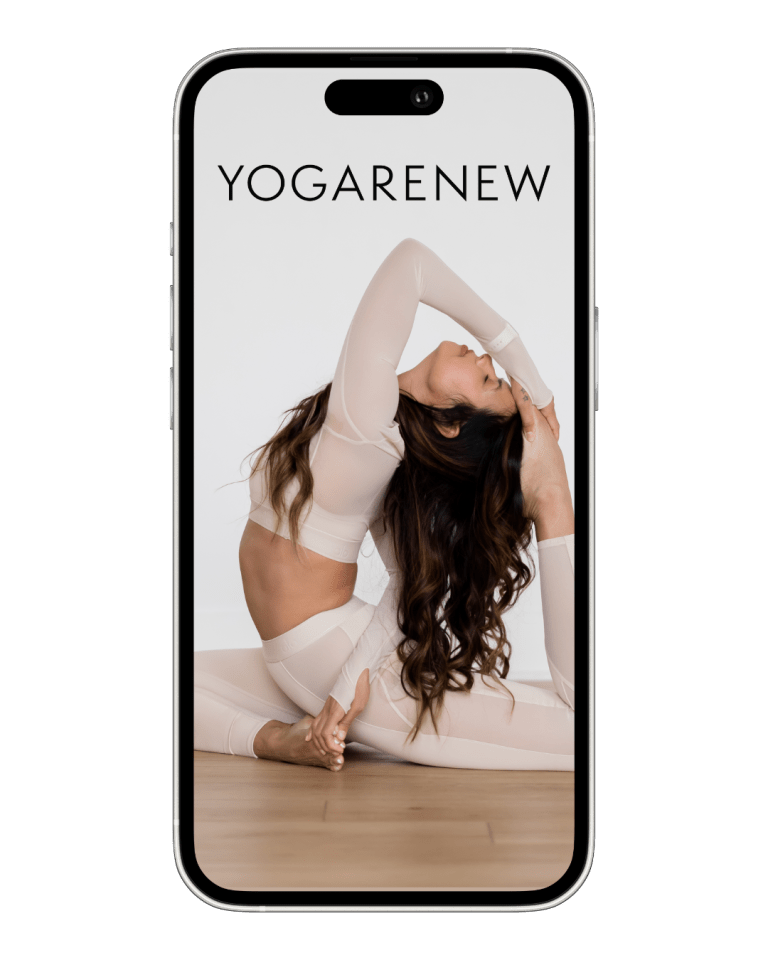
I live by this motto and hope to continually devote myself to the practice of yoga and the practice of clowning. If you or anyone you know seeks this path, the programs at YogaRenew are a great start. Whether you begin with yoga philosophy or enrolling in a 200 hour yoga teacher training or want to learn to teach kids yoga, you can start here. And, you may even stumble upon some videos with my face in them!
Sending love and light and eternal gratitude,
Julie
Editors Note: Julie referenced the charity work she does earlier in this article. If you’d like to donate to Healthy Humor, they’re an incredible charity and bring tremendous joy to hospitalized children. You can donate here.