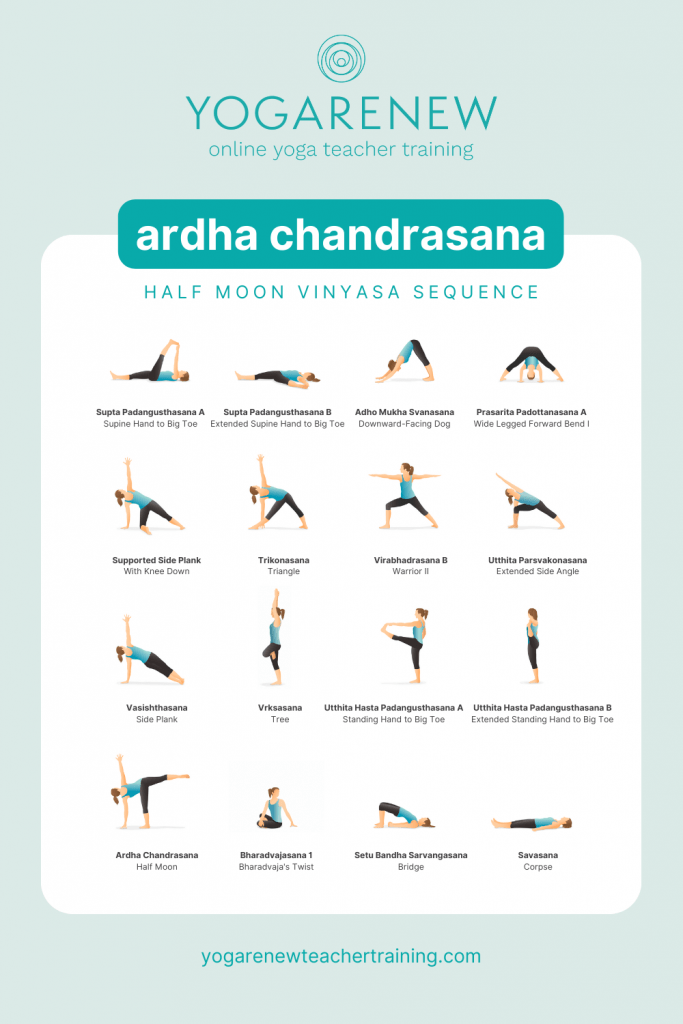
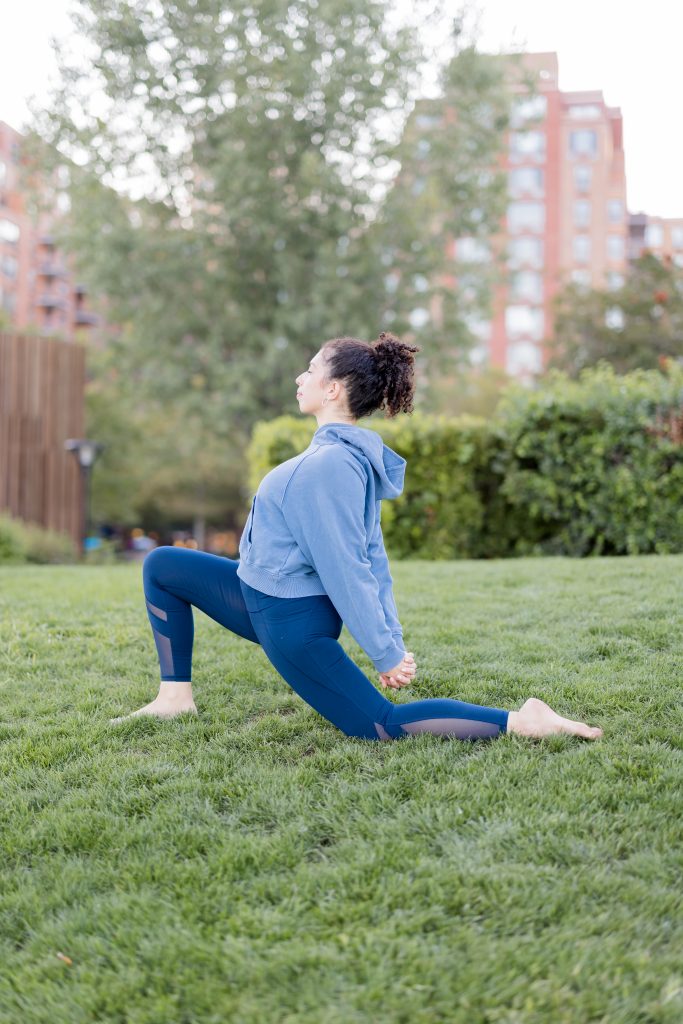
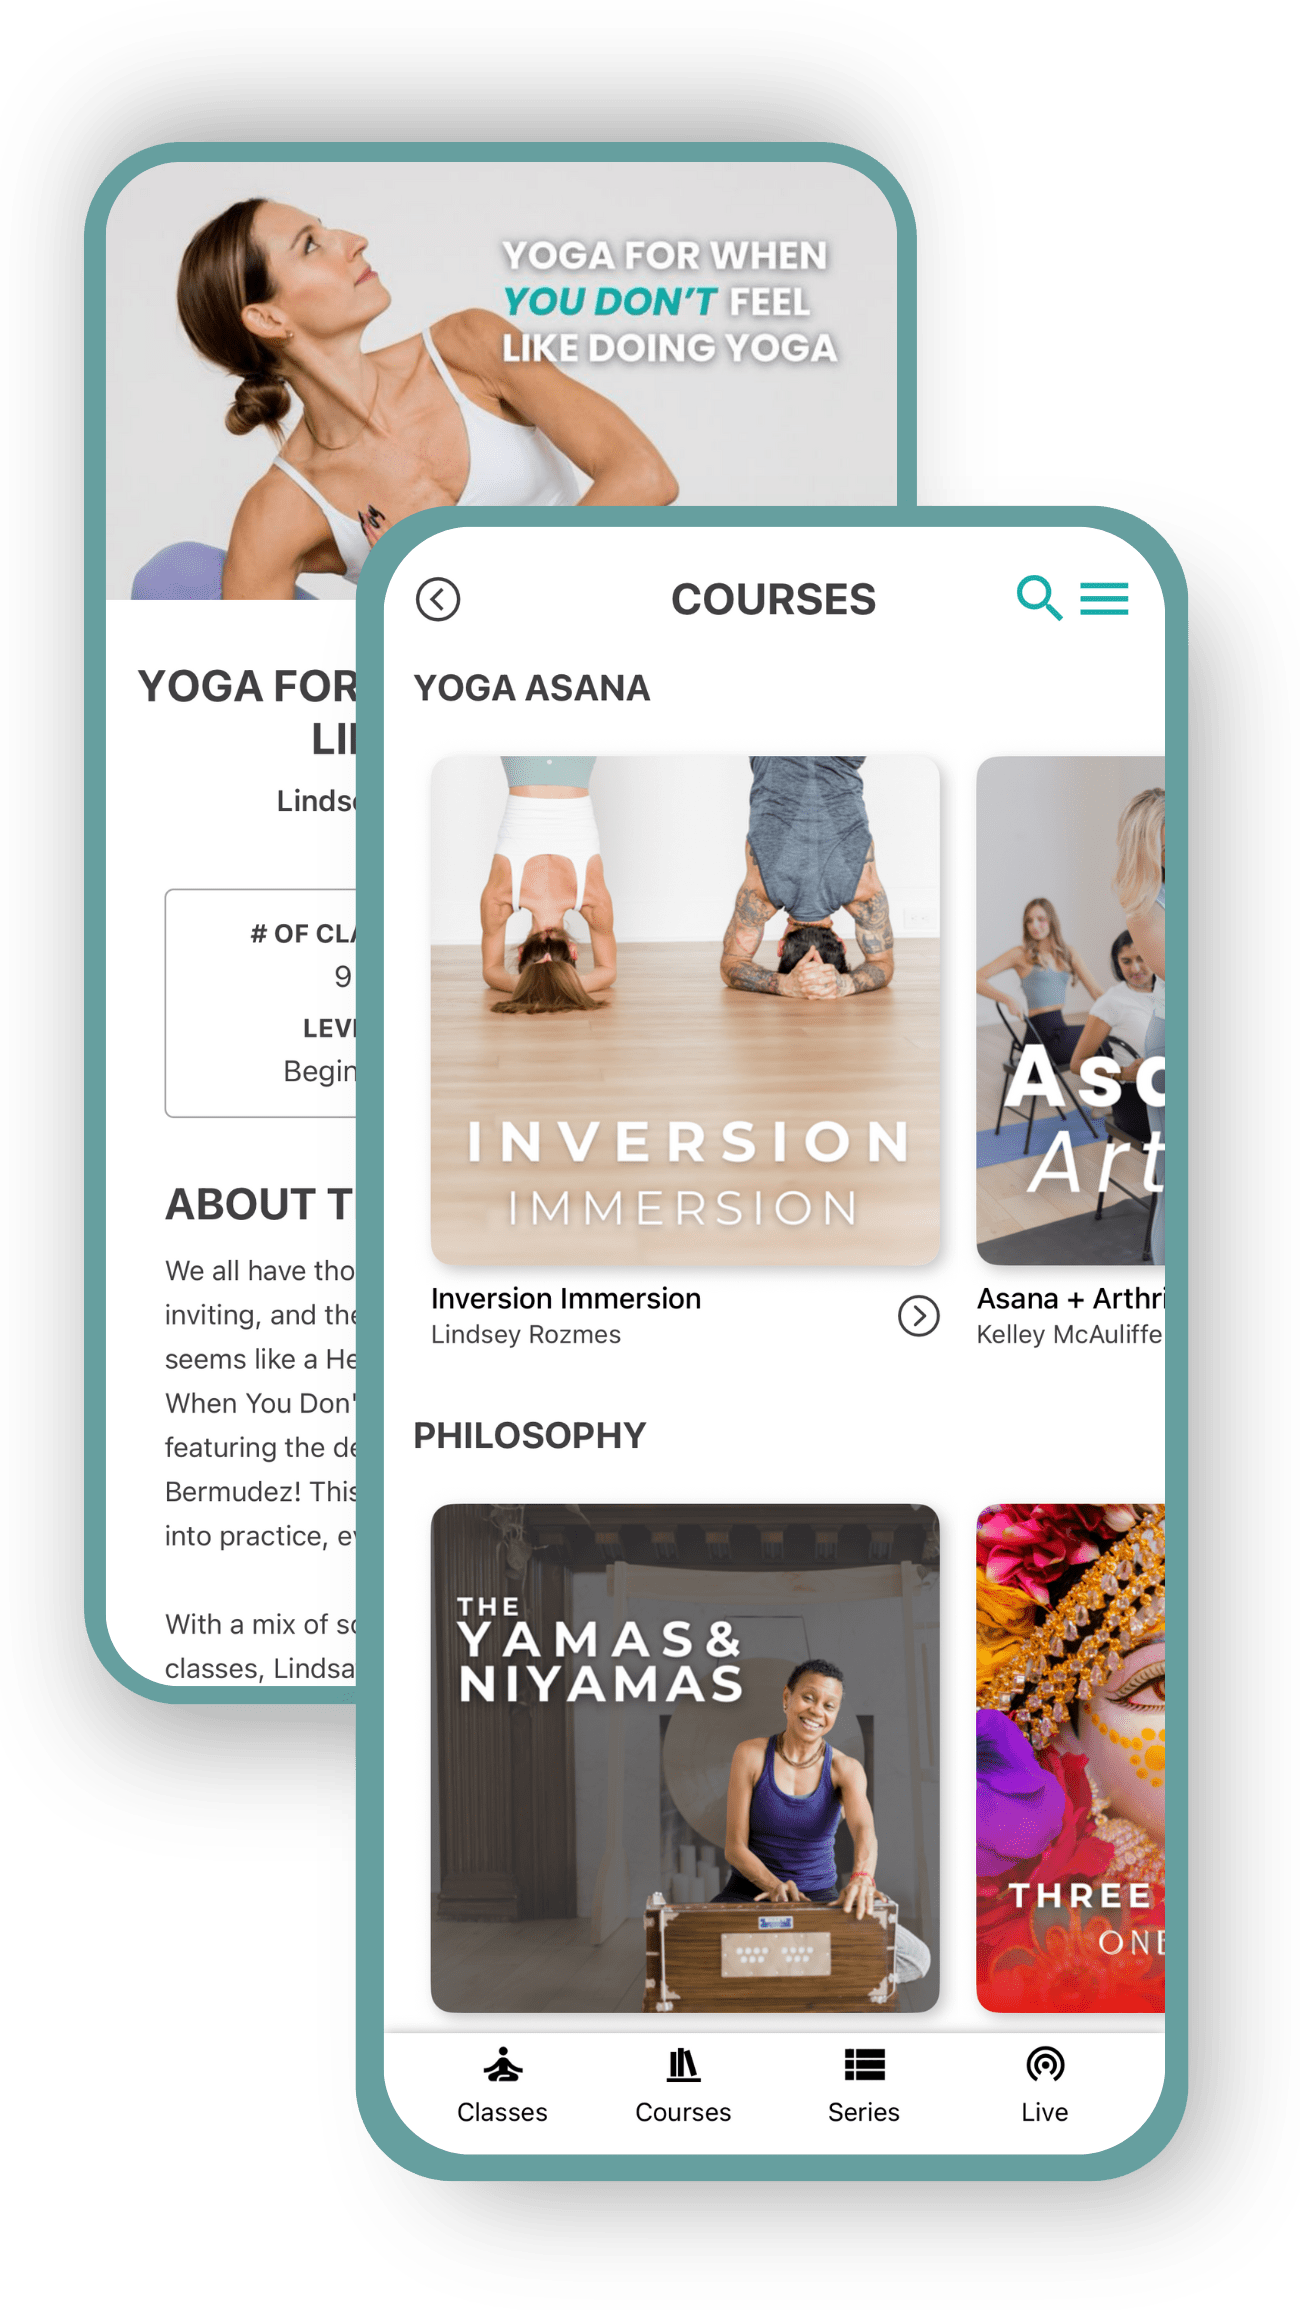
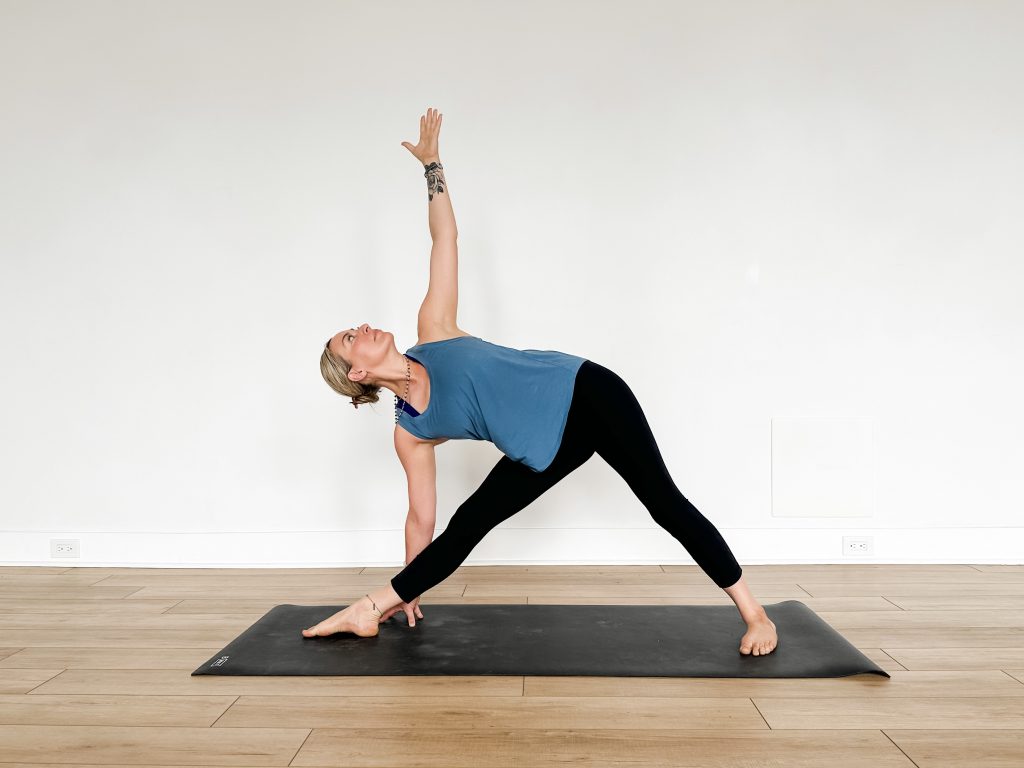
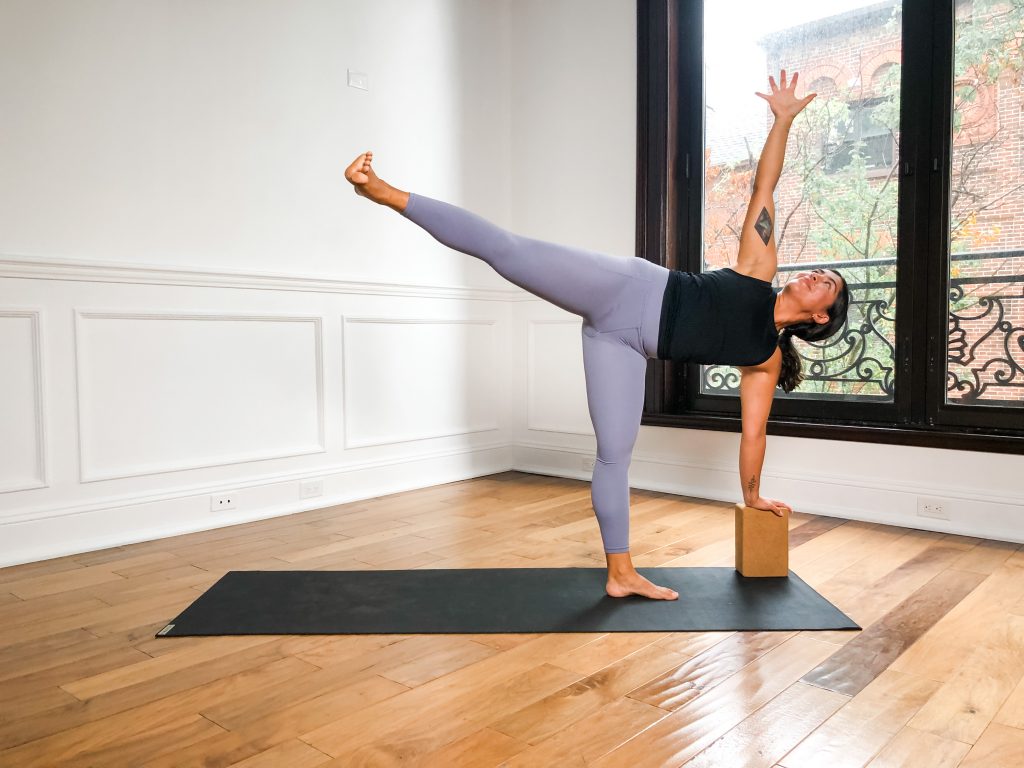
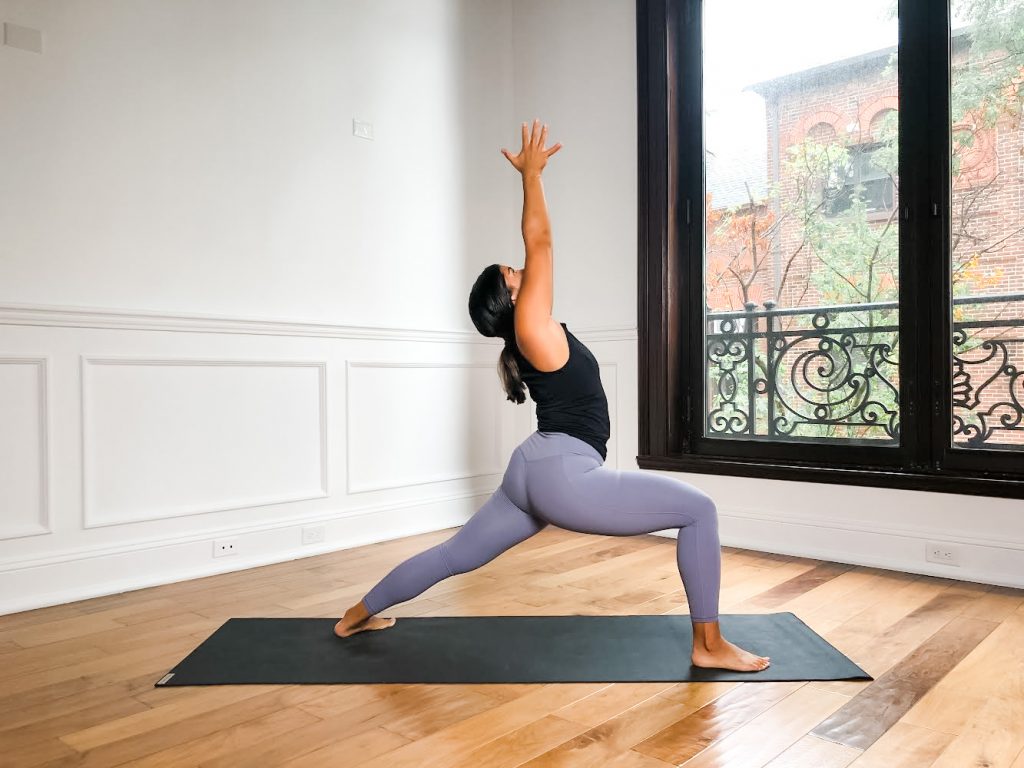
Sequencing is such an important aspect of designing a great yoga class, but without the right class cues it doesn’t matter how great your sequence is. Verbal cues for yoga poses is key to teaching supportive, well-rounded and impactful yoga classes. Meaningful guidance can reach students across different learning styles, experience levels and emotional states. It’s important that every student feels comfortable, guided and safe. Finding the most effective way to reach students across a varied demographic is tough but essential.
Verbal Cues for Yoga Teachers
Verbal cues are our way to connect with students using language. If a cue results in confusion, its important to try a different approach instead of moving on. Self-correcting in the moment reveals leadership and care. Great yoga class cues should enable smooth transitions, a clear understanding of what to do, and leave students feeling great. Poor guidance can become a distraction, taking students out of the experience rather than guiding them through it. Here, we’re going to take a look at 10 tips to improve your yoga cues.
Tip 1: Cues Should be Clear and Concise
When it comes to verbal cues, less is more. Cueing effectively means speaking in language our students understand. We might be accustomed to certain terms or figures of speech that sound foreign to our students. Using concise and clear language is a skill that seems a lot easier than it is in practice.
Flowery language can sound nice, but it isn’t always clear and can be interpreted different ways. Asking somebody to ‘move your branches’ doesn’t specify whether you’re speaking about legs, arms or something else entirely. Abstract concepts that do not explicitly tell our students what to do aren’t helpful. Cues should be designed to move students through class with ease and clarity and having simple, clear cues are the best way to accomplish that goal.
Using anatomical terms as opposed to common names when referencing body parts may throw students off as well. Many students are unfamiliar with these terms. For example, using the term shoulder blade instead of scapula in a cue will be clearer for the majority of people in the room.
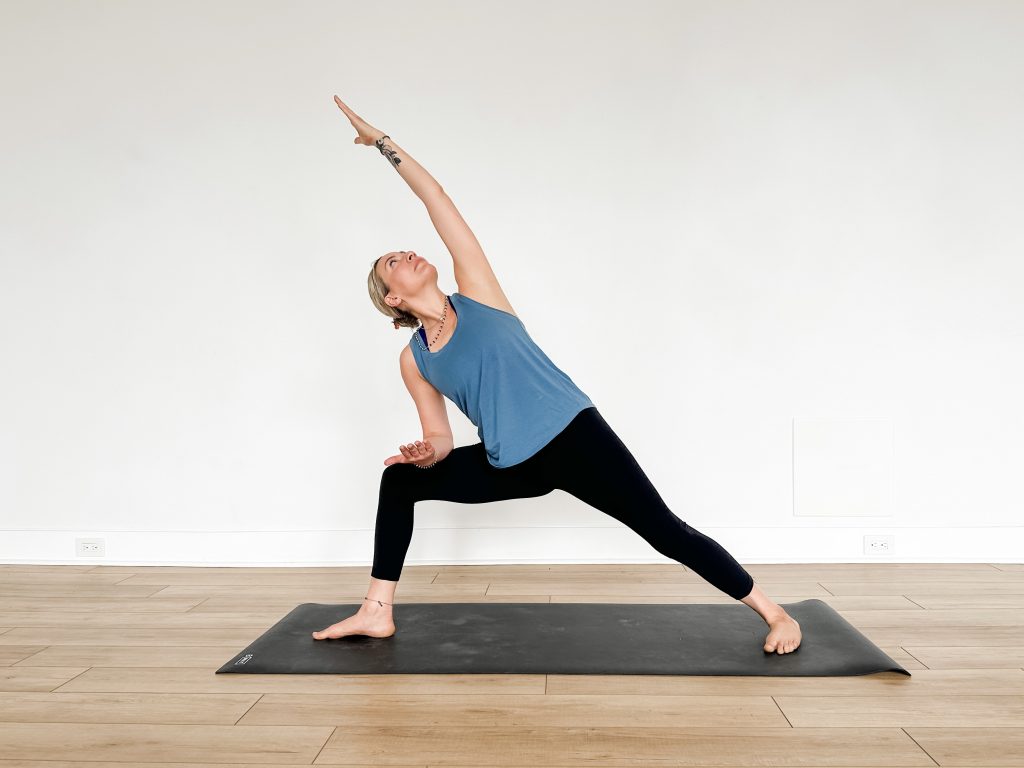
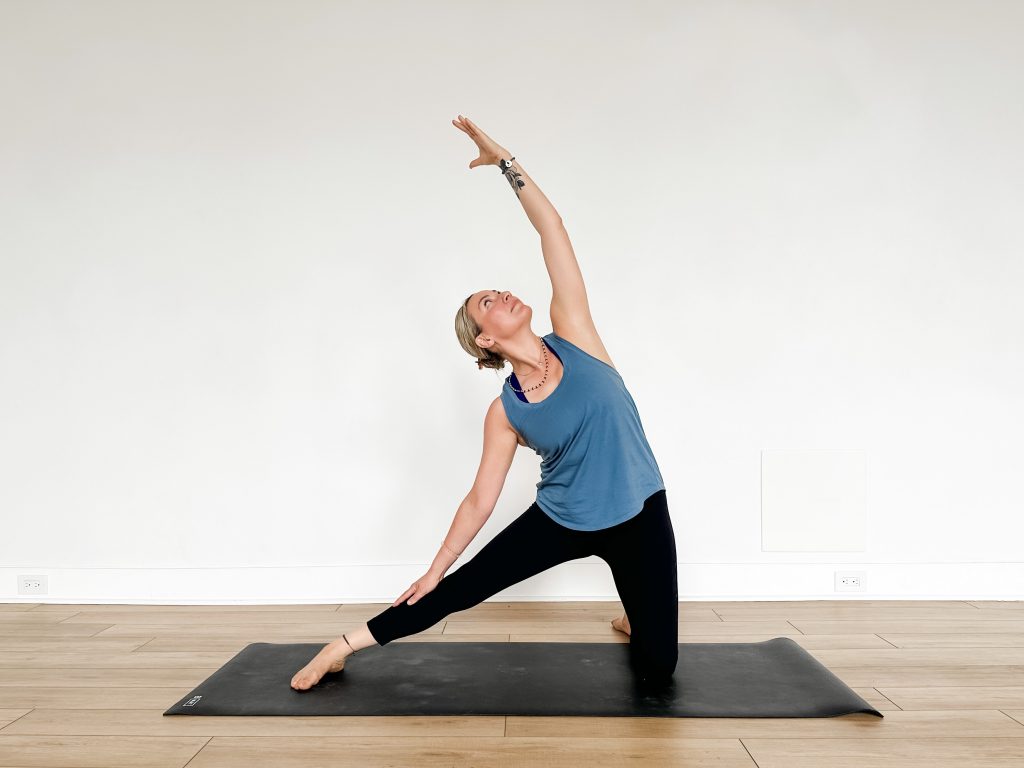
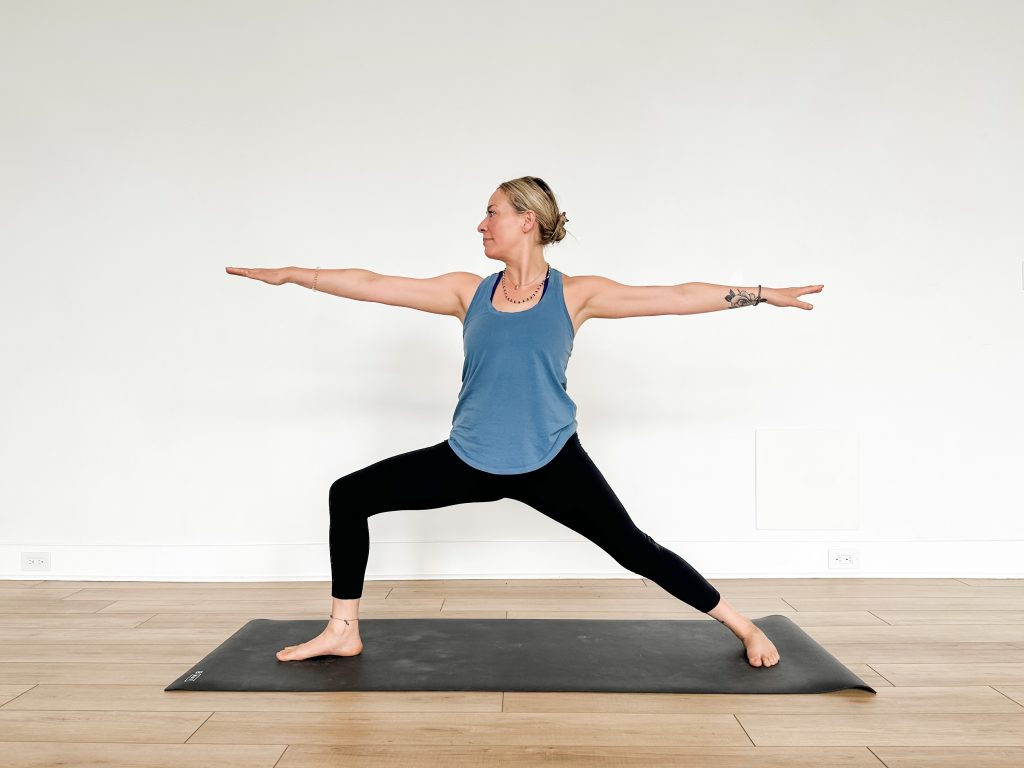
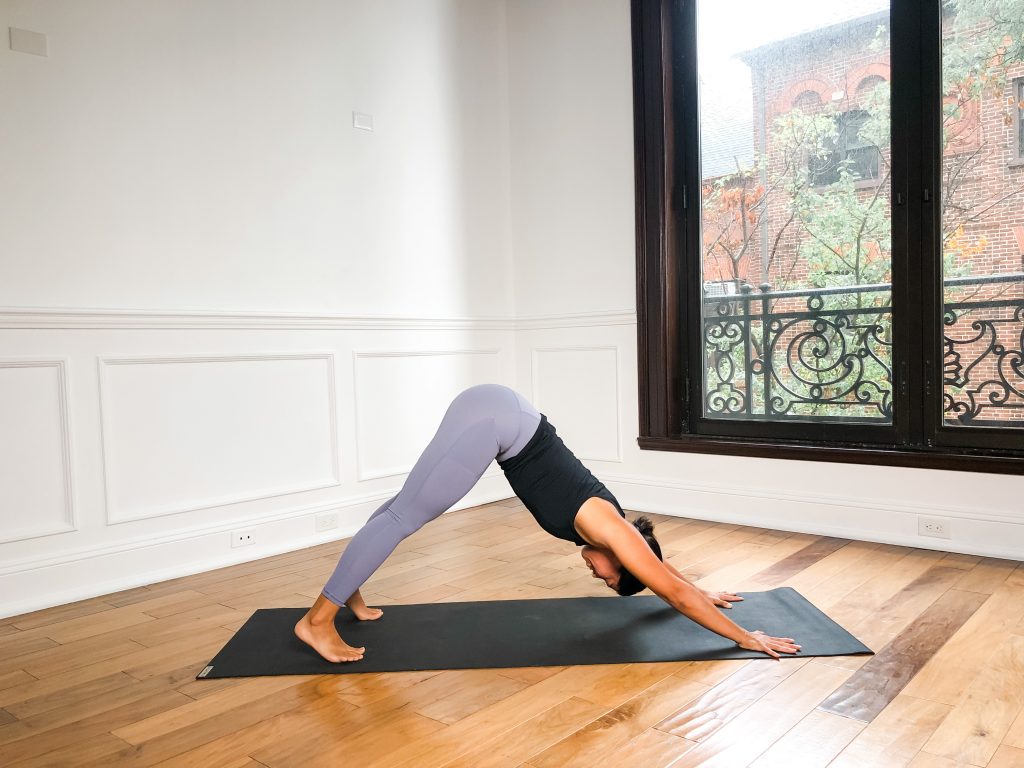
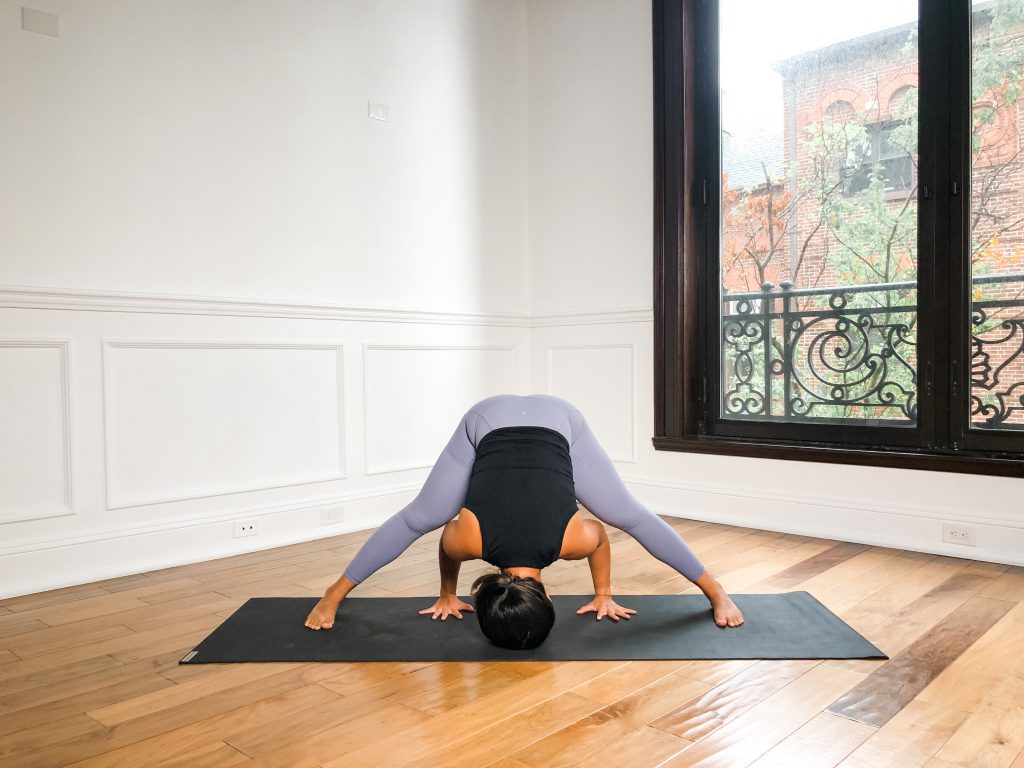
Tip 2: Focus on the Legs and Arms First
When moving between poses, you’ll want to help students establish their foundation first. Focusing on the arms and legs is the best way to get students moving towards this foundation and get them most of the way into the pose before any other details are necessary. When in doubt, start with giving guidance on the legs and arms first.
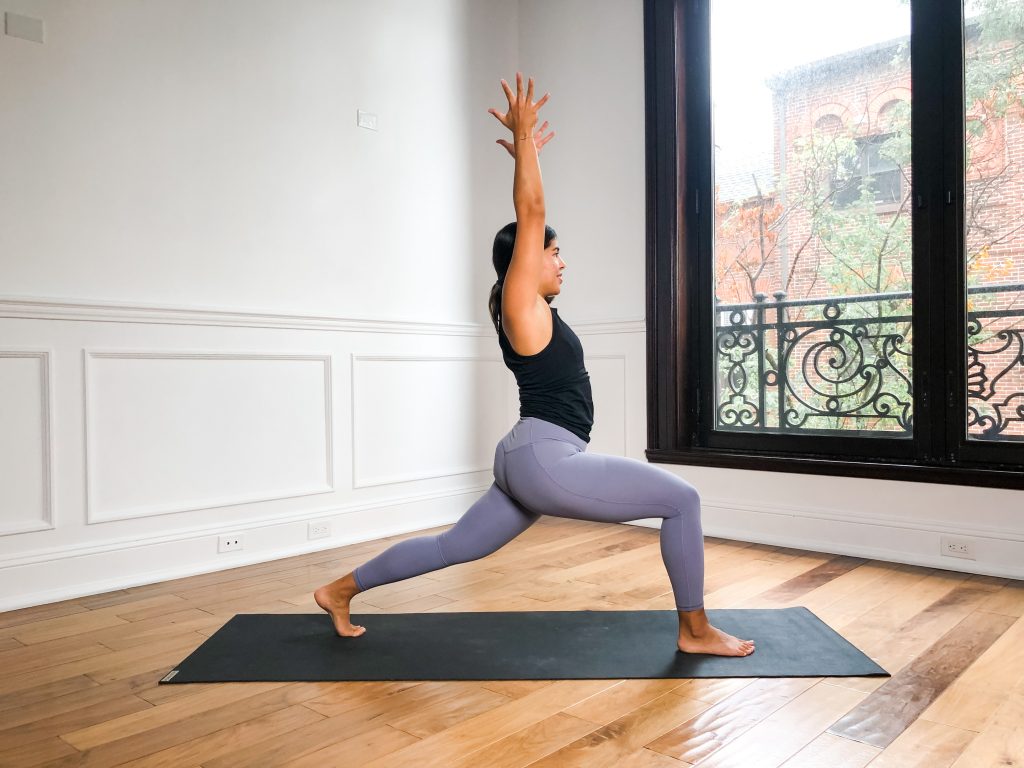
Tip 3: Action Focused Cues vs. Experience Oriented Cues
Action focused cues provide specific guidance on where the body needs to go. Experience oriented cues should only be used after action oriented cues to help further an experience. For example, ‘step your right foot forward’ is an action oriented cue. An example of an experience oriented cue could be ‘feel your ribs lengthen.’ Experience oriented cues should be used sparingly.
Tip 4: Name the Pose, Use Sanskrit
Imagine you’re meeting friends at a new restaurant that’s in a busy, well known part of town. You might tell them that the new restaurant ‘is next to the Ben’s Ice Cream Shop on Broadway’ so they can visualize exactly where it is since you know they’re familiar with Ben’s Ice Cream Shop. It’s a quick and easy way to explain exactly where they need to go.Alternatively, imagine that you give them guided directions on how to get there. Step by step you tell them what they need to do after they leave the house, which landmarks to look for, which turns to make, etc… Ultimately, if they know where Ben’s Ice Cream Shop is then they don’t need a step by step tutorial on how to get there.
While giving verbal cues, often you can simply name the pose to get many students where they need to be. Step by step directions are certainly important, but movement can become a bit robotic if the entire class needs to wait for a description of each step before transitioning between poses.
In addition to naming the pose, using the Sanskrit term is also helpful for a couple of reasons:
- English translations can sometimes differ from teacher to teacher, so having the Sanskrit term provides a universal name for poses that students can recognize.
- Sanskrit is meant to be a vibrational language – vocalizing these words is meant to carry the essence of their meaning in the sound which can bring more depth to your cues and overall experience.
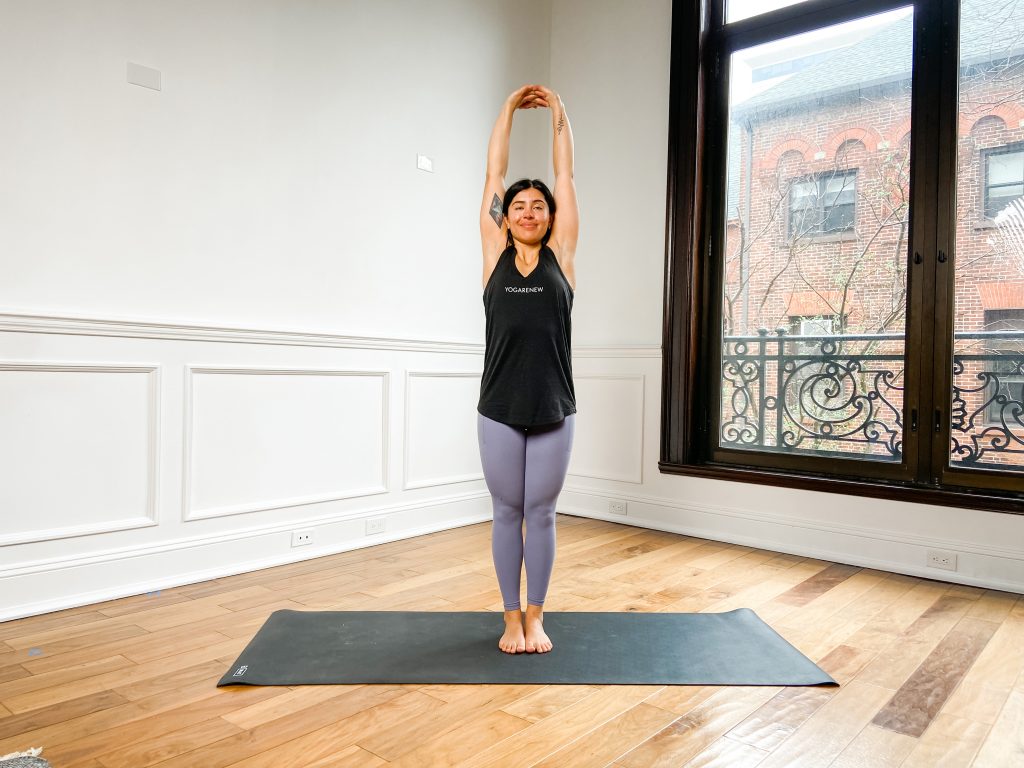
Tip 5: Use “You” Instead of “We” or “The”
When moving through class, you should always speak in the present tense and use ‘you’ instead of ‘we’ or ‘the.’ For example, instead of “Stepping your right foot forward” say “step your right foot forward.” It adds another layer of difficulty for the brain to process what’s going on if your direction isn’t delivered this way. You can also make your guidance more personal with ‘you’ or ‘your’ instead of ‘we,’ ‘our,’ or ‘the.’ Instead of asking students to step ‘the’ right foot forward, ask them to step your right foot forward.
Tip 6: Avoid Filler Words
For some teachers, filler words will be one of the most difficult changes to make in their classes. We often use filler words unconsciously so addressing them can be challenging but its important to do so. Beyond your typical ‘um’ and ‘uh’ you’ll also want to look at other words or phrases to avoid repeating that you might rely on to fill empty space in your guidance. The truth is that you don’t need to fill that space at all.
Tip 7: Leave Space for Silence
It isn’t necessary to speak through-out the entire class, and in fact it can detract from the overall experience. Leave space for silence so students are able to find time to reflect and reap the benefits of the class. Silence gives people time to process information and absorb the experience.
Tip 8: Use the Breath Appropriately
In Vinyasa, the breath should be synced to every movement but that doesn’t mean that it needs to be mentioned in every cue. Instead, help students get into a rhythm by mentioning the breath up front and then allow them to follow that rhythm moving forward. Continual guidance on breathing can take students out of the experience. In addition to cueing the breath well, remember the importance of breathing yourself. The breath is a powerful tool we have as teachers and using it is a key trick to stay centered, focused and confident.
Tip 9: Keep Safety Top of Mind
No matter the class or sequence structure, safety should always be top of mind for any reason. Ensure that you’re giving safe and clear guidance. Providing safe guidance isn’t just about avoiding dangerous movement – its also about providing alternatives, communicating clearly and adjusting as necessary to align with what’s going on in class.
Tip 10: Observe Your Students
Its important to observe your students so you can see whether they’ve been receptive to your cues. If you see that some people aren’t doing what you intended, acknowledge when you haven’t given clear cues and then try a different approach. Self-correcting in the moment reveals leadership and care. Our students’ response to our cues are helpful feedback on the cue itself and are not judgements on our value as yoga teachers.
In a big room with a lot of students, it’s important to move around the class to get a better line of sight on how students are doing. You shouldn’t need to demonstrate each and every pose, and strong verbal cues allow you to get away from the front of the room.
Being Great at Cueing Makes a Difference
Great verbal class cues mean clear communication. Great cues add to the overall experience, whereas poor cues can detract from it. They should be clear, concise and action oriented. They should leave space for silence and keep safety top of mind. While its important to put effort into designing cues, it’s equally important to observe your students to see how effective they are. When things don’t go as planned, adjust your language and try again. As yoga classes continue to move online, having verbal cues remains an important way to guide effective classes while reducing the need for visual guidance.
If you’d like to learn more about how to deliver incredible classes and train as a yoga teacher, you can begin your 200 hour online yoga teacher training journey to become a yoga instructor today.