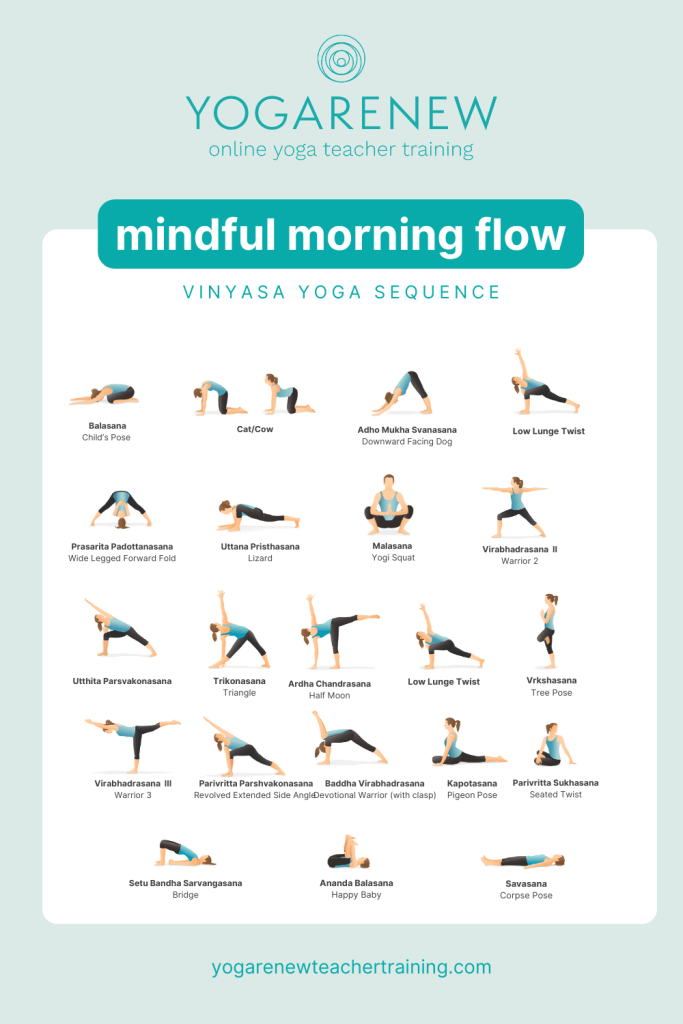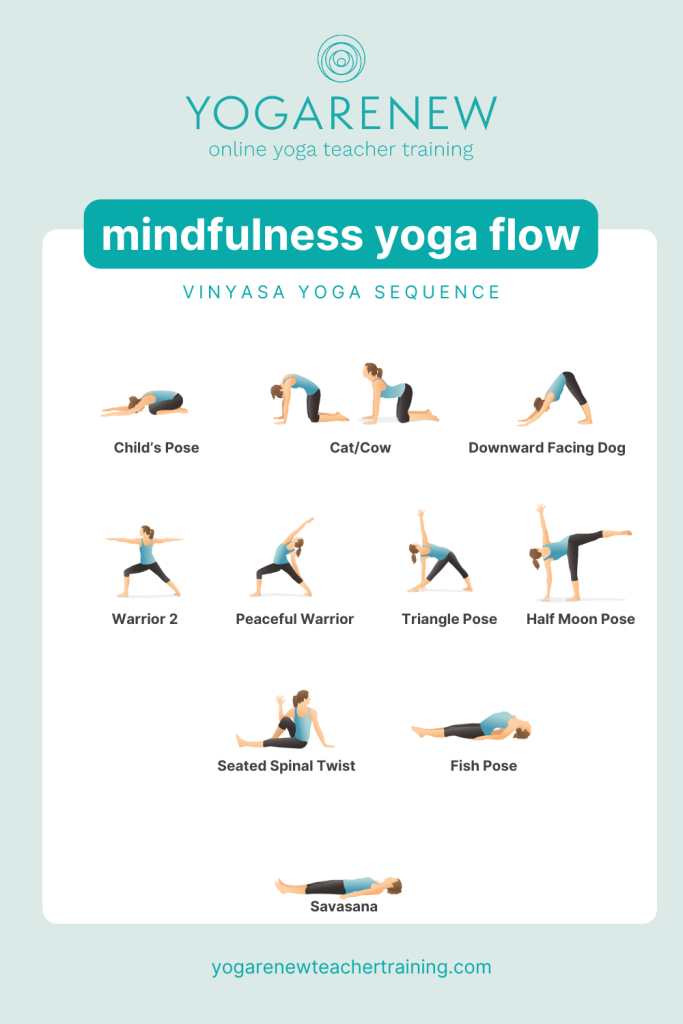
Kickstart your day with a mindful sequence that combines restorative, grounding, and energizing asanas—designed to cultivate clarity, calm, and presence. Move through this curated flow to gently awaken your spine, stretch deeply, and settle into each breath before stepping into your day or deepening your mindfulness training.
Why a Mindful Morning Flow Matters
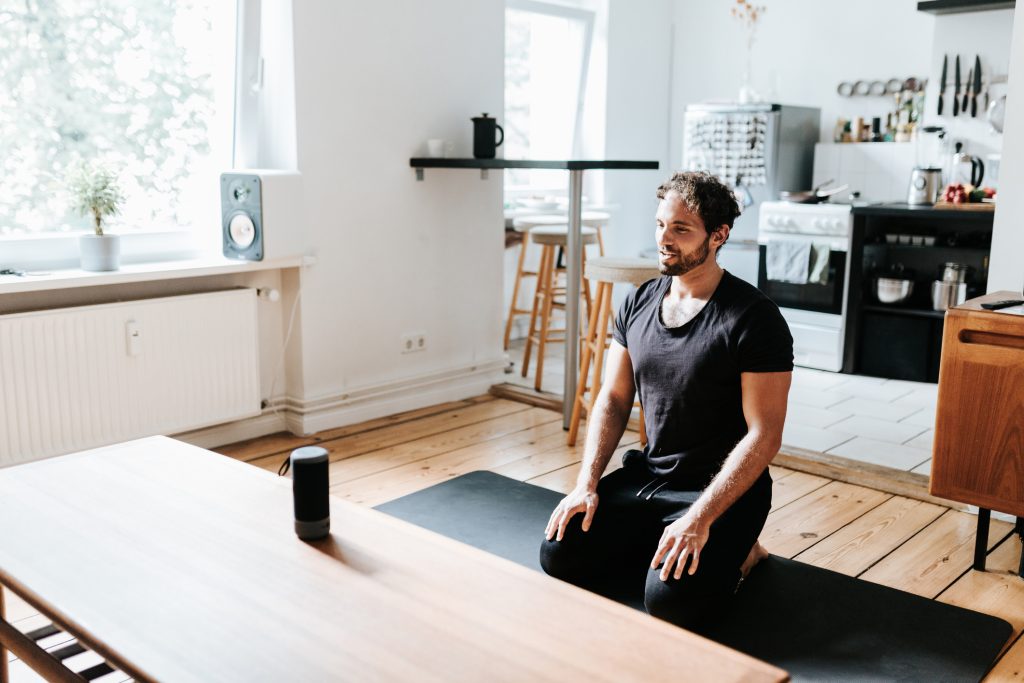
Integrating yoga and mindfulness first thing in the morning sets a foundation of intention, balance, and energy. Research shows that even 20 minutes of mindful movement can significantly reduce stress hormones, enhance mental focus, and uplift your mood through the day. Pairing asana with breath and awareness connects body and mind—offering a centered, calm way to begin any morning practice or study session.
The Sequence: Poses in Flow
1. Child’s Pose (Balasana)
Benefits: Calms the nervous system, gently stretches the lower back and hips, and encourages diaphragmatic breathing.
Instructions: From hands and knees, lower your hips to heels; rest forehead on the mat. Extend arms forward or alongside your body. Breathe deeply for 1–3 minutes.
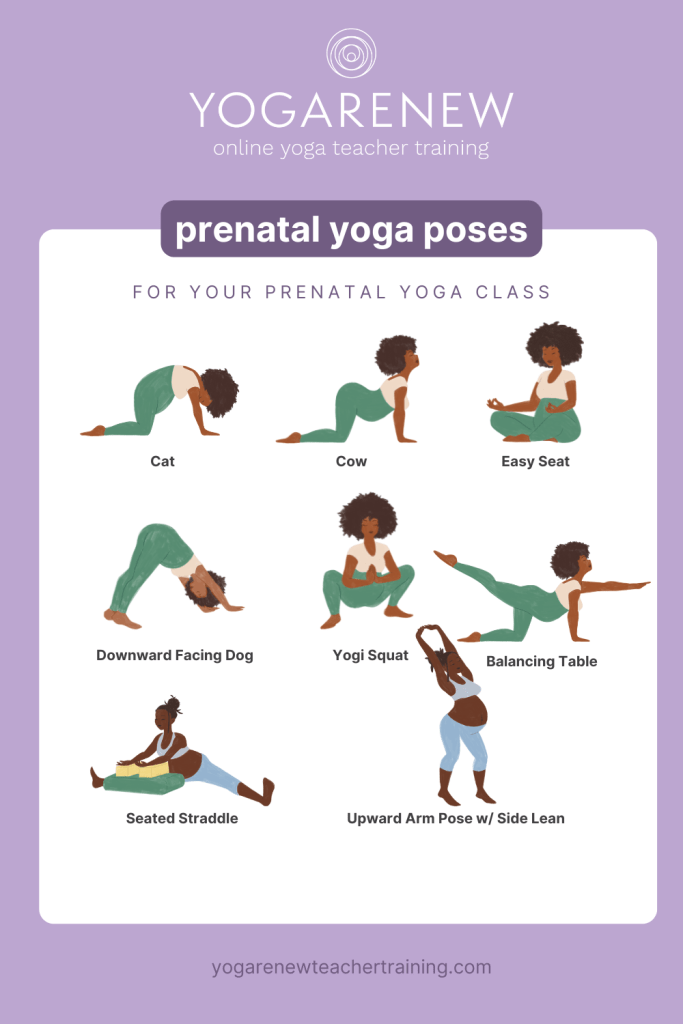
2. Cat & Cow (Marjaryasana / Bitilasana)
Benefits: Mobilizes the spine, releases tension, and connects breath with movement.
Instructions: In table position, inhale arching the back (Cow); exhale rounding the spine (Cat). Flow slowly for 5 minutes or 5–10 rounds.
3. Downward-Facing Dog (Adho Mukha Svanasana)
Benefits: Stretches the hamstrings, calves, and shoulders; strengthens arms and core; energizes entire body.
Instructions: From table, tuck toes and lift hips skyward into an inverted V. Press heels toward mat, lengthen spine. Hold 3–5 breaths.
4. Warrior II (Virabhadrasana II)
Benefits: Builds lower-body strength, opens hips, cultivates focus and grounded energy.
Instructions: Step one foot forward into a lunge, spin back foot parallel to side, arms stretch wide. Gaze over front hand. Hold 3–5 breaths per side.
5. Peaceful Warrior (Reverse Warrior)
Benefits: Deepens side-body stretch, strengthens legs, and connects heart expansion with breath.
Instructions: From Warrior II, inhale lift the front arm high, exhale slide it back while front leg bends deeper. Reach back arm toward heel. Hold each side for 3–5 breaths.
6. Triangle (Trikonasana)
Benefits: Lengthens hamstrings, opens chest and hips, and supports spinal length.
Instructions: From Warrior II, straighten front leg, hinge at hip, and reach forward then down to shin or block. Lift opposite arm upward. Hold 3–5 breaths per side.
7. Half Moon Pose (Ardha Chandrasana)
Benefits: Improves balance, strengthens legs and core, opens the side body.
Instructions: From Triangle, bend front knee, lean forward and lift back leg. Stack hips and chest. Extend top arm toward sky. Hold 3–5 breaths each side. Use a block if needed.
8. Seated Spinal Twist (Ardha Matsyendrasana)
Benefits: Detoxifies the spine, improves digestion, and releases tension across shoulders and mid-back.
Instructions: Sit with legs extended. Bend one knee and cross over to opposite side, twisting gently. Use opposite elbow to deepen twist. Hold 5 breaths each side.
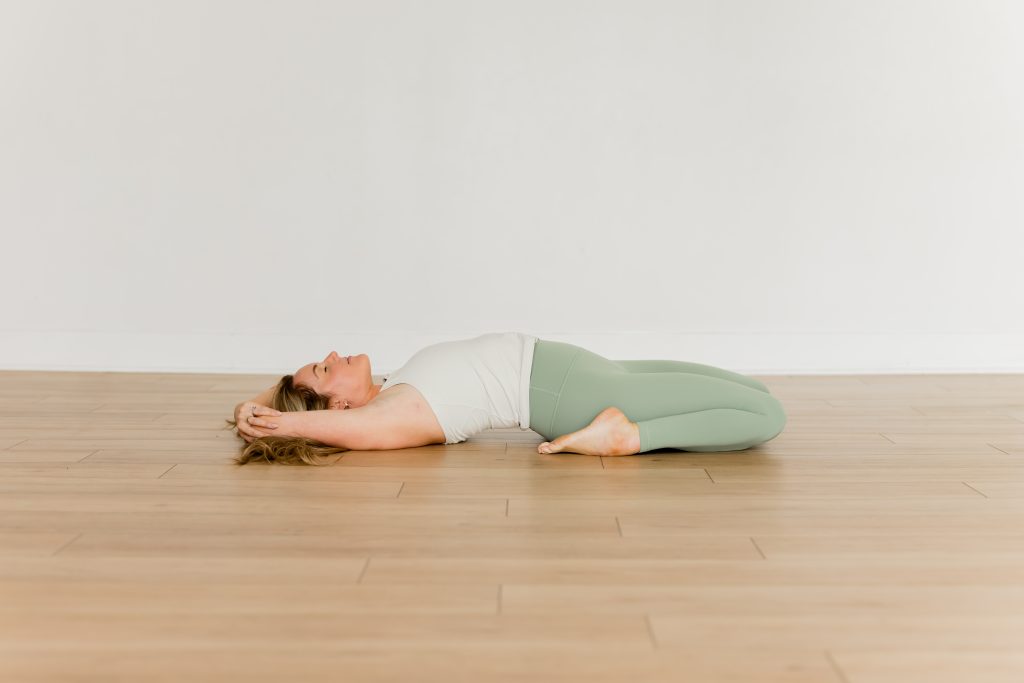
9. Fish Pose (Matsyasana)
Benefits: Deep chest opener, improves posture and breathing, stretches throat and upper back.
Instructions: Lie flat, lift chest by pressing forearms down, tip back of head lightly toward floor (optional). Engage legs and breathe deeply for 15–30 seconds. Release slowly.
End with Savasana (Corpse Pose)
Benefits: Brings integration—relaxes body, calms the mind, and lets your system absorb the benefits.
Instructions: Lie on your back, arms relaxed at sides, legs extended. Close eyes and breathe naturally for at least 3–5 minutes.
? Suggested Flow Timing
| Pose | Duration |
|---|---|
| Child’s Pose | ~2–3 minutes |
| Cat & Cow | ~5 minutes |
| Downward Dog | ~1 minute |
| Warriors + Triangle | ~8–10 minutes |
| Half Moon | ~1–2 minutes |
| Seated Twist | ~2 minutes |
| Fish Pose | ~30 seconds |
| Savasana | ~3–5 minutes |
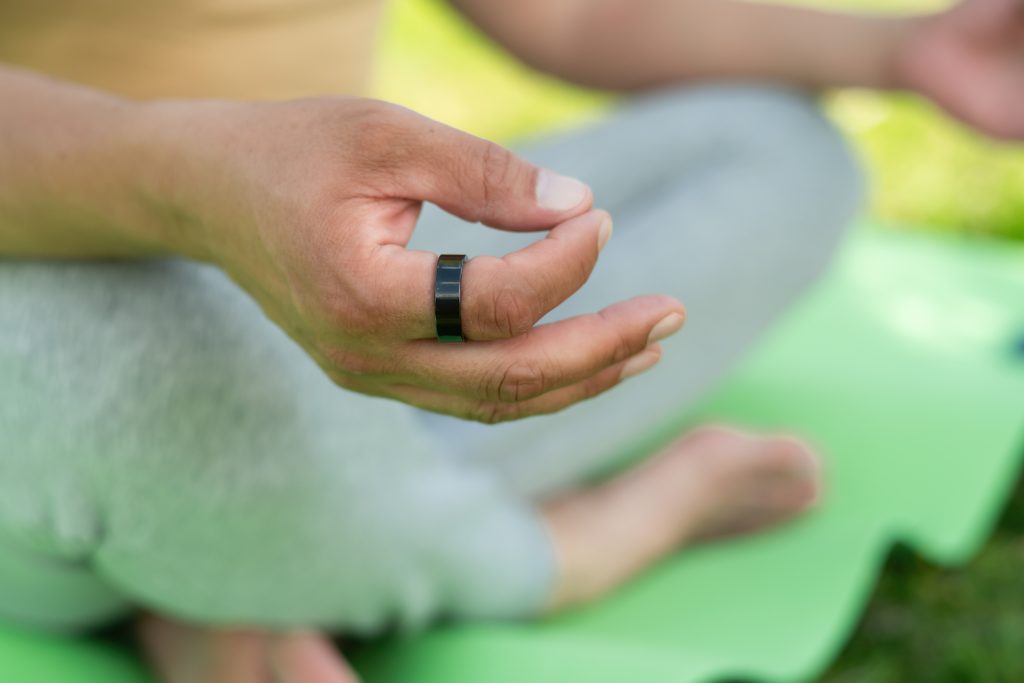
? Tips for Mindful Practice
- Breathe consciously: Link movement to breath—inhale to lengthen, exhale to release.
- Listen to your body: Modify with blocks, props, or shorter holds to honor your edge.
- Flow with awareness: Move slowly, anchor in sensations, and let each pose feel like meditation.
- Be consistent over time: Even brief regular practice promotes lasting clarity, flexibility, and resilience.
? Elevate Your Practice with Certification
Curious how to take this mindfulness and yoga synergy deeper? Enroll in our Online Mindfulness Certification Course—complete with live guidance, mindful movement, breathwork, and integration tools to support your journey into teaching and embodiment. Learn to curate your own mindful flows and confidently guide others.