International Day of Yoga: Celebrating a Global Practice
The International Day of Yoga was established by the United Nations on December 11, 2014, and is observed annually on June 21. This day honors the ancient practice of yoga and its holistic benefits for mind, body, and spirit.
Origins and Significance
The proposal for International Day of Yoga was introduced by the Prime Minister of India, Narendra Modi. In his address to the United Nations, Modi emphasized, “Yoga is an invaluable gift from our ancient tradition. Yoga embodies unity of mind and body, thought and action … a holistic approach [that] is valuable to our health and our well-being. Yoga is not just about exercise; it is a way to discover the sense of oneness with yourself, the world and nature.”
Promoting Healthy Lifestyles
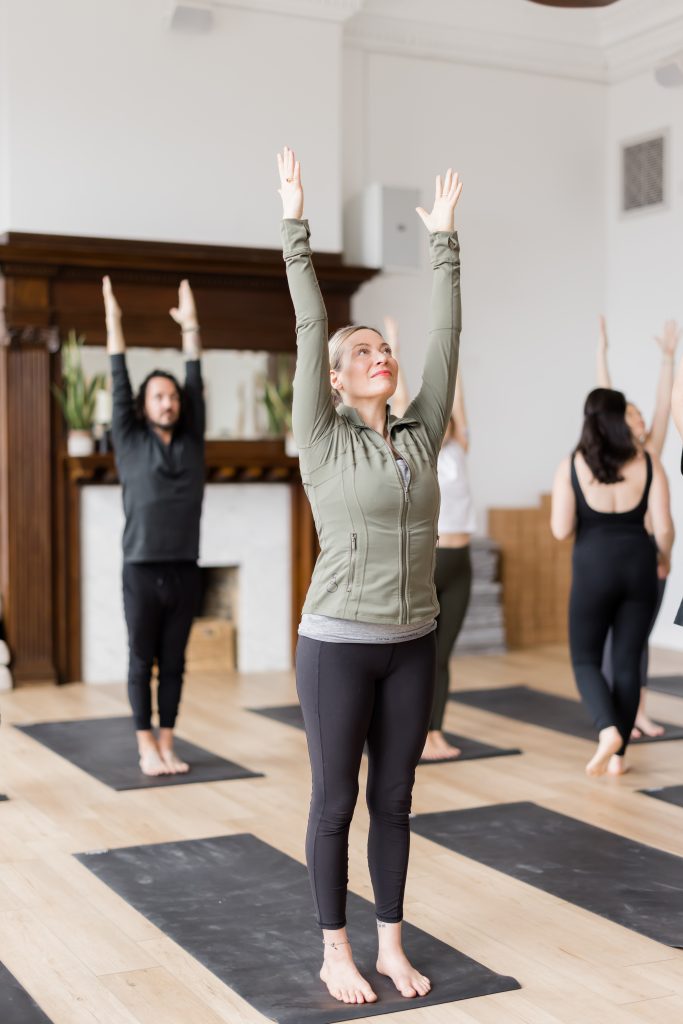
International Day of Yoga highlights the importance of adopting healthy behaviors and lifestyle choices to enhance overall well-being. On this day, numerous events and special classes are organized worldwide to raise awareness, share knowledge, and celebrate the practice of yoga.
The Essence of Yoga
Yoga is often perceived as a physical exercise, but it encompasses much more. It involves practicing mindfulness, breathing techniques, and living a balanced life. The discipline and devotion required in yoga foster qualities such as non-attachment and consistency, which are essential for personal growth and enlightenment.
The Journey of Yoga
For many, yoga begins as a simple physical activity. However, as one delves deeper into the practice, the spiritual and philosophical dimensions of yoga become evident. Sacred texts like The Bhagavad Gita, the Yoga Sutras, and the Upanishads provide profound insights into the essence of yoga, emphasizing the unity of mind, body, and spirit.
Celebrating International Day of Yoga
Celebrating International Day of Yoga can be an opportunity to deepen your practice and connect with the global yoga community. Participating in local events and classes can enhance your understanding and appreciation of yoga’s transformative power.
Why I Practice Yoga Everyday and Not Only on International Yoga Day
Truth be told, I have never done much to observe International Day of Yoga. That’s not to say I don’t appreciate the day, it’s just that at this time in my life and where I am within my yoga teaching career, I am on a mission to emphasize showing up consistently. Yoga, while described as a practice, is a lifestyle. The practice is not just about the physical postures, but about practicing how to breathe, how to live, and how to be. For me, yoga is not something I do, but rather something that has become embedded within me — It is a way of being.
In today’s world, immediacy is everything. Instant results, outcomes, and gratification driven by greed and desire are sought after. The yoga practice does its diligence in practicing the opposite. The yoga practice teaches discipline, devotion, and non-attachment amongst many other heightened qualities and values. Great faith is required along the yogic journey towards true enlightenment, which can only be attained through a consistent and steady practice with good intention. Granted, if I reflect on how I started yoga, I did not know all that it had to offer me. I did not know its dealings with the divine, I did not know how much effort it required off the mat, and I did not know that it has way more to do with the inner landscape than the outer landscape. I did not know of books such as The Bhagavad Gita, the Yoga Sutras, or the Upanishads. I did not know about the various paths, lineages, and philosophies which are the backbone and guiding force of the practice we are accustomed to in the west. And I suppose had I not started where I did, I may not appreciate where I currently am and all the knowledge and reverence I have gained along the way. Which illustrates the dualities present within the teachings of yoga: ignorance and bliss, darkness and lightness, evil and virtuous.
In my experience, yoga reveals itself over time. It may begin as a seemingly simple physical practice and nothing more. It may be that way for a while, and if that brings one to their yoga practice, it is to be celebrated. Whether or not it is conscious, when someone steps on their mat with good intention, their entire system is being prepared for the depth of the yoga practice. How deep someone decides to explore within each lifetime is none of my business. It does not happen overnight, this I know. In fact, living in ignorance and/or darkness is often necessary so that one can experience and appreciate attunement and/or lightness.
I will continue to emphasize consistency, but perhaps this year I will celebrate International Day of Yoga. Knowing that for many people it may be the drop that gets them started on their journey, it may be the drop that tips them towards lightness, and for some it may be the only drop in this lifetime and that is okay.
— Melanie Rodriguez, ERYT 500 
Reflecting on Your Practice
As you observe International Day of Yoga, take a moment to reflect on your intentions and goals for your yoga practice. Consider how yoga fits into your life and how it has evolved over time. Allow the practice to unfold naturally, revealing its deeper layers and guiding you towards greater self-awareness and harmony.
International Day of Yoga serves as a reminder of the profound impact yoga can have on individuals and communities worldwide. By embracing the practice with sincerity and dedication, we can contribute to a healthier, more harmonious world.
Resources: