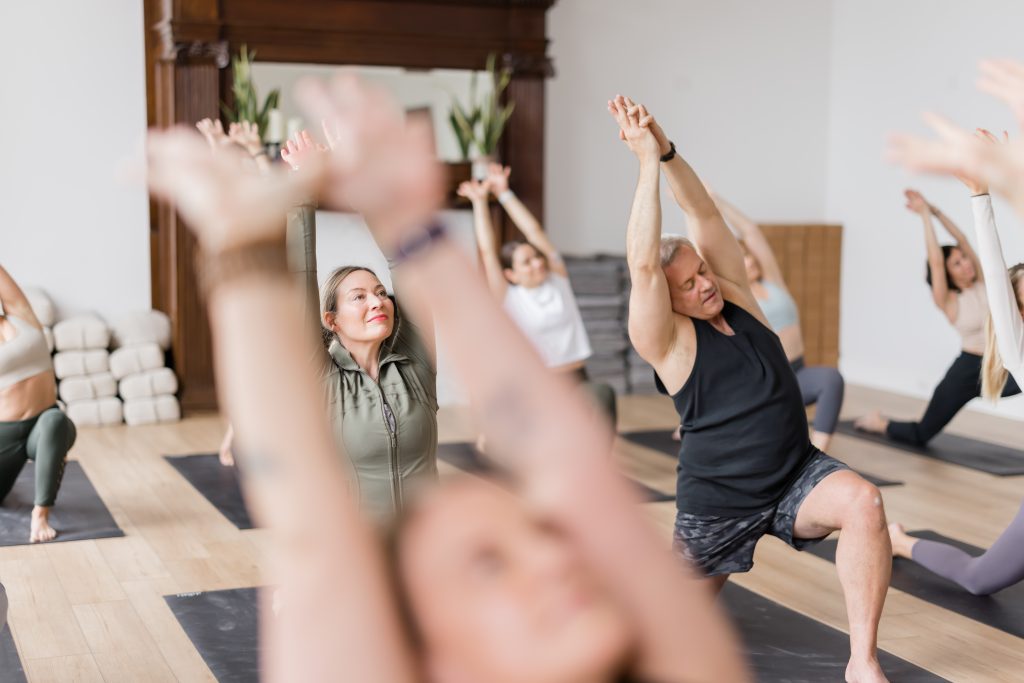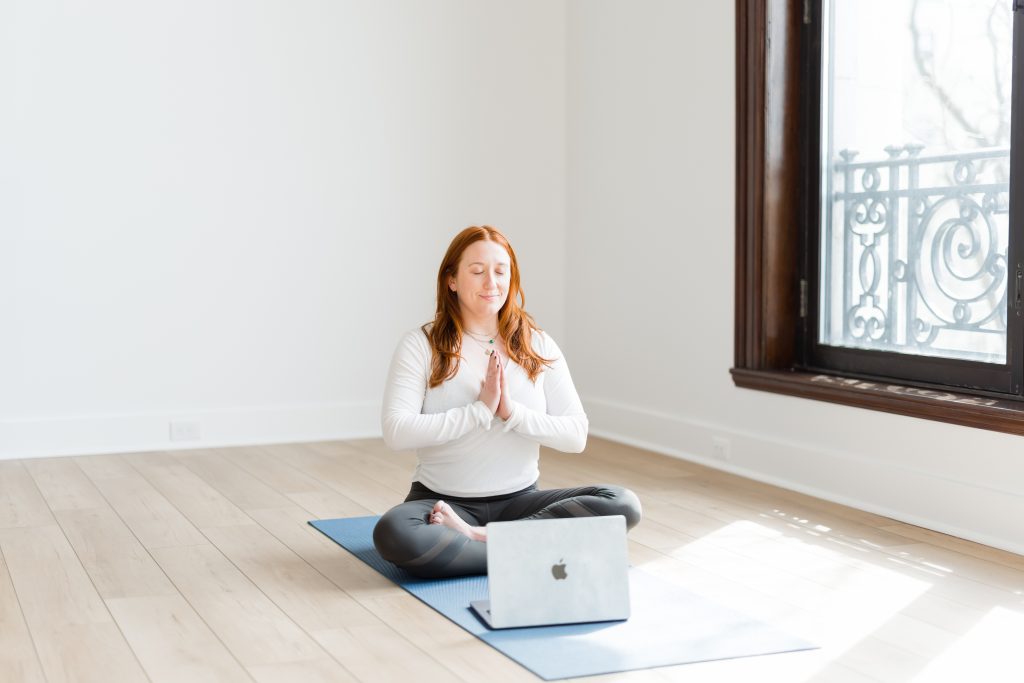
9 Tips for Teaching Bilingual Yoga Classes
Bilingual yoga classes provide a unique opportunity for community building, bringing together individuals with a shared interest in yoga and language learning. These classes create a supportive and inclusive space where participants can connect with others, share their experiences, and learn from one another. The sense of community fostered in bilingual yoga classes can extend beyond the studio, as participants build lasting relationships based on their shared love for yoga and language learning. This sense of belonging can enhance the overall yoga experience, creating a supportive community that extends far beyond the mat.
1. Focus on your students
Being focused on students will make them feel comfortable and included. The first thing you must do is ask how many people speak Spanish or English in the class. This is how you’ll determine the number of Spanish or English speakers in the class so you can choose which language should take precedence. Knowing how many students speak one language or another will help you identify who may need more assistance during class.
Bilingual yoga classes offer a rich cultural experience by integrating language learning with yoga practice. Participants not only engage in physical movement but also immerse themselves in the language and cultural nuances associated with it. This cultural immersion can deepen their understanding and appreciation of the language, as well as the cultural context in which it is spoken. By incorporating elements of the language into yoga practice, such as using native terms for yoga poses or incorporating cultural references, participants can develop a more profound connection to both the language and the practice of yoga.
2. Give your dharma talk in both languages
Start the class with a dharma talk in both languages, switching to both languages. This will help students feel connected to the dharma talk in their native language while also helping them to learn and absorb another language. By giving the dharma talk in both languages, you are including the entire class and creating a welcoming environment that may feel more accessible for certain students who weren’t able to find a class in their language to begin with.
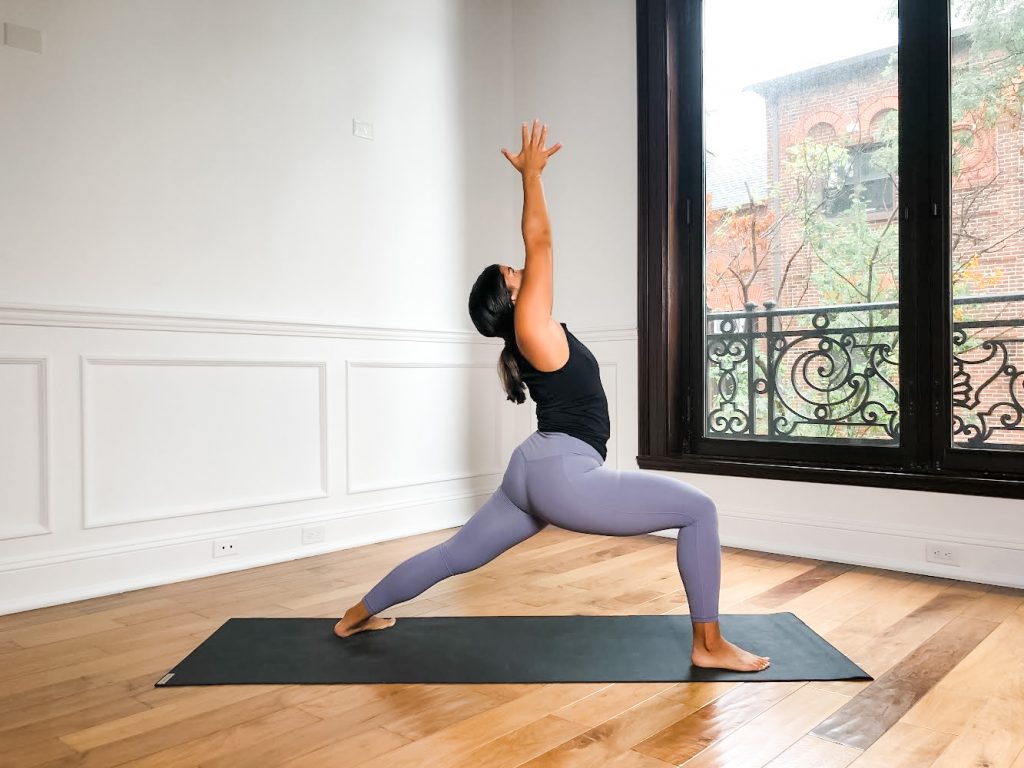
3. Speak slowly
Keep in mind that students in addition to enjoying the benefits of yoga may want to learn or improve their second language. So we must speak slowly and clearly. Bilingual yoga classes require participants to listen and respond to instructions in two languages, which can enhance cognitive skills such as focus and attention. Practicing yoga in a bilingual setting challenges the brain to process information in multiple languages simultaneously, improving cognitive flexibility and mental agility. This can have a positive impact on other areas of life, such as work or study, where focus and concentration are essential. By engaging both the mind and body, bilingual yoga classes offer a holistic approach to improving overall cognitive function.
4. Say the poses in both languages
During class it is important that you mention the poses in both languages and include Sanskrit in those common poses and/or poses that are most repeated during class. The combination of language learning and yoga practice in bilingual classes creates a unique learning environment that enhances overall language acquisition. Studies have shown that integrating language learning with physical activity, such as yoga, can improve memory retention and recall. This is because physical activity stimulates the brain and enhances its ability to absorb new information. Additionally, practicing yoga in a bilingual setting provides practical, real-world language experience, allowing participants to apply their language skills in a meaningful context. This hands-on approach can accelerate language learning and improve fluency.
The mind-body connection is central to the practice of yoga, and practicing yoga in a bilingual setting can enhance this connection. By processing instructions in a different language, participants engage different parts of the brain, creating new neural pathways and strengthening the mind-body connection. This heightened awareness can lead to a deeper, more meaningful yoga practice, as participants become more attuned to their bodies and the present moment. Additionally, the mindfulness cultivated through yoga practice can carry over into language learning, enhancing overall mental clarity and focus.
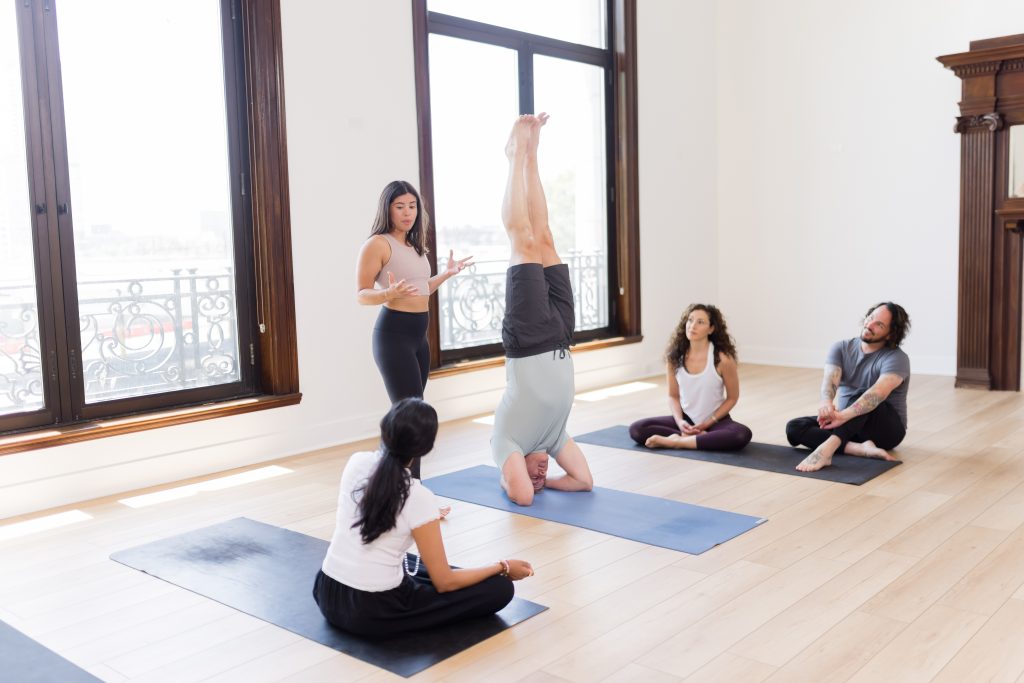
5. Offer additional assistance if you see someone confused
Cues for the poses might be used in the language that predominates in the class but pay attention to students who speak the second language in case they need assistance. By knowing both languages yourself, you’ll be able to specifically guide and adjust students by noticing their body language. Approaching a student that may be a bit confused is a great way to make the class feel personalized and accessible.
6. Use simple cues & go slow
Use simple cues and accessible transitions to sequencing the class. Just like a typical yoga class, you don’t need to verbally say each alignment point – find the most important ones that are easy for students to understand (starting with the hands and the feet). Students came to class to move; by not over complicating our cueing, we can create a space that allows students to explore their own bodies themselves.
Secondly – go easy. Create a slow and juicy class to keep students interested and committed to coming back.
7. Create a playlist that won’t distract students
Choose instrumental music preferably or perhaps include one or two songs in the second language. Choose songs that perhaps might be identified by the students so they feel like there was intention behind the class composition. Again, they may not be used to attending classes where their native music or music genre is being played, so this is a great way to include them and give them a sense of familiarity.
8. Close the class in both languages
Close the class using both languages and remember to maintain the yoga jargon or include a mantra if you like – just how you started the class giving a dharma talk in both languages, make sure you end the class the same way so the class feel cohesive and what you talked about really resonates. Students may rarely remember what you said specifically, but they will remember that you were attentive to guiding them in both languages.
9. Take bilingual classes yourself
Bilingual yoga classes create a welcoming and inclusive environment for individuals from diverse linguistic backgrounds. By offering classes in multiple languages, yoga studios can cater to a wider audience and provide a space where everyone feels welcome and by practicing in bilingual classes yourself, the inclusivity extends beyond language proficiency levels to encompass cultural differences as well. Participants are encouraged to embrace their unique cultural backgrounds while also learning from others, fostering a sense of unity and understanding among all participants. You can practice bilingual classes online or in person. Florida is one of those destination where bilingual classes have became popular in all main yoga studios.
Bilingual yoga classes offer a range of benefits that cater to both the body and mind. Whether you’re looking to deepen your yoga practice, improve your language skills, or simply connect with others, bilingual yoga classes provide a unique and enriching experience that can enhance your overall well-being.


 – Written by