When people ask me what breathwork technique I’d recommend to help them settle and calm down, I often suggest alternate nostril breathing, or, as it’s called in Sanskrit, nadi shodhana.
If I’m feeling anxious, agitated or ungrounded, this is my go-to breathing technique. A few minutes of alternate nostril breathing will almost always help me feel more centered and grounded. I know I’m not alone. Many people have told me they have a similar experience. And in fact, research has also shown that alternate nostril breathing can help shift the nervous system toward a more relaxed state. Studies have consistently shown that nadi shodhana helps to reduce blood pressure and heart rate, as well improving focus and reducing stress.
More about that later, but first, let’s look at how to practice alternate nostril breathing.
How can I learn the correct technique for nadi shodhana?
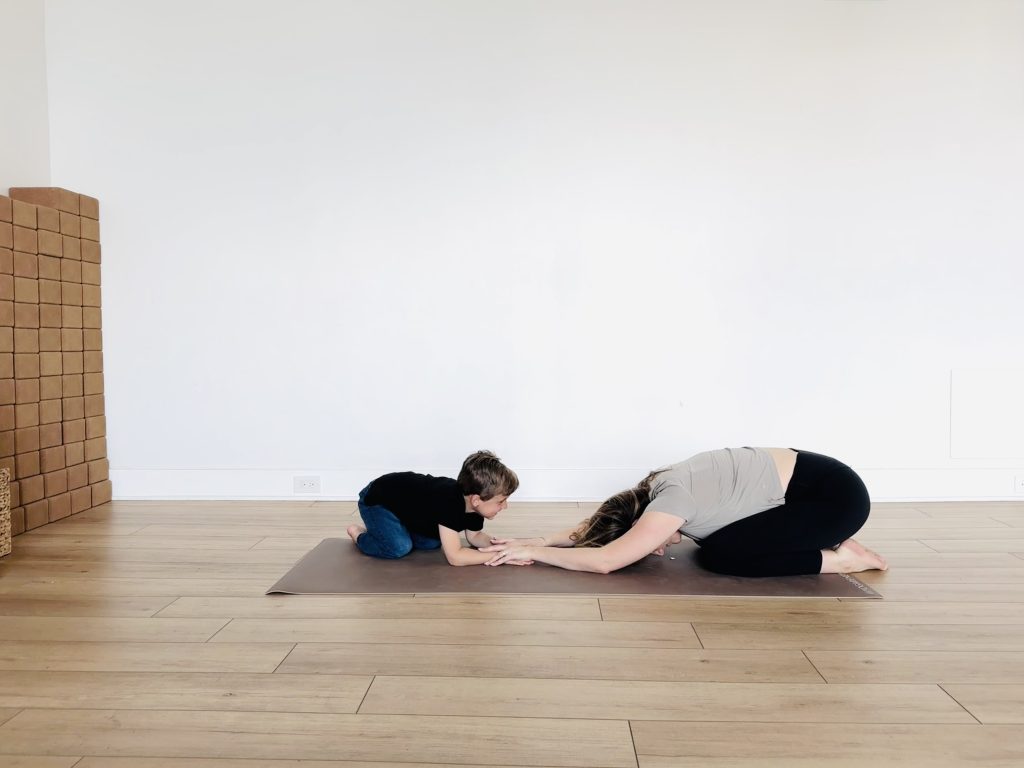
Traditionally, yogis would sit on the floor, usually in a cross-legged posture, to practice nadi shodhana. However, if that’s not comfortable for you, sitting in a chair will work just as well.
Whatever your foundation, make sure that you’re sitting upright. If you’re on the floor, you may need to elevate your hips to sit without your back rounding. You can support your pelvis with a bolster, a folded blanket or a yoga block, depending on what feels stable and comfortable. If you’re sitting in a chair, don’t lean against the back of the chair. Come forward, so that you’re supporting yourself with your feet on the floor.
Traditionally, nadi shodhana is practiced with a specific mudra, or hand gesture. This is called Vishnu mudra; it’s formed by folding the index and middle fingers of your right hand into the palm, so that the thumb and fourth and fifth fingers are sticking up. You’ll bring your right hand up to your face, placing your thumb on the right side of your nose and the fourth and fifth fingers against the left side.
If you find the traditional mudra awkward, you can lightly press the tips of your index and middle fingers between your brows. Personally, I often prefer to practice with this modified mudra. It has an extra advantage of bringing a little pressure to what yogis refer to as the third eye center, which helps me feel more energetically centered.
Your left hand can just rest on your left thigh. If you like, you can also make another mudra by joining the tips of the left thumb and index finger together.
Using your right thumb, close off your right nostril. You don’t need a lot of pressure—just enough to lightly press the side of your nose against the septum (the part of the nose that separates the right and left nostrils). Breathe in through your left nostril, then close the left nostril and breathe out through the right side. Then inhale through your right nostril and switch to exhale through the left side.
That’s one round. Continue for as many rounds as you like. Try to keep the flow of breath slow and steady. If you wish, you can time your breath by counting silently to yourself, matching the length of the inhalation and the exhalation.
Here’s a video of our Ayurveda Counselor, Lisa Bermudez showing you how to practice nadi shodhana:
The nasal cycle
You may find that it’s more difficult to breathe in through one nostril than the other. This is a pretty common experience in nadi shodhana. Of course, it could be because you’ve got a cold or allergies, or even a structural issue in the nose, but it’s often simply due to what’s called the nasal cycle.
Try it right now: Close your right nostril and breathe through your left nostril, then switch. Can you breathe more easily through one side than the other?
Most people, most of the time, will probably notice a difference. However, if you wait an hour or two and try the same experiment again, you may discover that it’s now the other nostril that’s more open.
Nostril breathing through the nasal cycle
This is the nasal cycle. For many people, the two nostrils periodically switch dominance—i.e., which one is more open—throughout the day. The cycle and its timing varies, but it commonly switches over the course of several hours. However, there is a lot of variation between people. For some, both nostrils may be open at the same time, while for others, there’s no discernable cycle.
Why does this happen? It’s related to the autonomic nervous system. This is the part of the nervous system that regulates unconscious, involuntary vital functions in the body. It takes care of the stuff that happens behind the scenes in your body to keep you alive—functions like your heart rate, blood pressure, digestion and immune function.
The autonomic nervous system is divided into two divisions, called the sympathetic and parasympathetic divisions. The sympathetic division is your body’s stress response. Sometimes called the fight or flight system, it primes your body for activity, whether that’s to flee a threat or to begin a vigorous workout. The parasympathetic division is sometimes called the rest and digest system. It helps you return to baseline.
The sympathetic division generally tends to constrict blood vessels. You have a lot of blood vessels lining the inside of your nose. That’s why nosebleeds can bleed so much. When the sympathetic division is more active, blood vessels in your nose will be constricted. Therefore, your nasal passages will be more open, and you’ll be able to breathe more easily.
For some reason, the sympathetic and parasympathetic divisions tend to switch dominance between the two sides of the body throughout the day. When the sympathetic system is a little more dominant on the right side, your right nostril will be more open. Your left nostril will then be more occluded, because there will be more blood flow on that side. And later in the day, when that dominance changes, the left nostril will be more open.
So that’s how the nasal cycle works. But you might be wondering, why do we have a nasal cycle in the first place?
The short answer is that we don’t know for sure. It may have something to do with allowing nasal tissues to rest and recover, so that they can better filter and humidify the air before it reaches the lungs. Other hypotheses are that it might help optimize immune system function, or that it could help us detect a wider range of odors.
In any case, you may notice that when you practice alternate nostril breathing, it’s harder to breathe through one nostril than the other.
What can you do if you feel like you’re not able to get enough air in through one nostril? Just don’t close the more open nostril fully. That way you’ll be able to get enough air, while still attempting to direct the breath through the more closed side.
What are some other common issues of alternate nostril breathing?
Another common issue that can make alternate nostril breathing challenging is arm or shoulder fatigue. If you’re practicing for a long time, your right shoulder may become stiff or tired.
One solution is to use your left hand to support your right elbow. You can also support your right elbow with a cushion, bolster or yoga block (or even a couple of blocks, depending on your height), with the support resting on your thigh.
Or, you can try switching arms. While using the right hand to manipulate the nostrils is traditional, you don’t have to be bound by tradition. Particularly if you’re left-handed, or if you have an issue with your right shoulder, you may be more comfortable using the left hand.
If you find that it’s difficult to stay focused on the breath, you can try closing your eyes to reduce distractions. On the other hand, some people may find it’s easier to stay alert with the eyes open. Find what works for you.
Why is it called nadi shodhana?
The literal translation of nadi shodhana isn’t “alternate nostril breathing.” It actually translates as “purification of the energy channels.”
Yogis have traditionally linked the breath to prana—a vital energy that sustains life. They visualized this energy moving through channels in the body, called nadis, including a central channel, called the shushumna nadi, and two other channels, one ending at the right nostril and the other ending at the left nostril.
The right channel is called the pingala nadi. It’s said to be an activating, heating, solar channel, while the left channel, called the ida nadi, is a quieting, cooling, lunar channel. Yogis thought that by channeling breath through the right and left nostrils, they could affect the balance of these two aspects of the self.
These channels were seen as existing on a subtle level, within what’s called the energy body, or pranamayakosha. If you dissect a human body, you won’t find a pingala nadi or an ida nadi. Personally, I view them as a way of metaphorically describing the subjective experience of nadi shodhana.
All of this fits with my personal experience. Nadi shodhana generally leaves me feeling more balanced. If I’m feeling stressed or hyperactive, it helps me settle. At the same time, it doesn’t make me feel dull or sleepy. Rather, it leaves me feeling relaxed, but awake. I can see why yogis visualized it as way to balance “solar” and “lunar” energies in the body.
Why practice nadi shodhana?
So that’s my subjective experience. But has there been research about alternate nostril breathing?
Actually, there have been some studies. They show pretty consistently that nadi shodhana can help with de-stressing and calming down. It has been shown in several studies to acutely reduce blood pressure and heart rate. These are signs of shift toward a more parasympathetic, relaxed state in the nervous system.
Why is that a benefit? Remember that the sympathetic nervous system is your stress response. It’s important for survival because it helps us deal with threats. But it can also be activated when you’re not in physical danger. For instance, getting stuck in a traffic jam or worrying about paying your bills can initiate the same response. Chronic stress can have many deleterious health effects, including elevated blood pressure, poor digestion and sleep, and decreased immune system function.
So, alternate nostril breathing can be a useful tool to have at your disposal when you’re feeling stressed. It can help you make the shift from “fight or flight” to “rest and digest” mode, helping you cope better with stressful situations.
There’s also some evidence that alternate nostril breathing can have cognitive benefits too. It may help with focus and alertness. Again, this fits with my own experience of feeling both calm and awake after practicing nadi shodhana.
Some researchers have wondered whether directing the breath through specific nostrils could preferentially activate one division or the other of the autonomic nervous system. There have been a few studies about this question. Some have found links, while others haven’t. Overall, I think we don’t have enough evidence to draw firm conclusions about this yet.
Other researchers have wondered whether breathing through one nostril or the other could have an effect on the hemispheres of the brain. Some EEG studies have found more activity on the opposite side of the brain while breathing through one nostril. However, while this research is suggestive, I don’t think we have enough to draw firm conclusions here either.
While these mechanisms are fun to speculate about, at the very least, alternate nostril breathing helps to focus attention on the breath and slow it down. We know from lots of research that just doing that can have powerful benefits for the nervous system. It may work on other levels too; we’ll have to wait for more studies to find out.
Benefits of alternate nostril breathing
There are so many benefits to this type of pranayama, or breathwork. Typically, people who practice it consistently notice the following benefits:
- Calms heart rate
- Helps regulate blood pressure
- Clears sinuses & enhances lung capacity
- Calms the nervous system
- Balances the energy in the body
- Brings about a state of mental clarity
All of these benefits are experienced differently from person to person and not everyone experiences all of them in that order. Nadi shodhana is a productive way to calm the nervous system and improve your overall mental and physical wellbeing.
Which yoga practices incorporate alternate nostril breathing for better mental clarity?
Many yoga practices incorporate nadi shodhana. Vinyasa classes, hatha yoga classes, a restorative or yin yoga practice can all incorporate nadi shodhana at any portion of class. Some teachers will start out with this breathing practice to help you “drop in” to the environment of the class. Others will incorporate it at the end to further calm the body.
You’ll come across it in many different types of classes, varying from studio to studio (and even online classes). But in the meantime, I’d suggest giving nadi shodhana a try yourself at home, especially if you haven’t practiced it before. It may turn out to be your favorite breathing technique, too!
Breathwork and Pranayama Certification
Don't miss a beat! Sign up for our weekly newsletter.

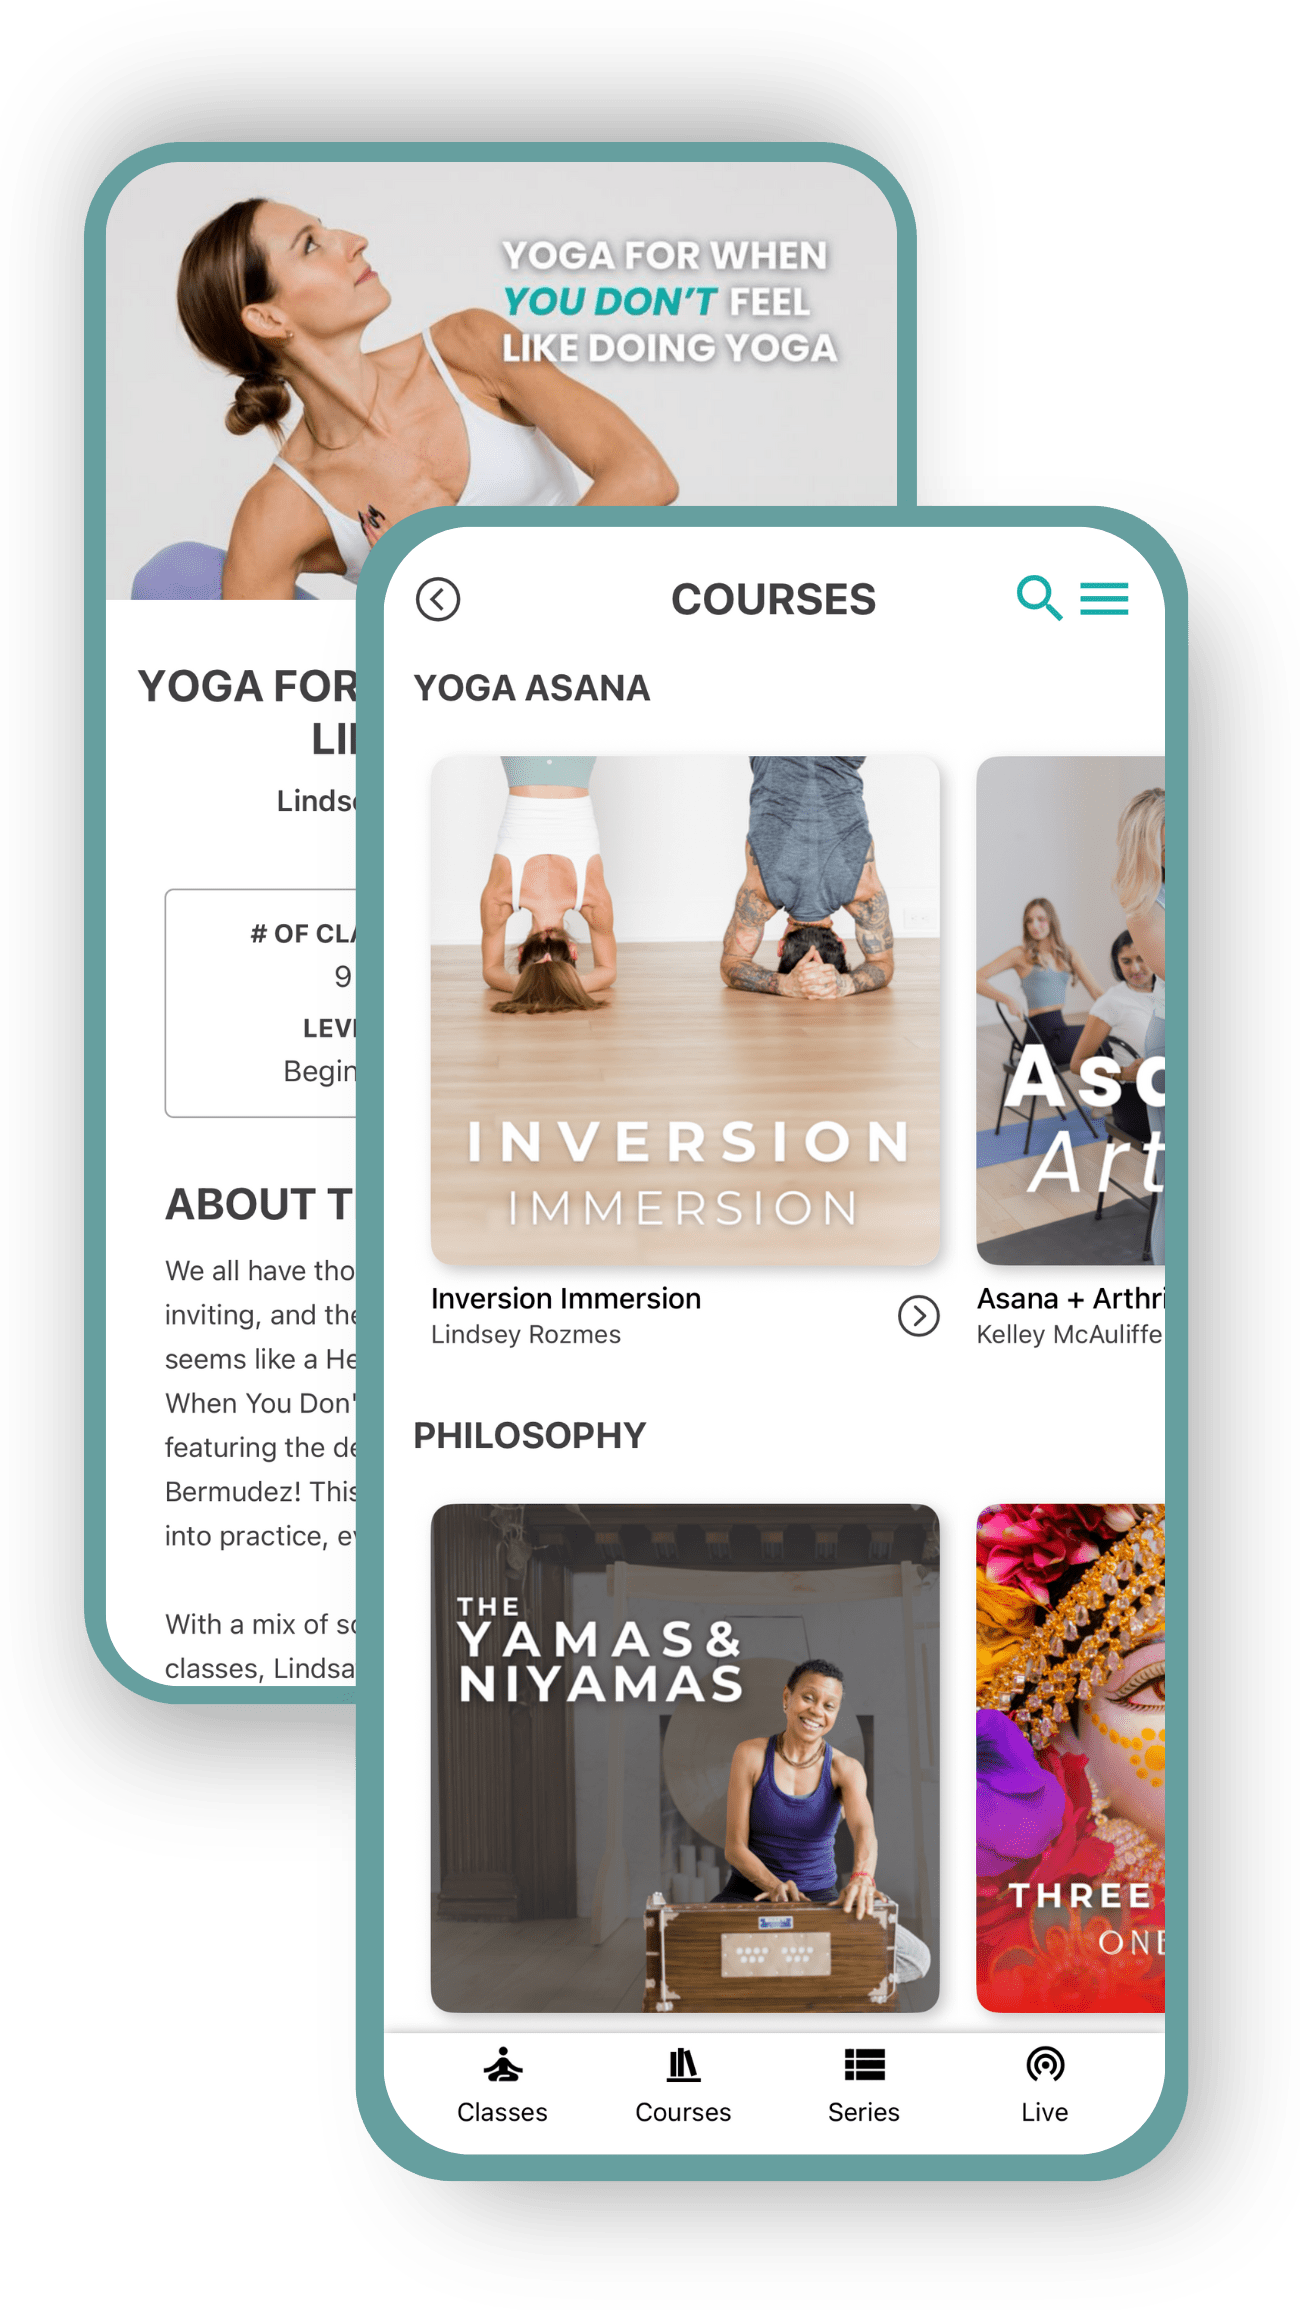
Free Classes, Tutorials & More
Download the YogaRenew App
Explore classes & pose tutorials for any style, format, duration or experience level with a free account in the YogaRenew app. Or subscribe and gain access to workshops, live classes and more.