In the bustling rhythm of modern life, finding tranquility and flexibility, both mentally and physically, is a quest many undertake. Yin Yoga emerges as a beacon of peace and bodily liberation, offering a practice that contrasts yet complements the more dynamic yoga disciplines. This comprehensive guide delves into the essence of Yin Yoga, unraveling its principles, benefits, and how it can be seamlessly integrated into your lifestyle to promote well-being and inner harmony.
Understanding Yin Yoga
Yin Yoga, at its core, is a meditative approach to yoga, emphasizing passive stretching and aiming to cultivate a deeper internal awareness. Unlike its yang counterparts, which focus on muscle engagement and an energetic flow, Yin Yoga targets the deep connective tissues of the body such as the ligaments, joints, bones, and fascial networks. By holding poses for extended periods, typically between three to five minutes or even longer, practitioners are encouraged to tune into their bodies and minds, fostering a state of mindful stillness.
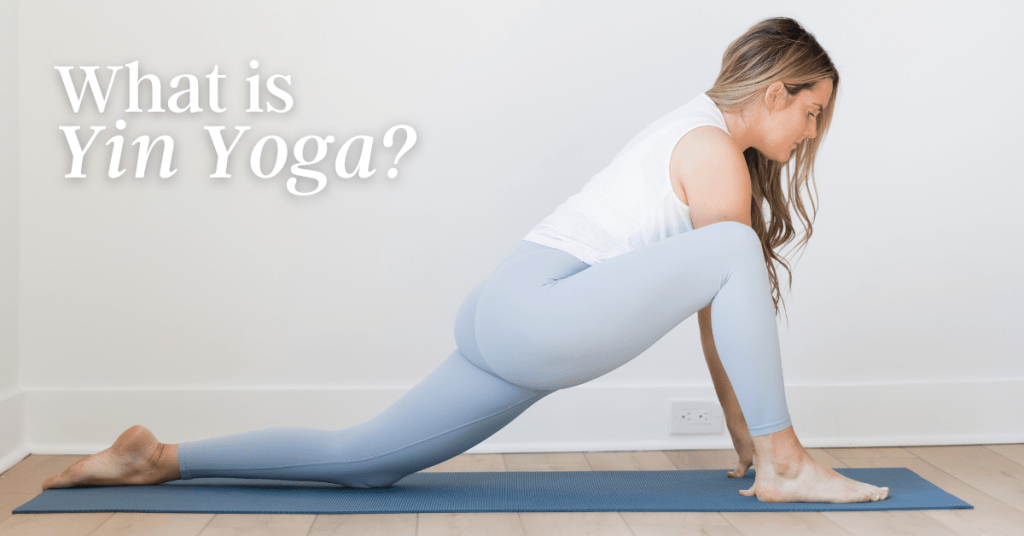
Yoga Asana: What is yin yoga?
Yin yoga is a style in which poses are passively held for a minimum of three minutes, but ideally 5-7 minutes or more, with the intention of targeting the fascia and other connective tissues of the body. The poses practiced in yin are mostly practiced on the floor with students never coming higher than their knees– meaning, there are typically no standing poses.
Yin’s goal of targeting connective tissue requires a different approach to the practice than more active forms of yoga. In yin yoga the large muscle groups are not engaged like they are in a Hatha or Vinyasa class. Instead, the body is meant to fully release into the shapes and work with gravity to slowly move deeper and deeper into each posture. Props are often used to support the body through the practice in order to allow for that release of muscle engagement.
Yin yoga is rooted in ancient Chinese philosophy and is deeply connected to the idea of balancing yin and yang. Where most of the activities in our modern lives– including our active yoga practices– fall more in the yang category, yin yoga seeks to bring the body back to a greater state of harmony by giving us the chance to slow down and move into the deeper layers of tension and tightness that are often held.
What is the difference in yin yoga poses?
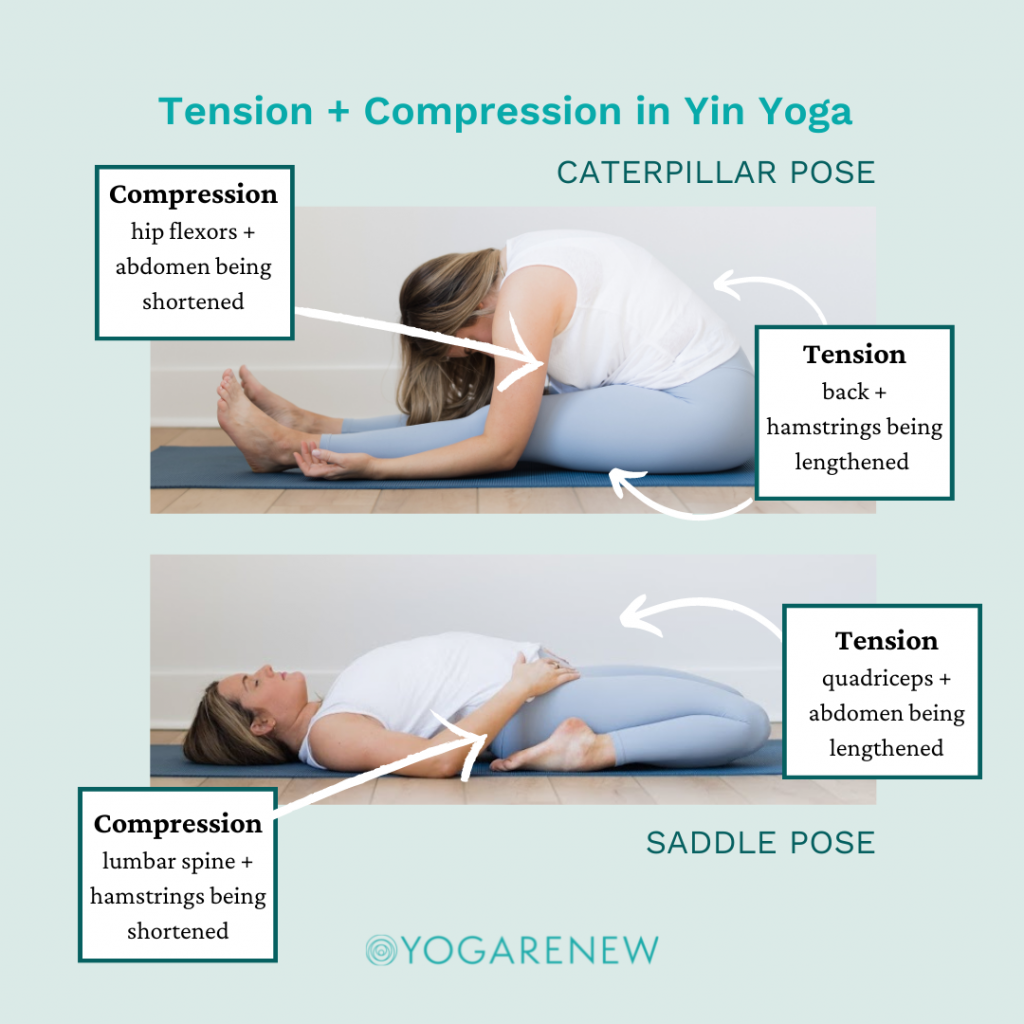
Yin yoga poses naturally create a balance between tension and compression in the body, which help to exercise our joints in all directions. When a part of the body is placed under tension we’re creating a lengthening of the connective tissue and, depending on flexibility, the muscles as well. This is often experienced as a stretch in the body. Compression is the opposite. It’s the shortening of connective tissue while its being pressed together usually because this part of the body is reaching bone-on-bone.
Every yin yoga pose will bring either tension or compression to a different part of the body. For example, in caterpillar pose (similar to Paschimottanasana in an active class) the back body is under tension as the hamstrings and back muscles are lengthened in the forward fold. The front body is under compression with hip flexors shortening as the abdomen comes towards the legs. Conversely, in saddle pose (similar to Supta Virasana in an active class) the front body is under tension as the quadriceps, abdomen, and chest lengthens and opens while the lower back and hamstrings are compressed.
Both poses are hugely beneficial to the body, especially when practiced together in a class, as they allow the connective tissue to explore its full range of motion. It’s important to note that working with tension and compression will create physical sensation in the body. This sensation can be intense and be challenging for students but is also the goal of the physical practice of yin yoga. Cueing students to use their breath to ease any feelings of discomfort can be helpful in guiding them through the practice.
The Origins of Yin Yoga
Tracing back to the ancient Taoist concepts of Yin and Yang—opposite and complementary forces in the universe—Yin Yoga is a relatively modern practice that integrates these philosophies with traditional Chinese medicine and Western science. It was popularized in the West in the late 20th century by martial artist and Taoist yoga teacher Paulie Zink. Today, it is widely recognized for its restorative and introspective nature, making it a perfect complement to the more physical styles of yoga and hectic lifestyles.
Practicing Yin Yoga: Tips for Beginners
Embarking on a Yin Yoga journey requires little beyond a willingness to explore the depths of your own mindfulness and flexibility. Here are some tips to get started:
- Create a Comfortable Space: Ensure you have a quiet, comfortable space where you won’t be disturbed. Props like yoga blocks, bolsters, and blankets can enhance your practice.
- Listen to Your Body: Yin Yoga encourages listening to your body and respecting its limits. Never force a pose to the point of pain.
- Focus on Your Breath: Use your breath as a guide to deepen your relaxation and focus during each pose.
- Be Patient: Progress in Yin Yoga, as with any yoga practice, takes time. Embrace each session as an opportunity to learn more about yourself.
The physical practice is just one side of the overall focus of yin yoga. The other key piece of the yin practice is about the effect on a student’s energy and emotions – and again, it’s all about balance.
Traditional Chinese Medicine uses the ideas of meridians to reference the different energy channels within the body. When those channels are opened and balanced, the belief is that energy can move freely which leads to optimal health, which makes it ideal for beginners. When that energy gets stuck or stagnant, that’s when imbalance occurs which can lead to disease. The poses in a yin yoga practice work to use tension and compression to target these meridians and help keep them open and balanced. And while this certainly contributes to physical health, it also has a profound effect on emotional health as well.
Feelings, emotions and the practice of yin yoga
It’s not uncommon for students (especially beginners) to experience strong feelings during a yin class that can range from agitation, to sadness, to fear, to joy. As students visit each pose and go deeper into the energetic layers of the body, stagnant emotions are released. Beginners should be aware that this is often why hip opening poses can cause tears and leave students thinking “what is happening and why am I crying?” It’s important to know that while confusing at times, this is a normal experience in a yin class. Through connection to the breath, those pent up emotions can be released, leaving more room and space for new experiences and emotions to move freely.
Yin practice offers an opportunity for safe exploration of the inner workings of the emotional body. Learning to sit with feelings that are overwhelming and using the breath to become aware of and metabolize those emotions is a skill that can be improved upon each time a student moves through a yin yoga practice. Building self-compassion and resiliency during this time is a benefit of yin yoga that helps not only during practice, but in life as well.
Popular Yin Yoga Poses
Free 60 minute yin yoga class sequence
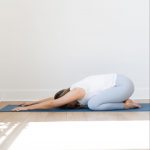
Child’s Pose (Balasana)
Puppy Pose (Uttana Shishosana)

Head to Knee Pose (Janu Sirsasana) [be sure to do both sides]
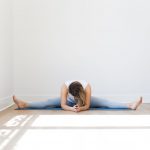
Seated Wide Angle Pose (Upavistha Konasana)
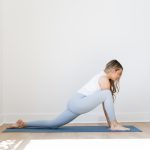
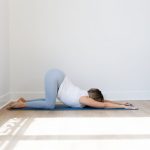
Lizard Pose (Utthan Pristhasana)
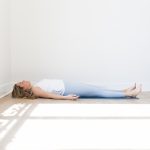
Corpse Pose (Savasana)
Benefits of Yin Yoga
Yin Yoga offers a myriad of benefits, extending beyond mere physical flexibility. Here are some of the key advantages:
- Enhanced Flexibility: By gently stressing the connective tissues, Yin Yoga helps improve flexibility and promote the release of tension.
- Deep Relaxation: The slow, meditative nature of the practice encourages a calming of the mind, leading to reduced stress and anxiety levels.
- Improved Circulation: Holding poses for longer durations can enhance circulation, encouraging a better flow of nutrients and oxygen throughout the body.
- Greater Emotional Balance: The introspective aspect of Yin Yoga aids in cultivating a balanced emotional state, fostering resilience against stress and adversity.
- Stimulated Meridian Flow: The practice is said to stimulate the flow of Qi (life energy) through the meridian channels, harmonizing the body’s organs and systems according to traditional Chinese medicine.
Like the practice itself, the question “what is yin yoga?” has many layers to its answer and warrants a deep dive into the practice itself (which, ps– I have a course for if you’re interested!).
But, if you’re looking for the elevator-pitch explanation of yin yoga, it can best be summed up by two key points:
- It’s a passive physical practice of seated poses that target the connective tissue of the body through the exploration of balance between tension and compression.
- The physical practice aligns with the energetic systems of the body and can help with deep emotional connection and the releasing of stagnant energy.
There are so many benefits when it comes to the practice of yin. Take a look at a similar article where we listed 6 Key Benefits of Yin Yoga
YogaRenew’s Yin Yoga Teacher, Kate Lombardo’s First Experience with Yin Yoga
My love affair with yin yoga started pretty early on in my yoga teaching career and I have to admit, it caught me by surprise. I was (and still am) an avid vinyasa yoga teacher and student and (at the time) yin seemed like the “easy” yoga class to me.
I took my first yin class out of pure convenience because it was the class on the schedule right before the class I taught. I moved through the first few poses fairly easily and felt reaffirmed in my belief that this would be a simple practice. Then, we came to our first long hold in dragon pose (basically a lizard lunge with the hands down) and I suddenly realized how very wrong I was…
The rest of the class presented challenges for my body and mind in ways vinyasa didn’t. And despite the intense sensation each pose brought to my body and the mental focus it took to sit in that discomfort, I found it to be exactly what I was craving to bring more balance to my yoga practice and my life.
A few months later I took my first yin training and started adding yin classes into my teaching schedule immediately afterwards. For many of my students, this practice was brand new to them and their experiences reflected my own. But I soon came to realize that my students needed and enjoyed the balance the practice brought just as much as I did.
I’ve loved being able to see this practice continue to grow in popularity as years have gone by and more and more teachers and students seek to share in this healing practice.
Yin yoga, in many ways, is the perfect blend of the old and the new and it’s this confluence of our modern lives being served by a practice rooted in ancient eastern practices that gives yin its magic.
Conclusion
Yin Yoga stands out as a unique and powerful practice within the diverse spectrum of yoga. By embracing stillness, patience, and mindfulness, it offers a path to physical flexibility and mental tranquility that contrasts with the fast-paced rhythms of contemporary life. Whether you’re a seasoned yogi or a curious newcomer, incorporating Yin Yoga into your routine can unlock profound benefits for your body, mind, and soul. Dive into the tranquility of Yin Yoga and discover the transformative power of gentle, sustained poses in your quest for inner peace and flexibility.
Ready to learn more about the practice of yin yoga? Grab my totally free Yin Yoga Teacher Starter Kit below for the rundown of everything you need to get started practicing and teaching yin yoga:


 — Melanie Rodriguez, Yoga Teacher
 — Lisa Bermudez, Yoga Teacher and Ayurveda Coach
 — Lindsay Monal, Yin Yoga Teacher and Sound Healer

